


Getting an edge on traction is simple with EasyCare Quick Studs. I use quick studs for a variety of EasyCare products and other hand crafted therapeutic devices and have even seen them used to provide traction in hiking boots!
Application Tips
- When purchasing a package of quick studs be sure to buy the applicator tool—it’s like a drill bit that clicks into the quick stud and drives it into the shoe.
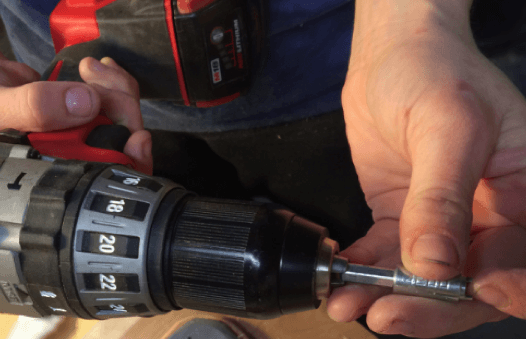
- If your drill has settings, set it to a slower speed or push lightly on the trigger so your drill goes slower than usual. Trying to drive the stud in too quickly results in airborne product.
- It helps to drill a pilot hole first then set the sharp edge of the stud in the hole before slowly drilling it into place.
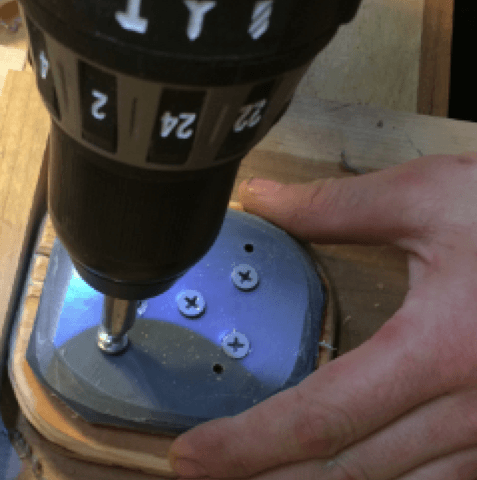
- Make sure not to set your studs too deep in the product. If the stud is driven too far into the shoe it is ineffective; the tip of the stud needs to be raised above the product so it makes contact with the ground.
- Try to keep the studs level as they enter the product. Otherwise they won’t provide adequate traction.
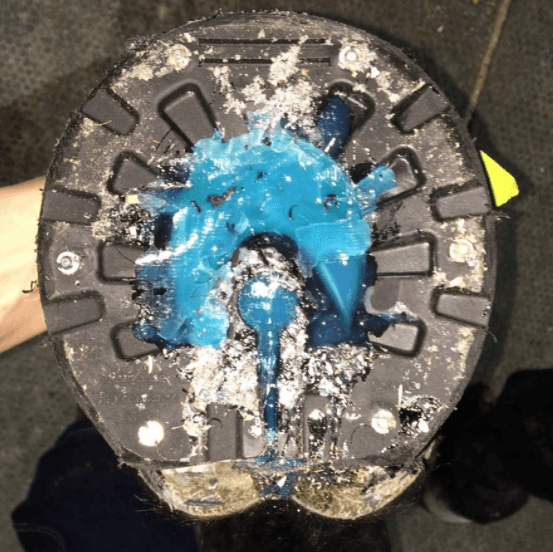
The number of quick studs you’ll need depends on ground conditions and shoe size. I use fewer quick studs early in the season, before the snow flies and ice becomes a concern. Smaller shoes don’t require as many studs, and the type of shoe itself will determine how many studs can be applied. With the EasyShoe Compete I tend to use only two studs on the heels. With the EasyShoe Performance I will likely use four to six studs – two in the heels, two in the toe region and sometimes two more placed at the widest part of the foot.
Get creative with your devices and give the quick studs a try. They are versatile, easy to use and cost effective.
– Deanna Stoppler, Team Easyboot 2015 Member


Are you using screws to “pre-drill” your holes? I’m having a hard time getting my quick studs started in my peformance N/Gs. The material really grabs the drill bit and the studs. Any tips appreciated.
Comments are closed.