

Do you think you might want to try your hand at gluing some boots or shoes onto your horse? We’ve got 10 tips to help you get started and have a successful gluing experience.
Plan & Prep Ahead of Time:
1. Start preparing well before you plan to starting gluing. Watch some of our instructional videos, and maybe jot down some notes to have on hand when you’re ready to glue, just in case.
Here’s one on how to prep your horse’s hooves. If you and your horse’s hooves are well-prepared, you are sure to have a great gluing experience!
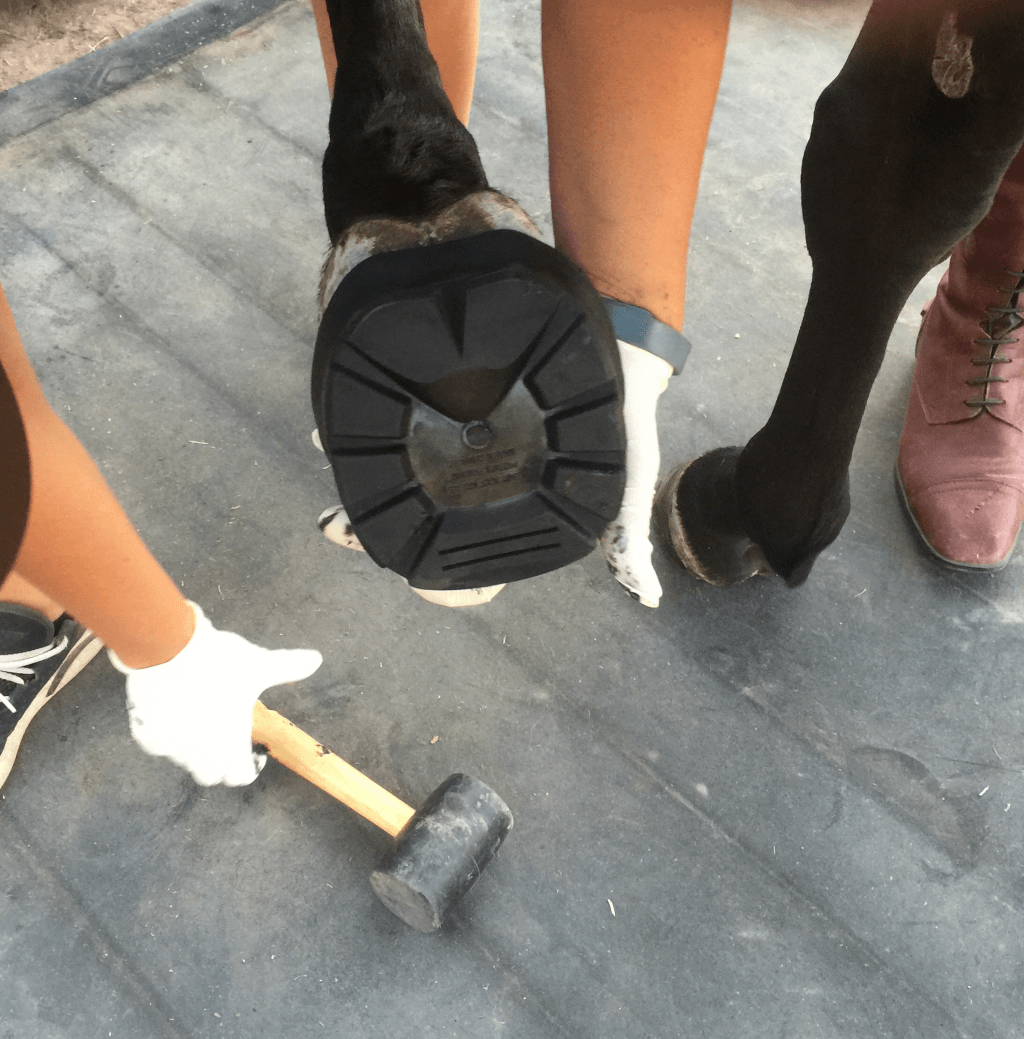
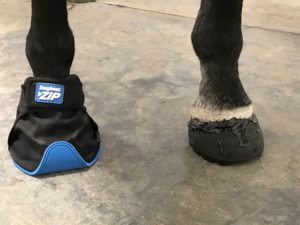
Here’s another on applying the glue to an Easyboot Glue-On and putting it on the hoof.
Check out a complete video playlist on fit, application, removal, tips and tricks, and more for the Easyboot Glue-On.
 2. Make a check list of supplies you will need, and double check that you have everything. Here is a great blog that lists a gluing shopping list. We’ve got a whole section of gluing products you can check out. Just remember that you’ll only need to purchase most of these tools once. It seems like a large investment to start gluing, but it will be minimal for future glue-on applications.
3. If you can, talk with someone that is experienced with gluing procedures. If you don’t know anyone personally, give us a call at 800-447-8836, or check out our Dealer Locator to find an experienced hoof care professional near you that may be able to help.
Learn from others’ mistakes and successes. Remember that nobody is born a great gluer.
4. Make sure that your horse is ok with power tools and open flames around their hooves if you plan to use a Hoof Buffy or a torch (these supplies are both optional, but very helpful).
5. If possible, arrange to have someone available to help you on the day you’re planning to glue. Having an extra pair of hands can be very useful.
To Do the Day You’re Going to Glue:
6. Make sure you have plenty of time on the day you’re going to glue. Don’t set yourself up for failure by trying to rush the process before you run out of daylight, for example.
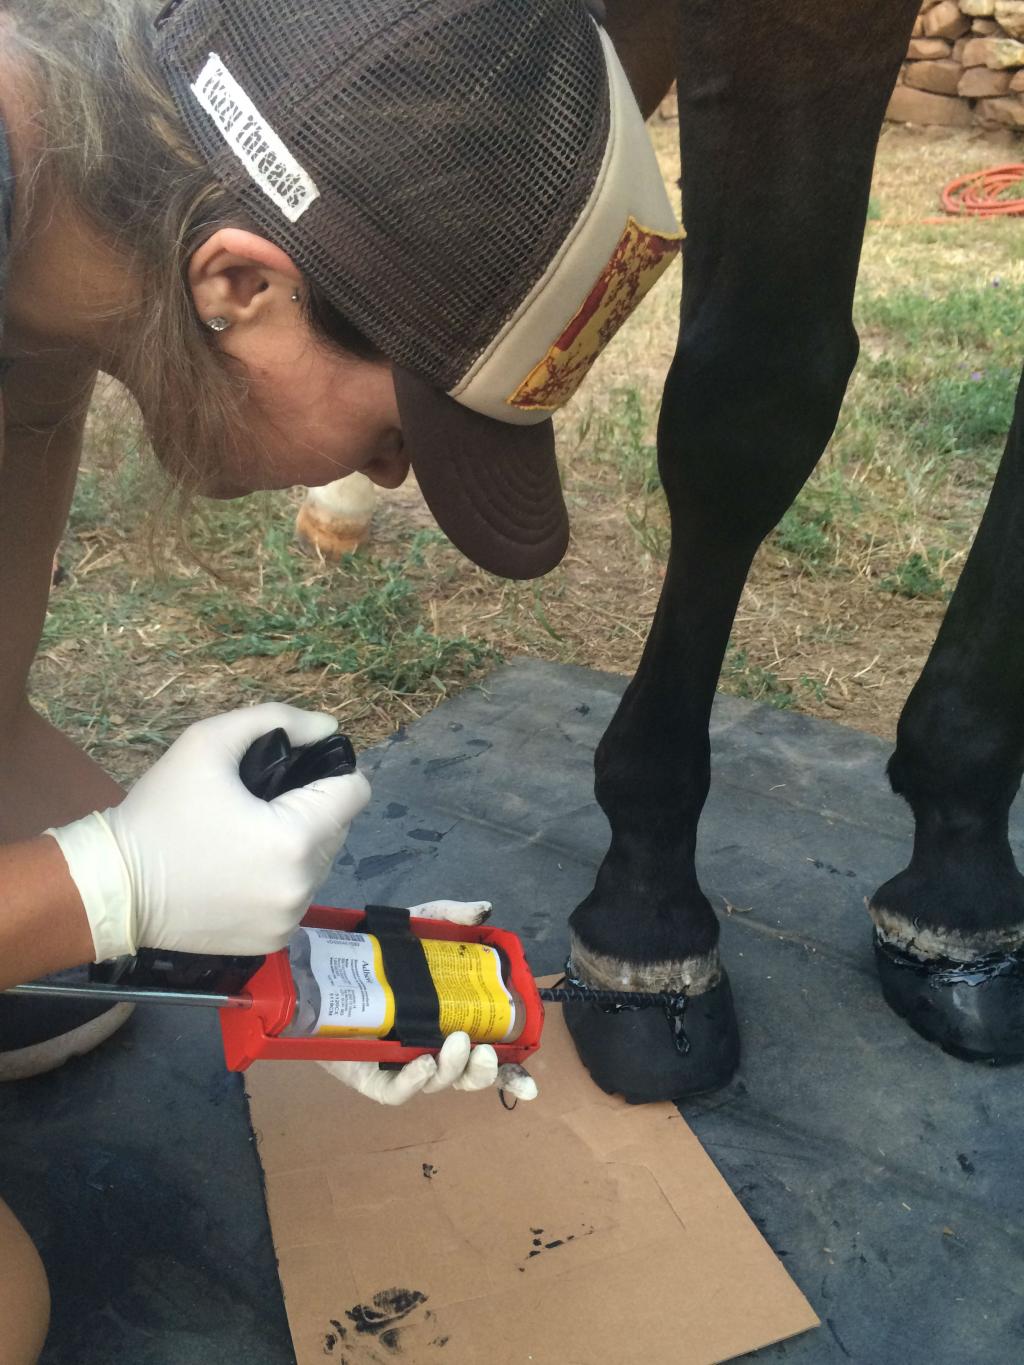
 7. Make sure you tie (or have someone hold) your horse in a clean, clear place when you’re ready to glue. Do not have your horse standing on grass, shavings, or dirt when you’re trying to glue. Try to find concrete, a rubber mat, or even a clean piece of cardboard for your horse to stand on.
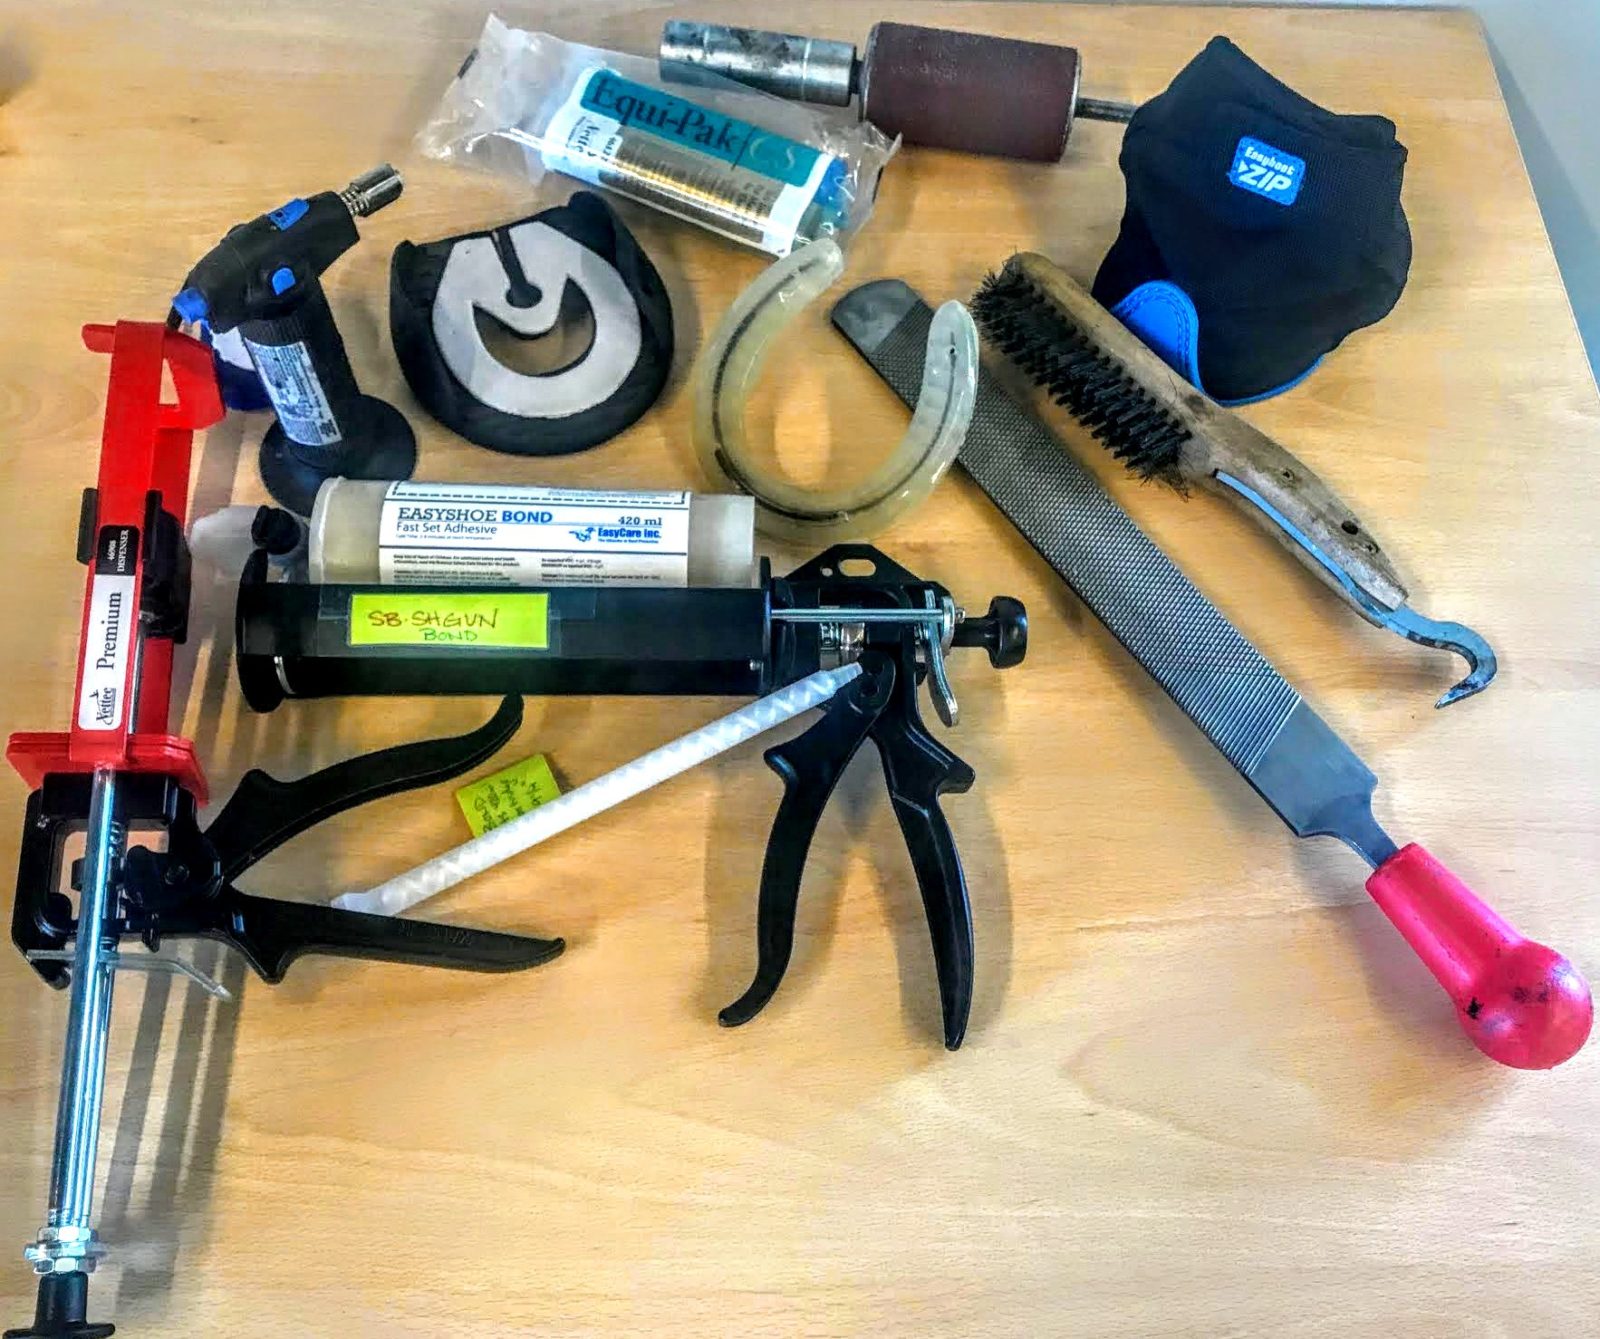
8. Make sure you have space near your horse to lay out all of your supplies. Have everything you’re planning to use laid out and organized before you start gluing. Once you begin gluing, you will need to work quickly and efficiently as you will only have so much time before your glue sets.
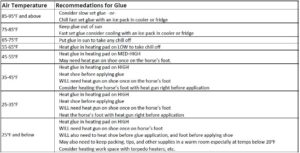
9. Keep outside temperatures in mind. Here are some handy guidelines on how you may need to either keep your glue cool or heat it up, if necessary. You may need an ice chest or a heating pad. Remember, the warmer the glue, the faster it sets.
10. Wear clothes you don’t care about because gluing can be messy, especially if your horse is fidgety. Also wear disposable gloves to keep your hands clean and allow you to use your fingertips to spread glue over the hoof. Wearing multiple layers of disposable gloves can be helpful so you can just peel off a pair once they get glue all over them.
If you are wondering if gluing is something you can do, it is! Your first time gluing will be a great learning experience. No matter how prepared you were, you will find things that worked great for you, and things that did not work out as well as you’d planned. Take notes of what worked and what didn’t, and make a list of things to change for next time. Each time you glue, it will be faster and easier.
If you have any questions, please don’t hesitate to call us. We are here to help! Also, please share with us if you discover any great tips or strategies of your own. We would love to hear from you.
Good luck and happy gluing!


