


By Sossity Gargiulo of Wild Hearts Hoof Care
There’s no question the process of gluing can be daunting. There are a lot of steps and important skills to master. While I think there’s no better way to learn and build confidence than at a hands-on clinic like the “Glue On Hoof Protection” clinic that I, along with my husband Mario organized and presented at Cañada Larga Stables in Ventura, CA for the Pacific Hoof Care Practitioners, I understand that it’s not always convenient or affordable. That’s why I’m sharing some of the glue-on tips taught at the clinic. One of the participants called them “game changers!”
During the clinic we practiced with EasyCare’s Easyboot Glue-On and the EasyShoe NG. We chose these two products because of their versatility, which increases your chances for success. If you learn how to glue the Easyboot Glue-On and EasyShoe NG, you’ll have the skills necessary to apply almost any glue-on hoof product.
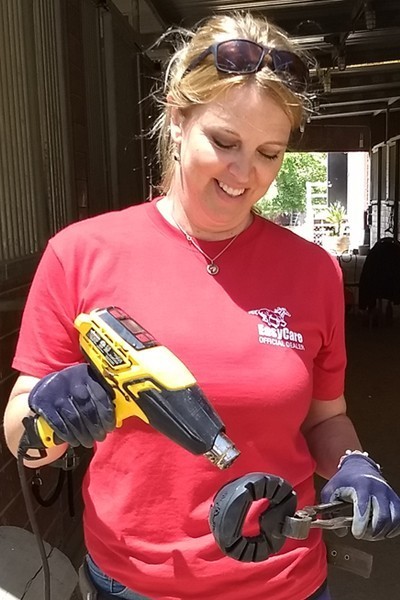
Sossity heat fitting a modified Easyboot Glue-On
Glue-On Game Changers
- With the Easyboot Glue-On we recommend heat fitting every shell. Getting the foot forward in the shell helps breakover and full contact with the shell on all parts of the hoof increases your glue adhesion success. When the heated shell is on the foot, hold the heated material against the hoof wall as it cools. This helps you feel for any gaps and press them tight.
- Add slits to the top of a glue-on shell to get better contact and to conform to the hoof shape.
- Put pressure against the shell when you heat fit and also when you are gluing.
- For extra hard use or endurance horses, dremel in “glue grommets” around the dorsal wall of the Easyboot Glue-On shell. The glue will seep through the grommet holes and act like a nail, increasing your adhesion success.
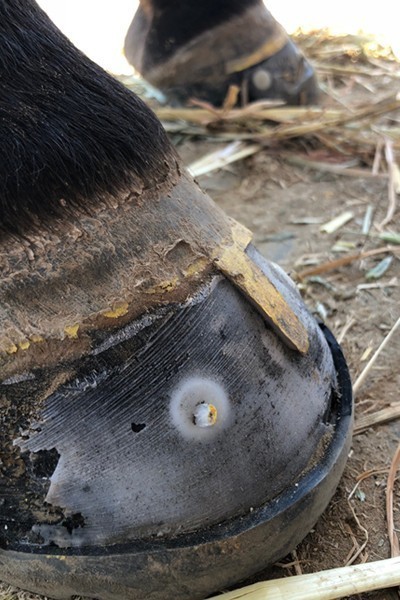
Glue “grommets”
- Topdressing with a hoof buffy is not just about esthetics; it also eliminates that little trough above the glue bead that can catch moisture. Don’t skip this step!
- When gluing on a composite shoe like the EasyShoe NG, surface prep is vital. The hoof and shoe both need to be clean, dry and ‘roughed up.’ Before starting the prep process, make sure your work area is clean, dry and dust free. Don’t use fly spray in your work area.
- Use a small roll of cellophane to wrap the hoof and shoe in. This helps you hold the shoe in place as the glue cures, speeding and strengthening the glue bond.
- During the hoof prep, establish a point of “no touching the hoof” and actually announce it! This helps to remind you and anyone helping you not to contaminate the surface. From this point forward you should only hold the hoof by the pastern or leg.
- Double or triple glove, peeling a layer as you move to the next step. This saves time and frustration! Have you ever tried to put a glove on a sweaty hand, especially when you are literally “under the gun?”
- Do you know which glue product to use? It’s important to know the difference. For example, an epoxy like Vettec Adhere cures gradually but quickly, and an acrylic glue like EasyShoe Bond cures in one specific moment when the glue suddenly gets really hot. Then it starts to cool down immediately.
- Add hoof packing after gluing to prevent possible hoof wall contamination.
I hope you’re able to use some of these tips with your own horse and in your trimming business. If you’re interested in learning more about heat fitting, or modifying and applying glue-ons, look for us at a future Pacific Hoof Care clinic.
– Sossity Gargiulo
Wild Hearts Hoof Care


