


By Christoph Schork of Global Endurance Training Center
In my earlier blog on the EasyShoe Flex, I demonstrated how to holistically shoe a horse and how the Flex is the perfect shoe for helping horses with asymmetrical hooves. In this blog, I’ll share my findings and test results on the Flex Light. Plus, I’ll show some tricks for nailing the Light.
To summarize, the Flex Light has all the features of the regular Flex, but it doesn’t feature the spring steel core; thus, it’s a lot lighter. A regular Flex #1 with the spring steel and frog support weighs 9 oz., while a Light in the same size weighs in at only 5.5 oz. Reducing the weight of a shoe, especially on the front hooves, delays the onset of fatigue during long competitions, like endurance or extended trail rides.
Here’s the Flex Light compared to the regular Flex with open heel.
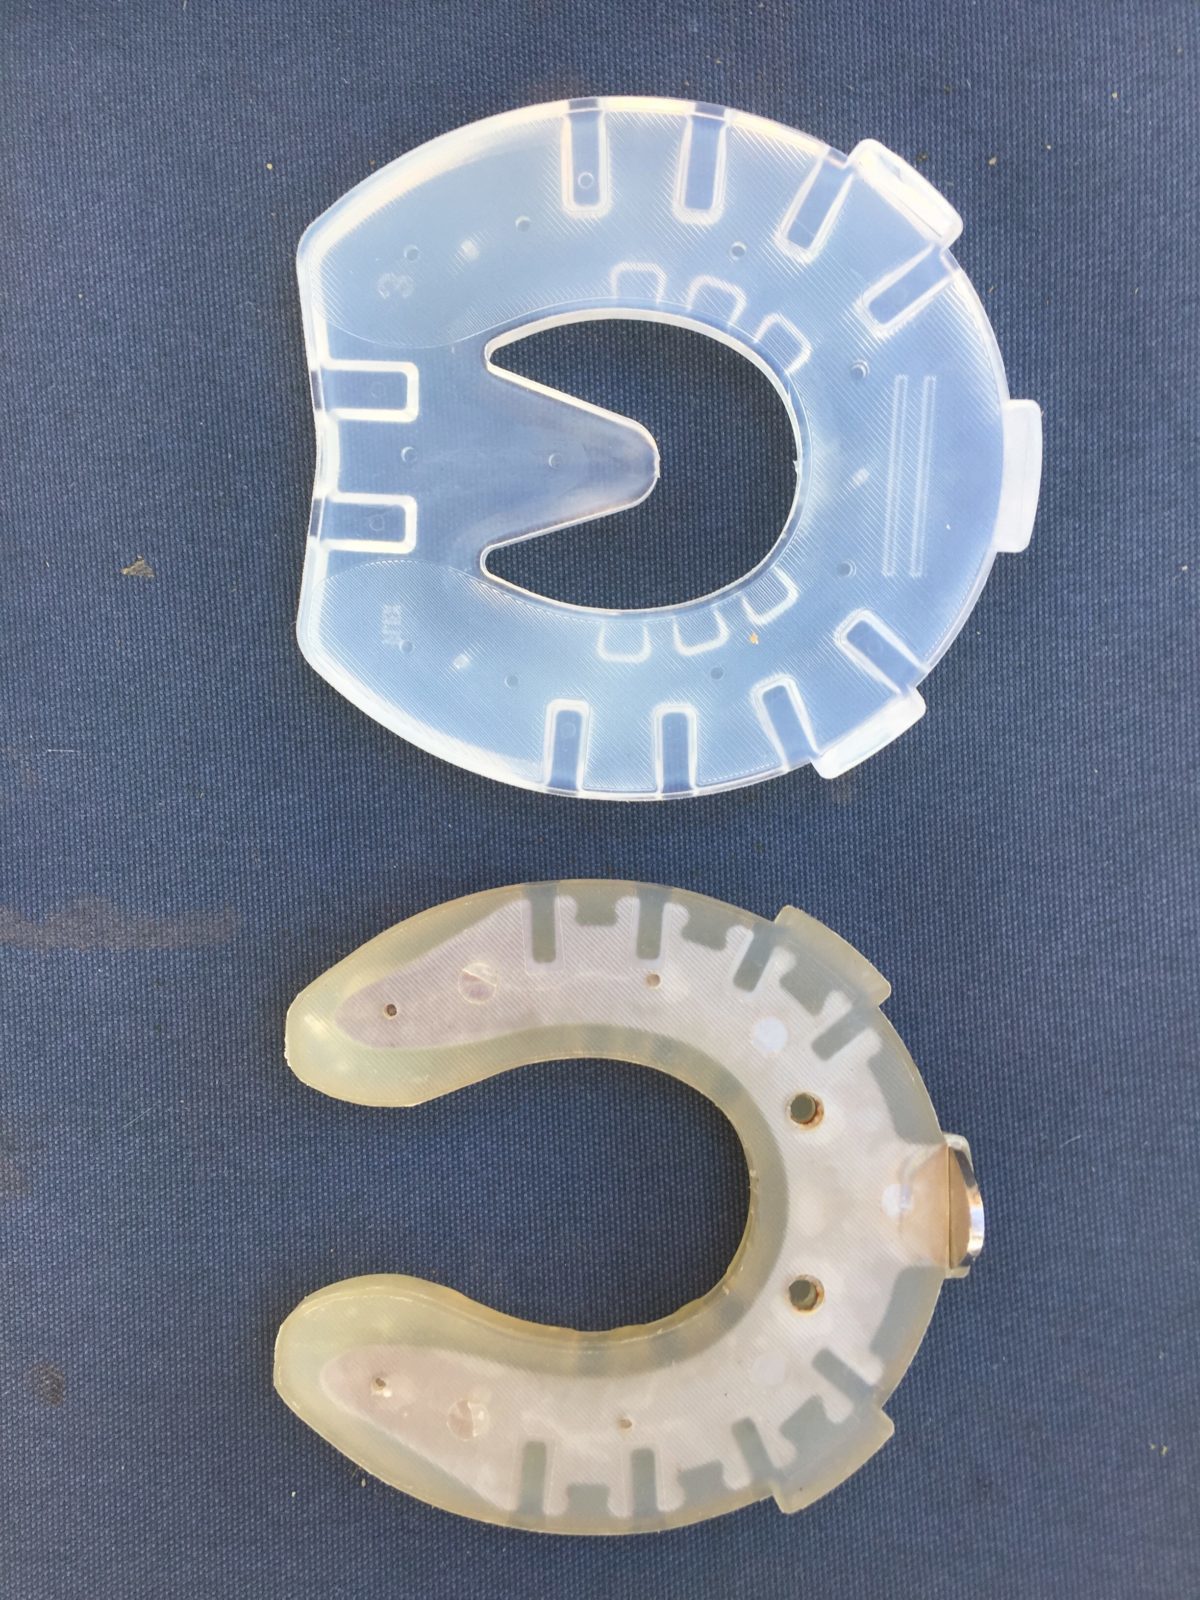
Looking at stability, the Light indeed has a little more flexibility overall. That makes it even more suitable for supporting the natural hoof mechanism of the barefoot hoof. The regular Flex gives stability especially for weaker hooves with underdeveloped digital cushions and lateral cartilages, the Light is excellent in working with the natural flex of a strong and well-developed hoof.
Some concerns have been expressed that the Light is not standing up to the demands of a difficult and long endurance ride. Also, that the nail holes will not hold the shoe and enlarge throughout the many miles travelled. My testing and findings say otherwise, but more on that below.
Applying the Flex Light
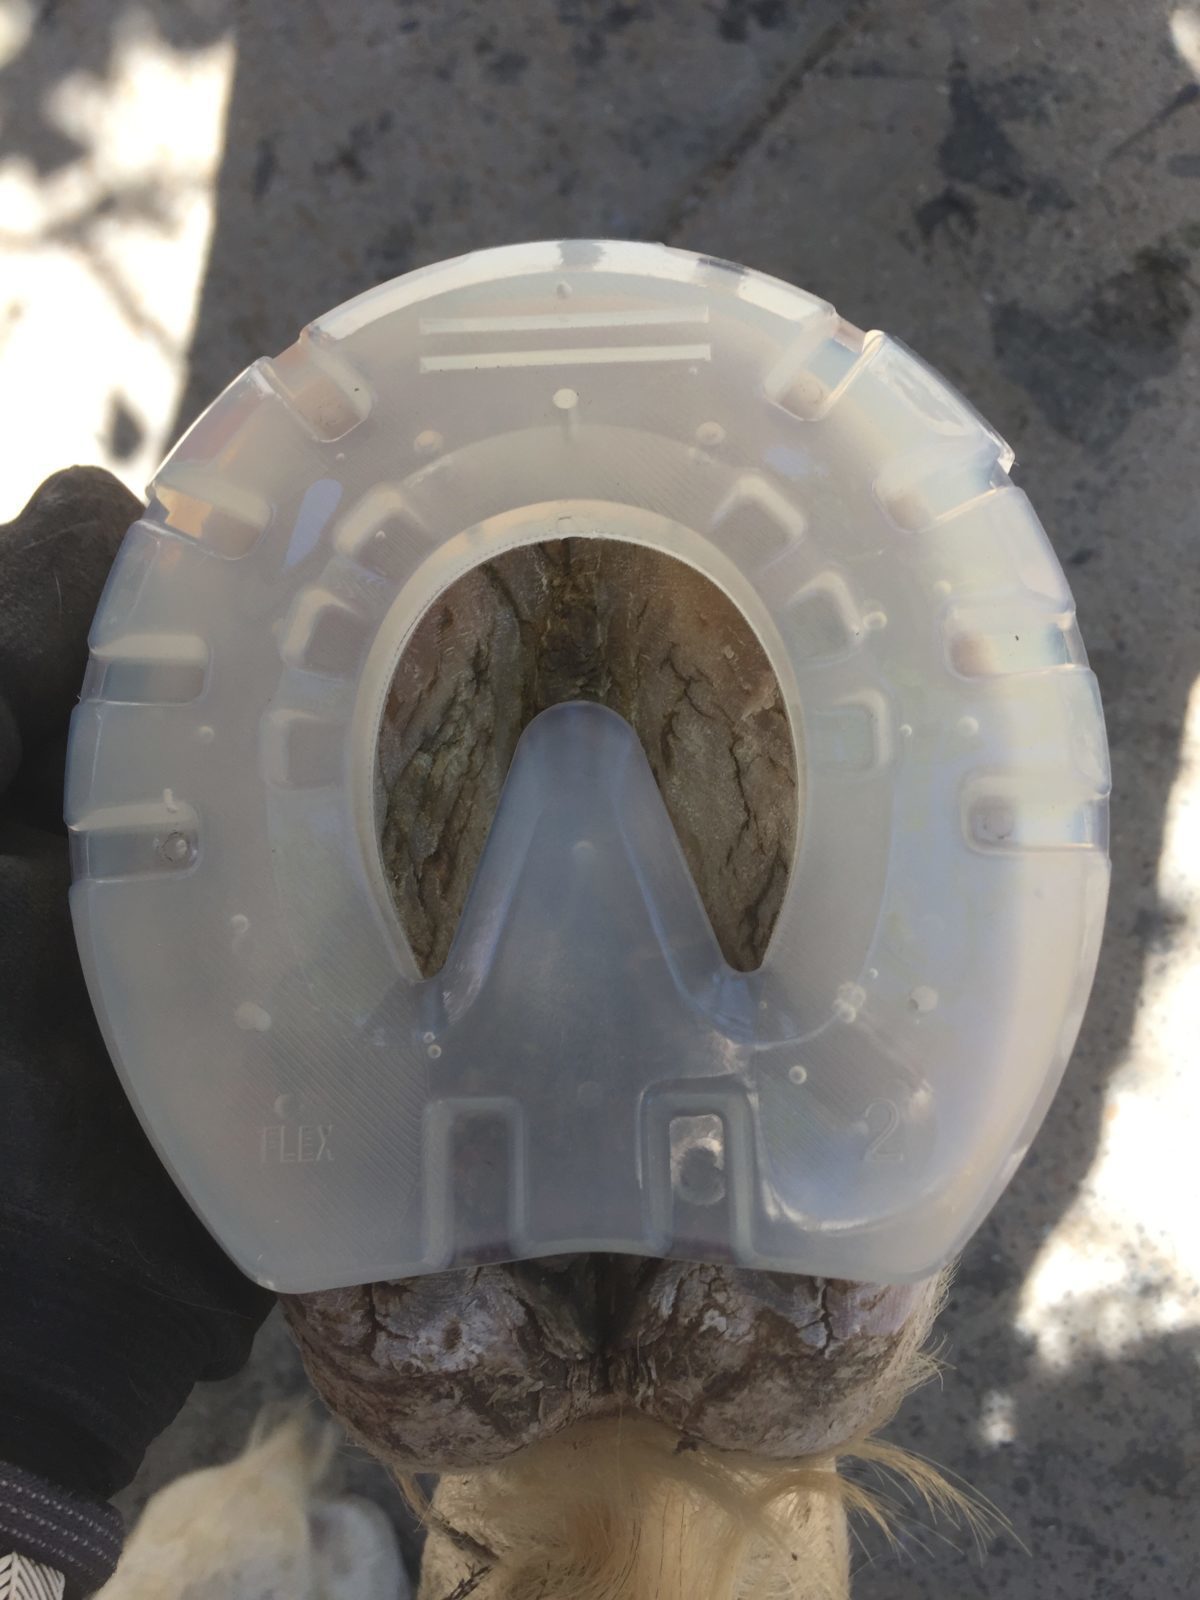
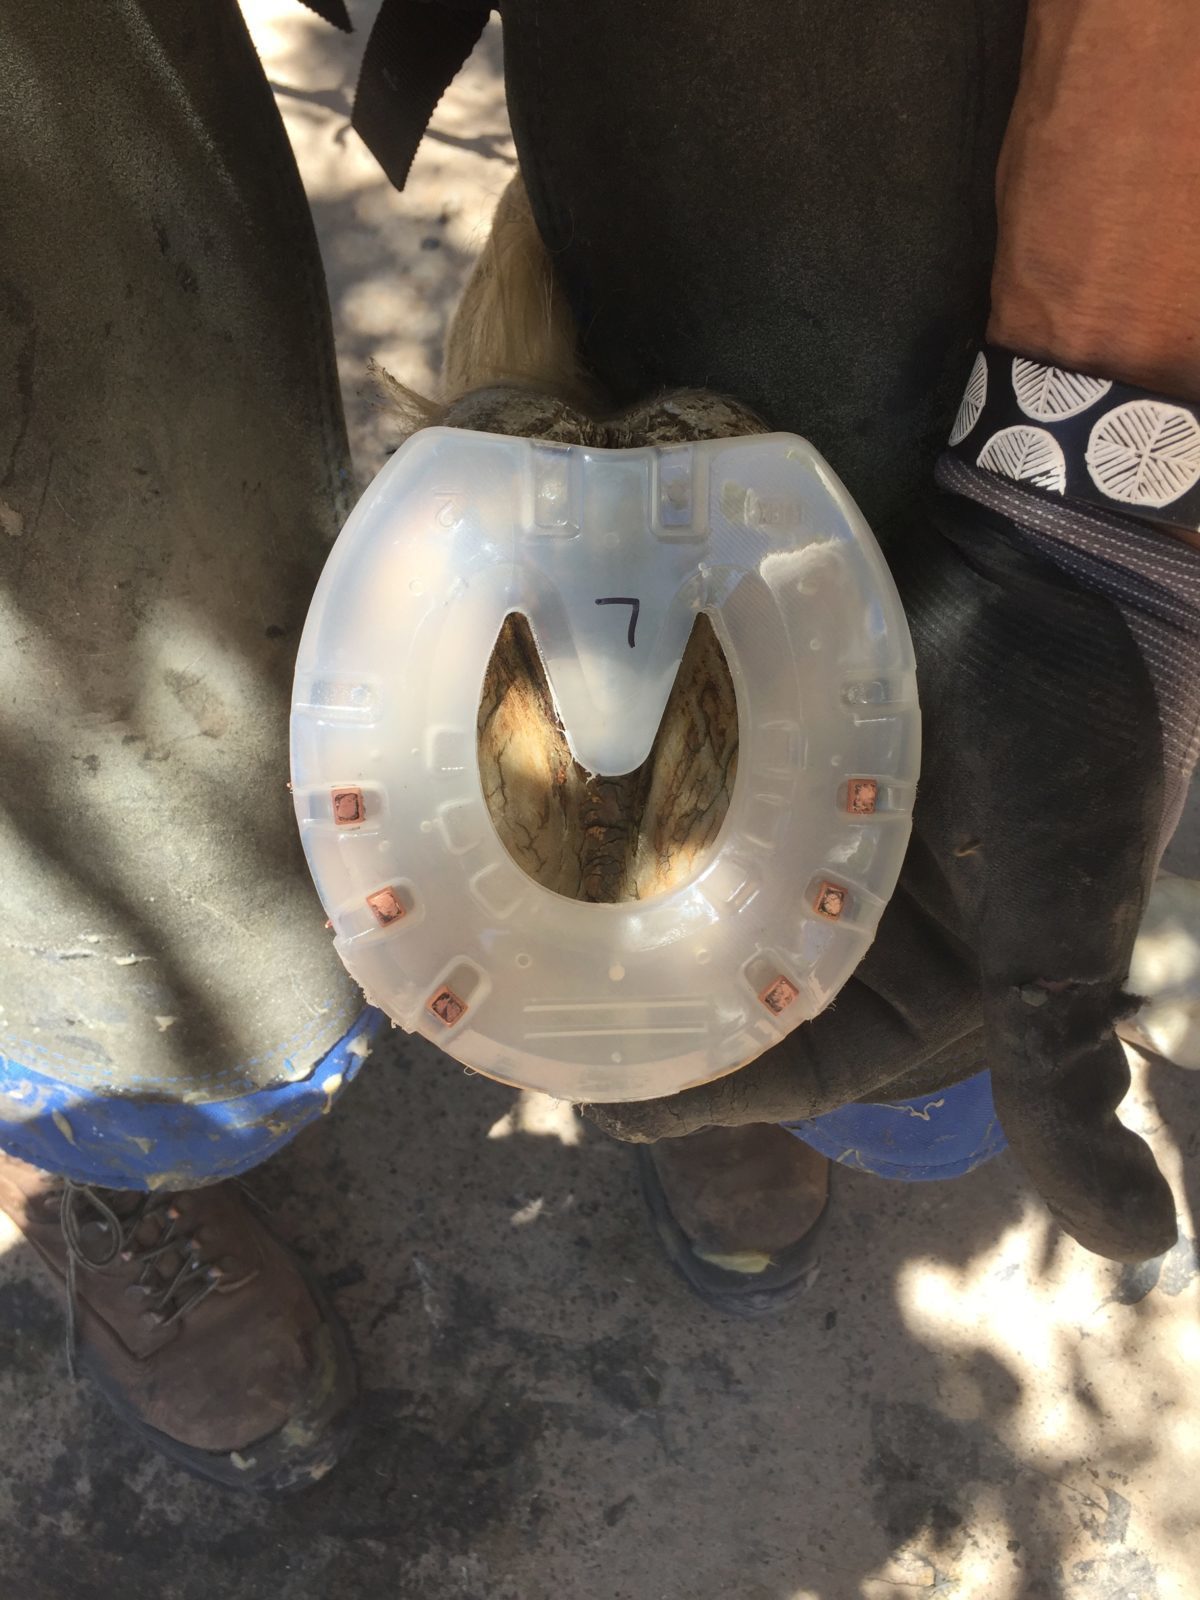
First, highlight the white line with a black marker pen. One advantage of the Light is that the clear polyurethane of the shoe allows us to see the white line clearly.
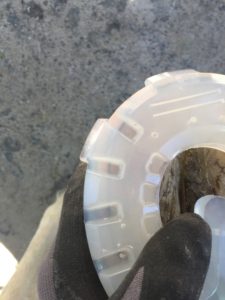
Mark the nail holes with a black felt pen. It’s easy to be exact because you can easily see the white line.

Next, pre-drill the nail holes with a 1 to 2 mm drill bit for easier nailing. And here’s a handy tip. I mark each shoe with R or L for left and right hoof.
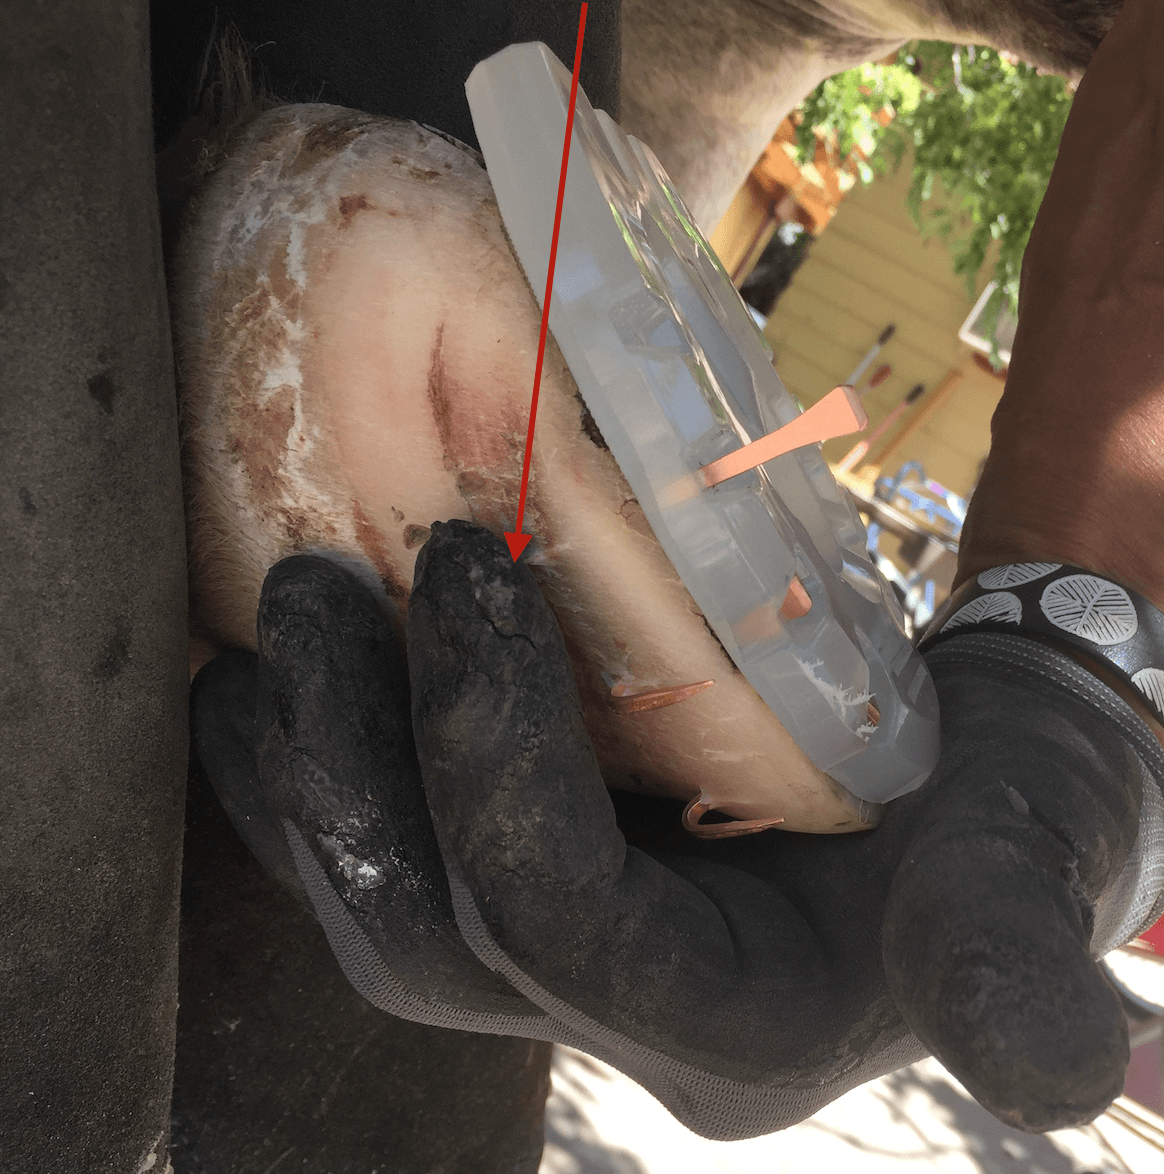
Now it’s time to nail the shoes on the hooves. As a little help to get started, tap your index finger or any other finger of your holding hand at that spot that you want the nail tip to exit the hoof wall (red arrow in photo below is pointing to the tapping finger). Your left and right hand will work in unison like magic and your nail will exit at the precise spot you are tapping it.
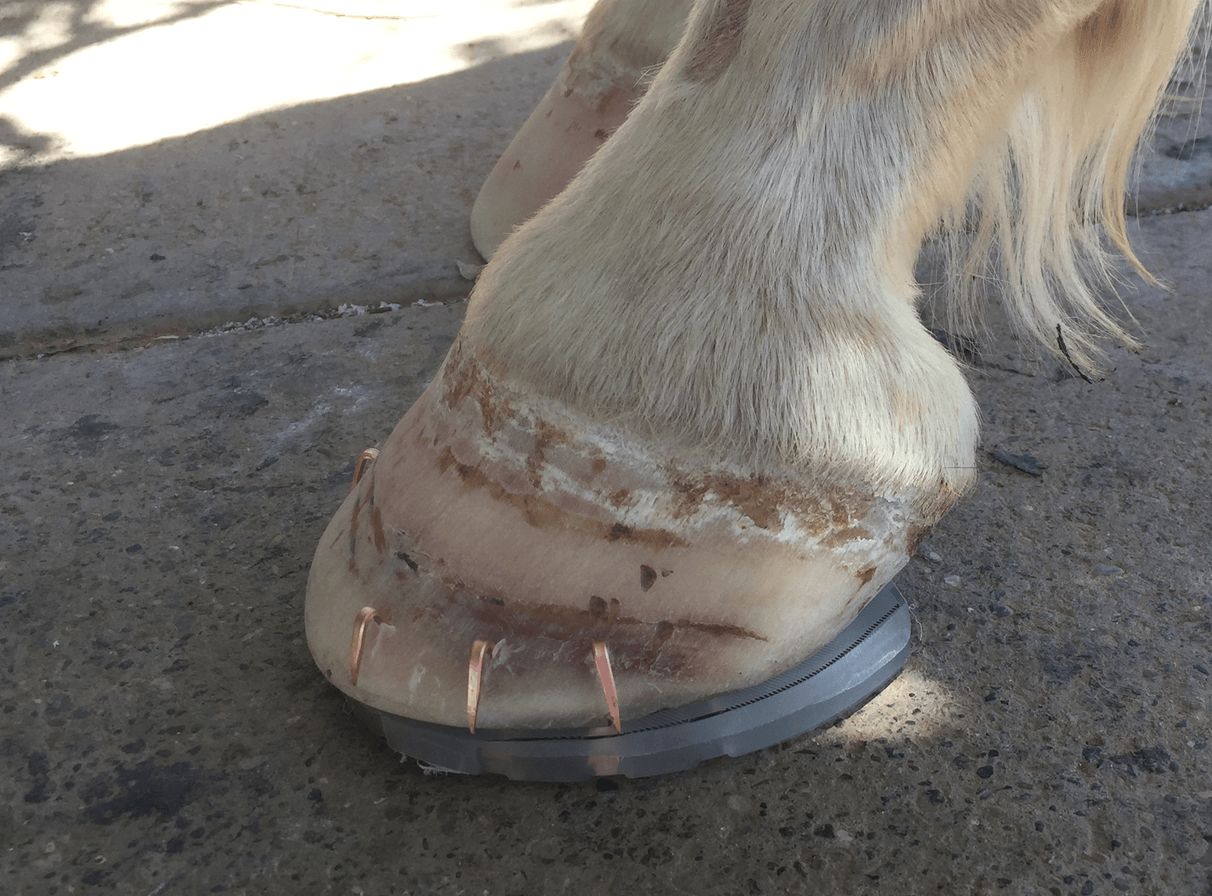
A big advantage of the Flex is that the nail heads are deep seated. As the shoes come into contact with the ground this minimizes vibration, translating to a better hold and tighter fit of the nails. Farriers, be sure to deep seat the nail heads using one of these nail setting tools.
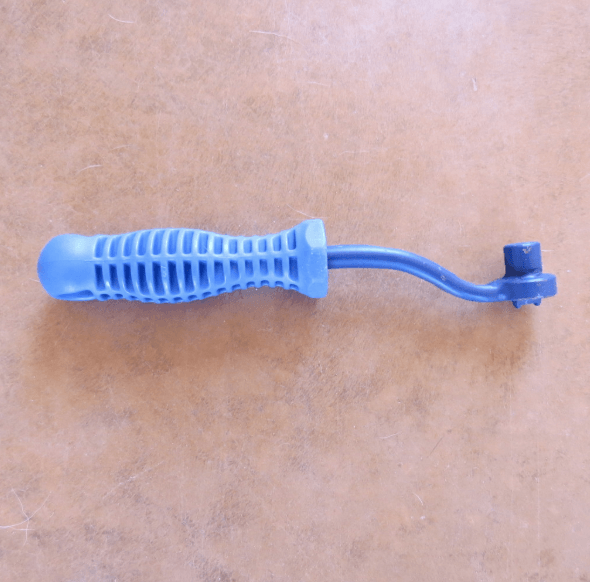
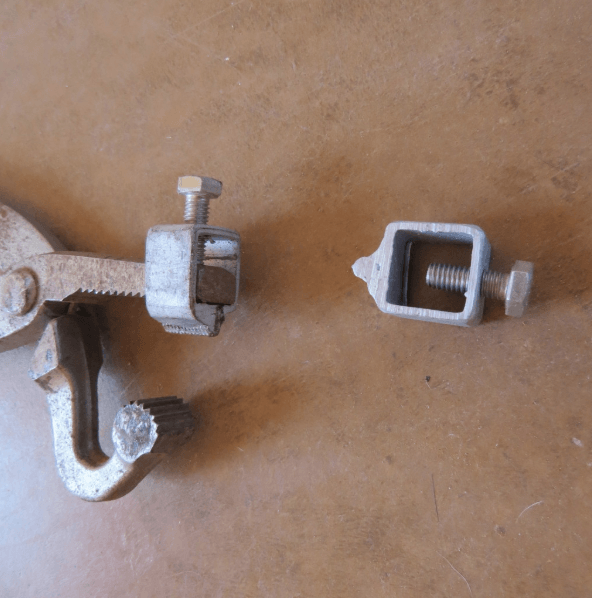
Here’s the nail setting tool in action. Notice how the protrusion of the nail setting tool (red arrow) is designed to push the nail head beyond the level plane of the shoe.
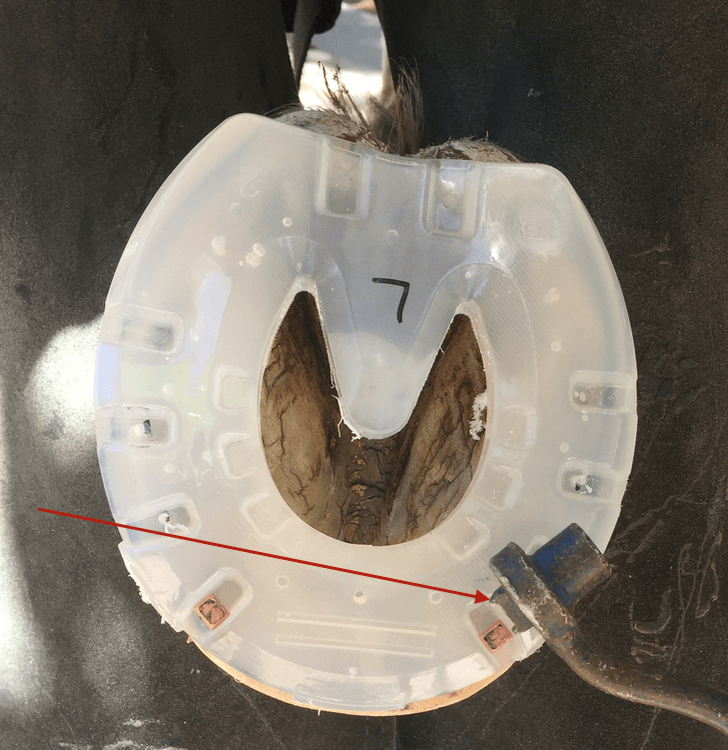
The nail setting tool will make sure that the nail heads are deep seated beyond the level of the shoe surface. If you skip that step, you could lose the shoe.

Six nails are enough for most applications. I prefer to use copper coated nails, which are antibacterial. Regular steel nails will also work.
In terms of nail sizes, I prefer the E Head nail heads or the combo nails, rather than a City Head. For an average Arabian horse hoof, a # 5 slim will work well most of the time. For the quarters, you might want to select a 4.5 slim. For bigger hooves, a regular # 5 or even a # 6 sometimes might be required. This decision is based upon the thickness and condition of the hoof wall. As a rule of thumb, use the smallest nail you can get away with.
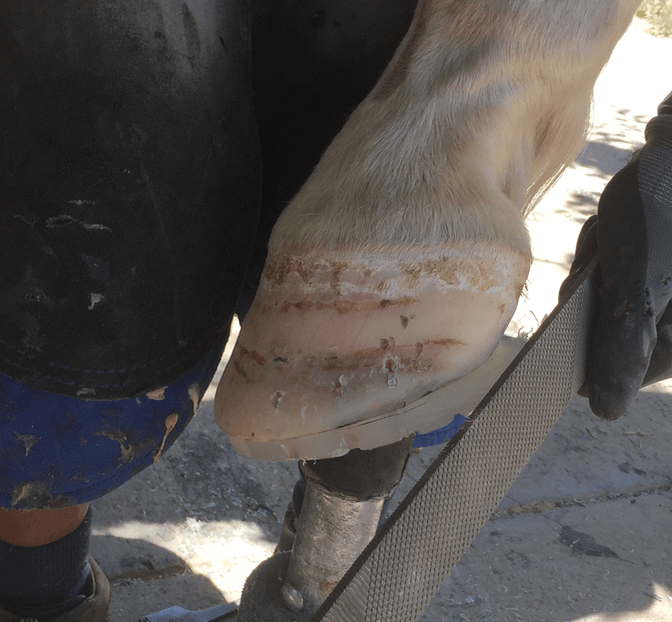
When setting the clinches, make sure the nail heads are not being pushed back to the shoe sole level. Use a clinch tool to counter pressure the deep-seated nail head during the clinching work. This keeps the nail heads in place.
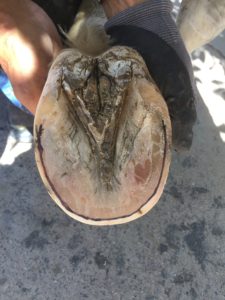
Here’s the finished hoof. To finish, fine tune the edges with a rasp.
If you follow these application steps, being sure to deep seat the nail heads, the Flex Light will stay securely on your horse’s hoof.
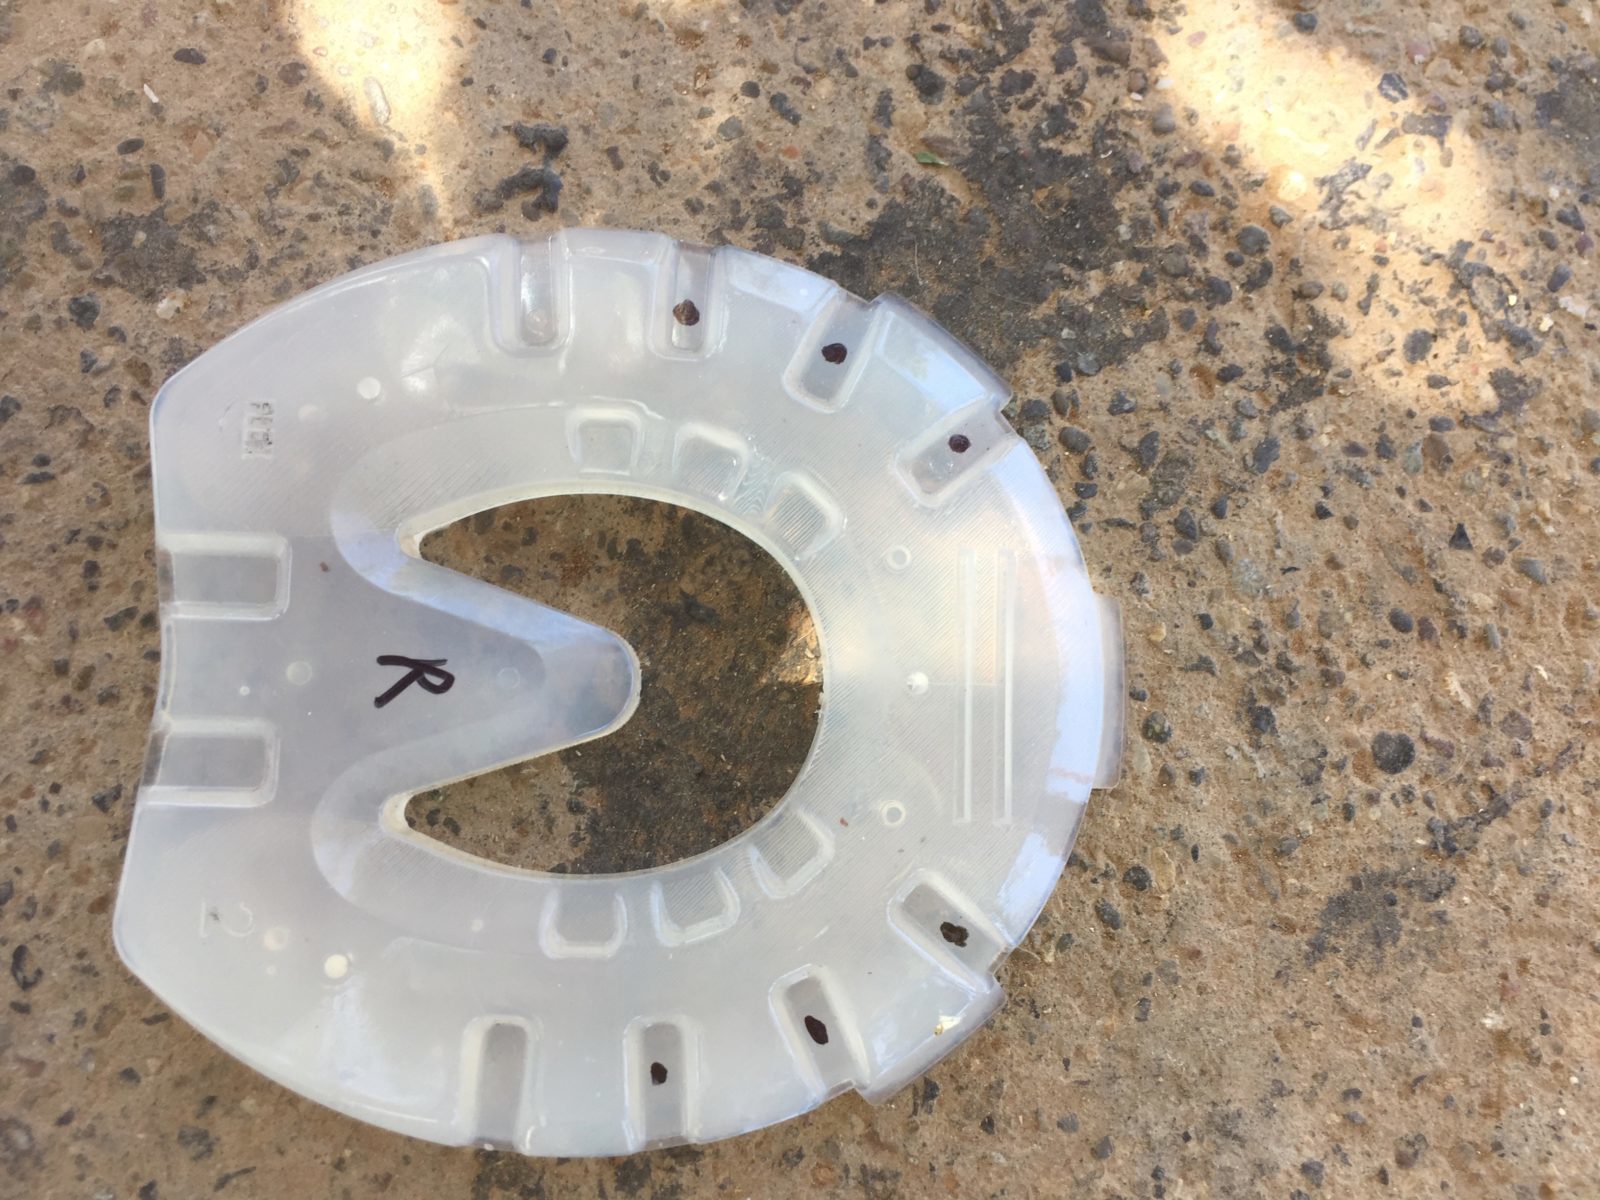
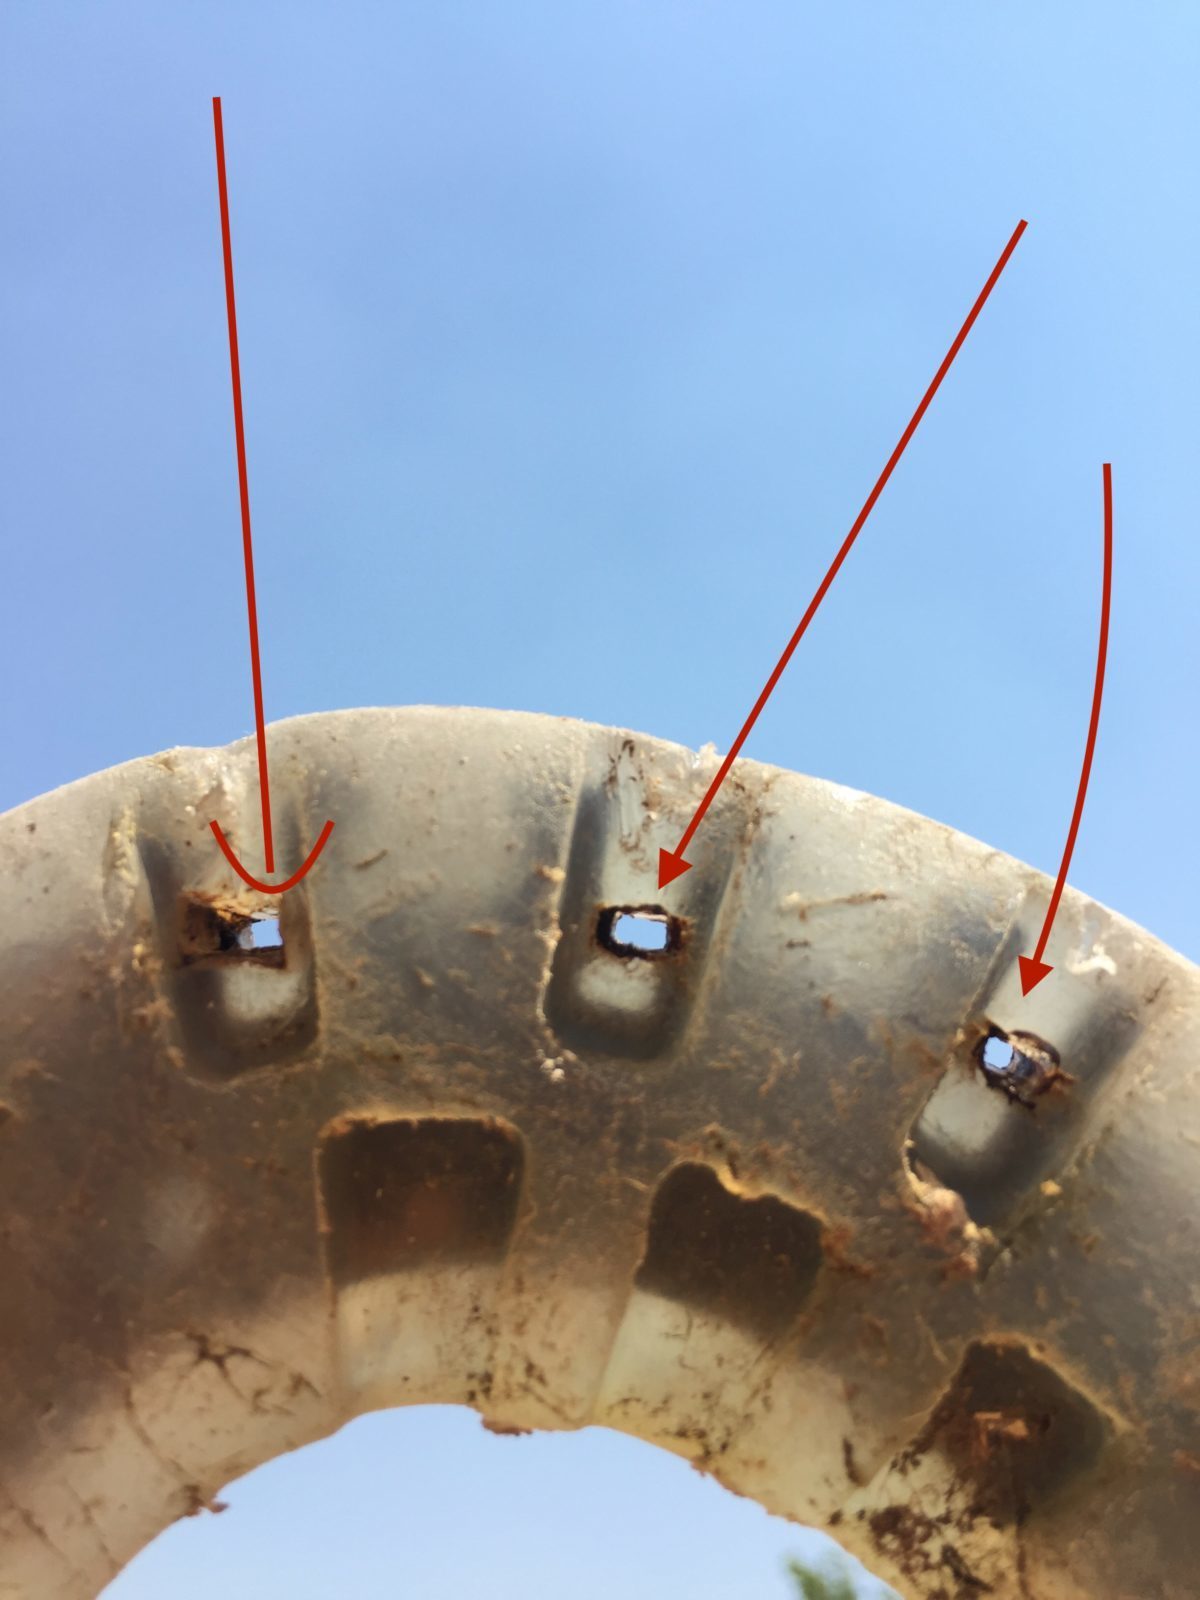
A common question is “Do the nails wreak havoc on the nail holes in the shoe?” My resounding answer is “no.” After two years of testing the Light extensively during some hard and fast endurance races, and thousands of conditioning miles, I’ve never experienced or seen even one enlarged nail hole within the shoe. In fact, I could reset all the shoes I pulled.
Here’s a Flex Light shoe worn on a horse of mine for seven weeks. After three 50-mile endurance races and about 90 additional conditioning miles the shoe shows signs of wear but has plenty of tread left. The nail holes are still nice and square, the exact diameter of the nails used. There’s no wear or enlargement.
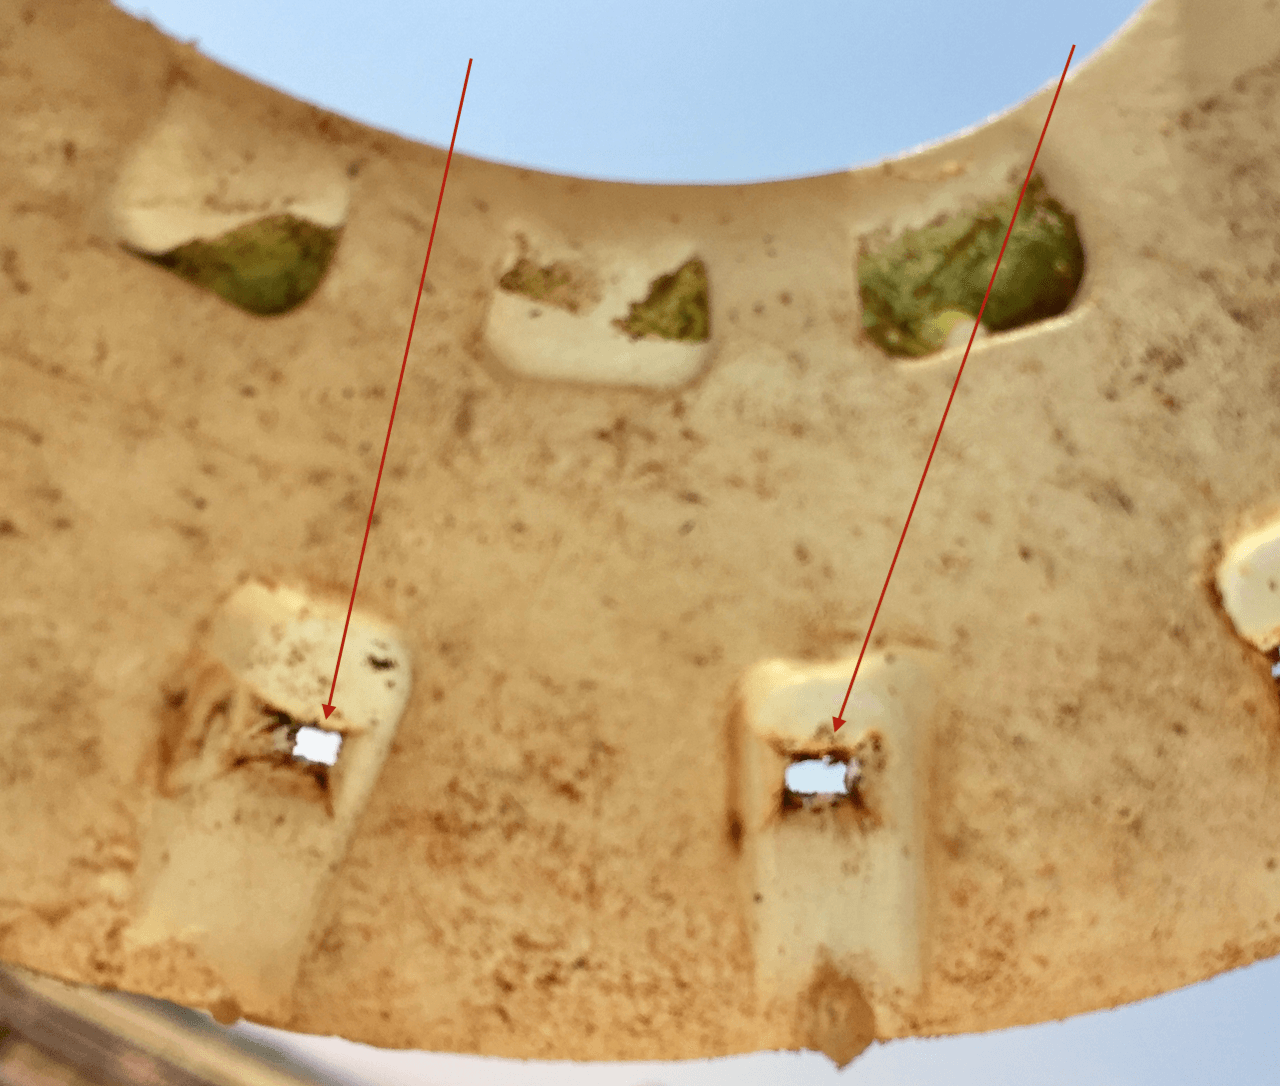
When I compared the Flex Light to my tested regular Flex (with spring steel insert), the results are about the same. The respective nail holes on both shoes are nice and square.
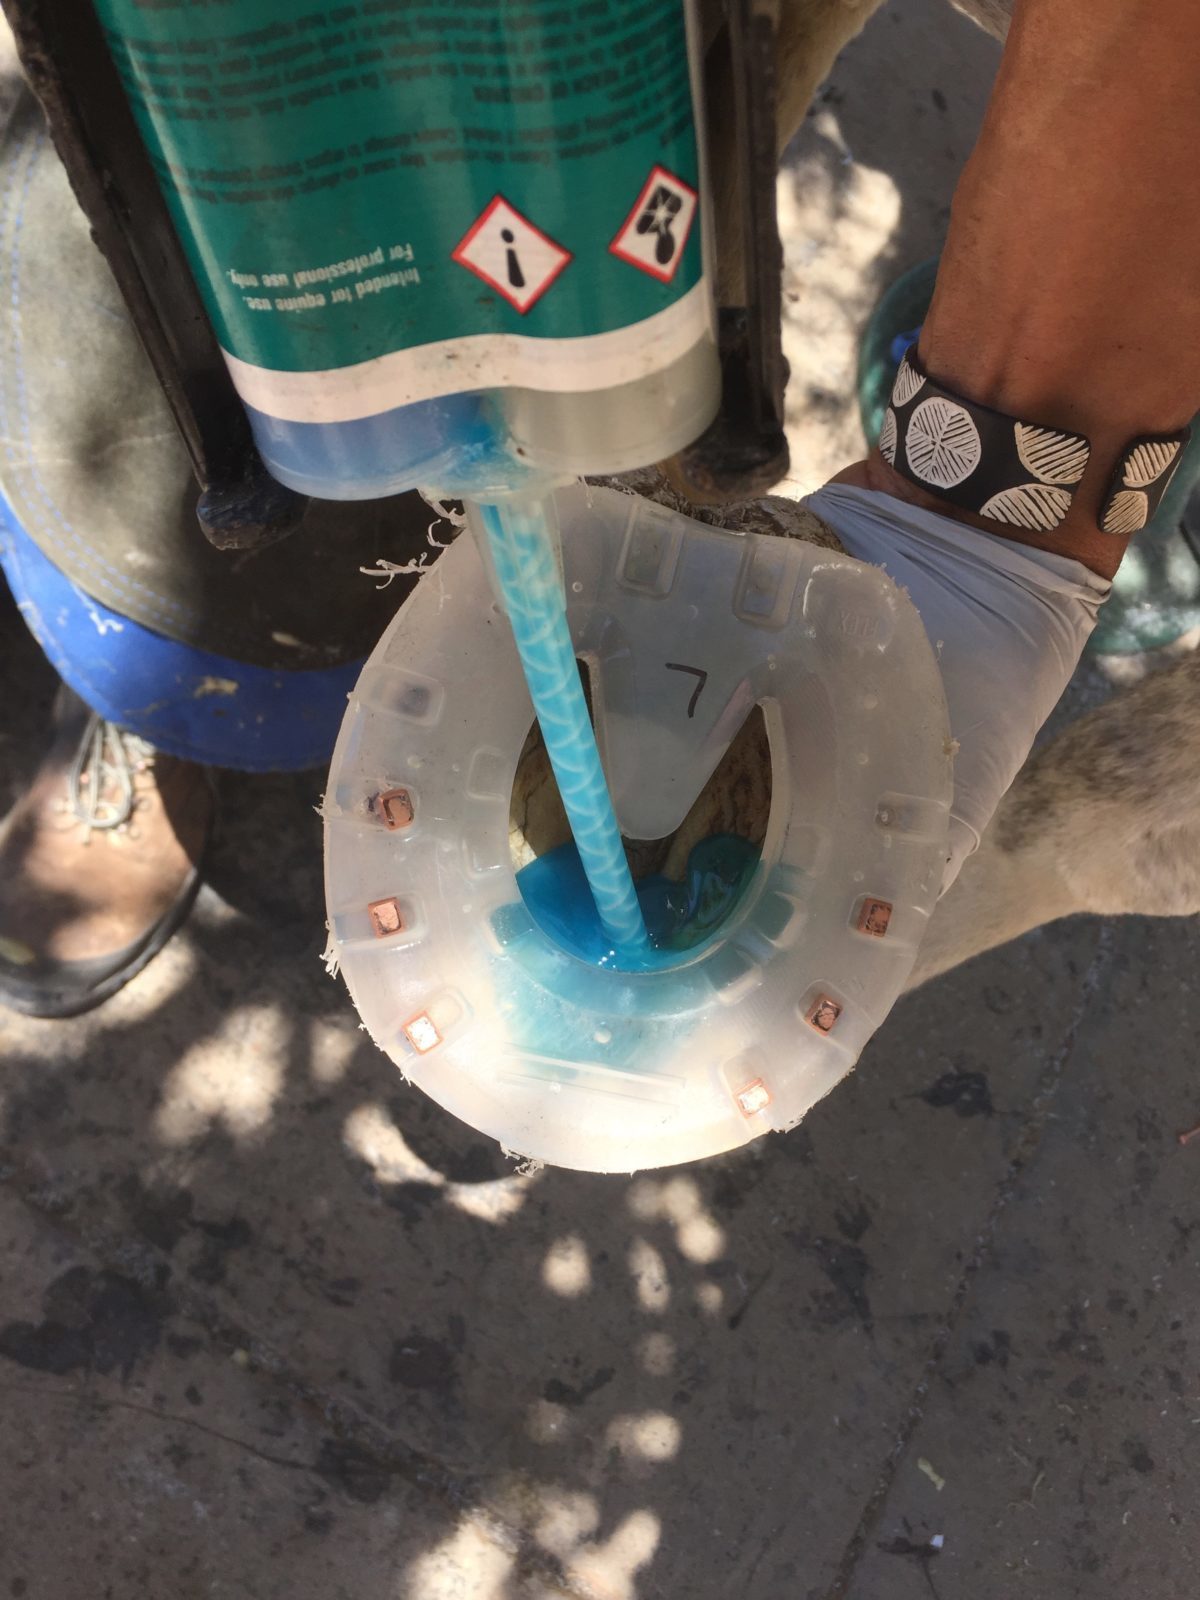
If you’re interested in applying additional filling into the sole opening for more hoof protections, I’ll be covering that in my next blog. Here’s a preview.
After almost 2 years of testing the Flex in all its variations, I would say that it’s a well thought-out shoe made with superb material. Both the Flex and Flex Light hold up and stay firmly in place if properly applied. And the shoes can be used more than once – the nail holes remain clean and you’ll have enough tread left.
As an experienced endurance rider, I can also attest that the EasyShoe Flex is great for this type of racing where weight plays an important role. I recommend the Light for the front legs to reduce the lifting factor and conserve energy for the horse. For the hind legs, I recommend going with the regular Flex with spring steel core because a strong and powerful push is important.
To learn more about the EasyShoe Flex, check out Curtis Burns’ blog about the “4 Core EasyShoe Flex Features.” I personally enjoyed his style of explaining the benefits and origin of the Flex.
From the Bootmeister
Christoph Schork


