Here’s the second half of Uno getting his Mega-Trim after seven weeks of no trimming in order to let everything grow out for a “reset”. All the usual caveats apply – this is how I trim my horses, knowing what they’re doing, how much they grow, how they move, how much work they’re going to be doing, on what kind of terrain, what has/has not worked in the past, etc. YMMV.
My best advice to new trimmers is to work little and often – that way you can always go back and do a bit more if you realise you didn’t do enough. Plus that way, you don’t permanently wreck your back from unaccustomed scrunching up/leaning over/vigorous arm flailing. As always, your goal is to work towards short toes, short heels, balanced feet, minimal flare, and no thrush.
Uno was still a little fidgety and uncomfortable on this right rear foot – I’m assuming something is still slightly tweaked in there – so I’m giving him a few more weeks off to let Mother Nature do her thing (in the meantime, I’ve been riding pony Jackit on his first few forays out of the trail, and having a blast). Uno’s not gimpy, he just doesn’t like me cranking on this leg so I have to work carefully around him – making sure not to position it wrong, or lift it in such a way that causes him discomfort.
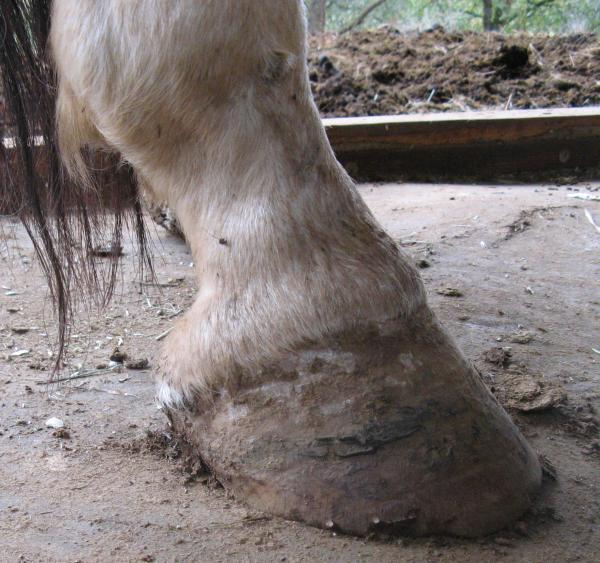
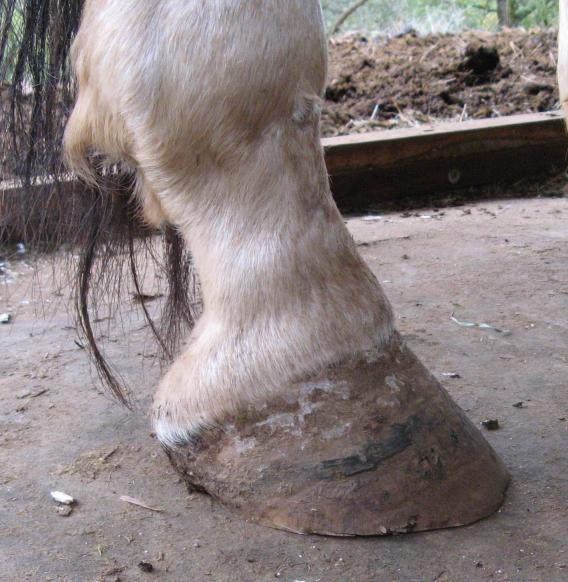
1. Above is Uno’s right rear foot. Not too bad for seven weeks growth – just a lot of toe. You can see how the outer part of the toe is starting to chip away from our ride in the Sierra a couple of weeks before.
The black stuff half-way up his hoof wall is leftover Adhere glue from glueing on boots at Virginia City 100. Those boots weren’t going anywhere – it took me a good deal of patience, two screwdrivers and a mallet to get them off his feet the day after we got home.
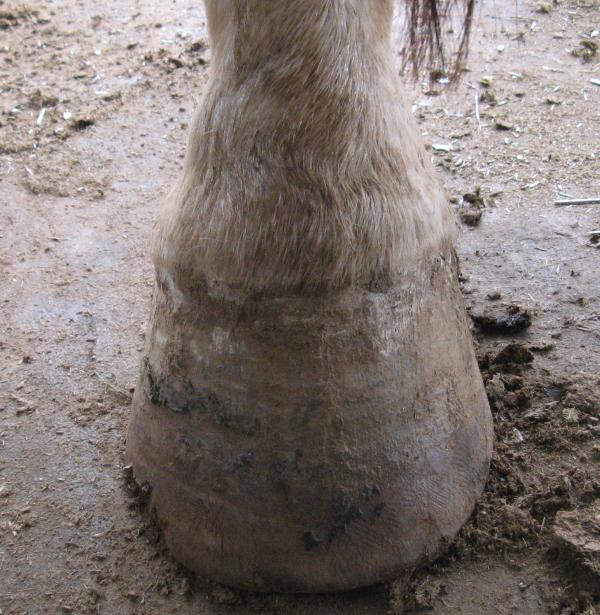
2. Same foot from the front. It’s not so easy to see in this photo, but because Uno is duck-footed he tends to flare to the outside edge – funnily enough, in that same area that is chipping away… hmmm, see the correlation? (If you look at him “at rest” from the back, it’s much more obvious.)
I have to watch this area to keep it under control – some of the boot loss problems I was having in early August were due to this flaring. Boots stay on evenly-shaped feet much better than lumpy ones.
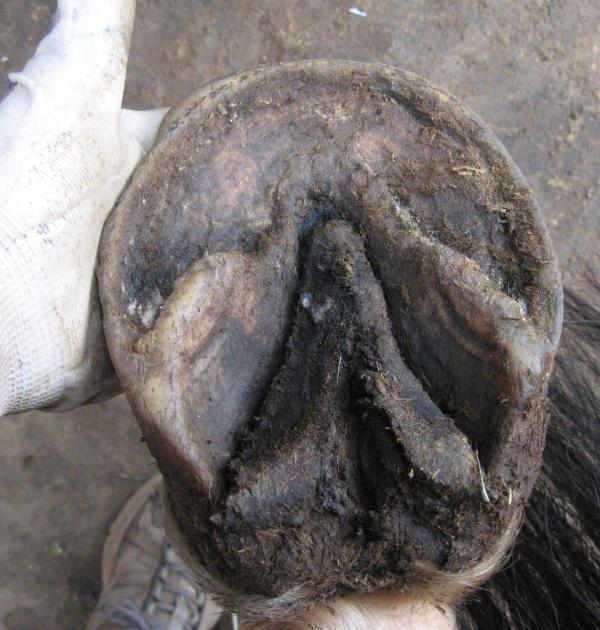
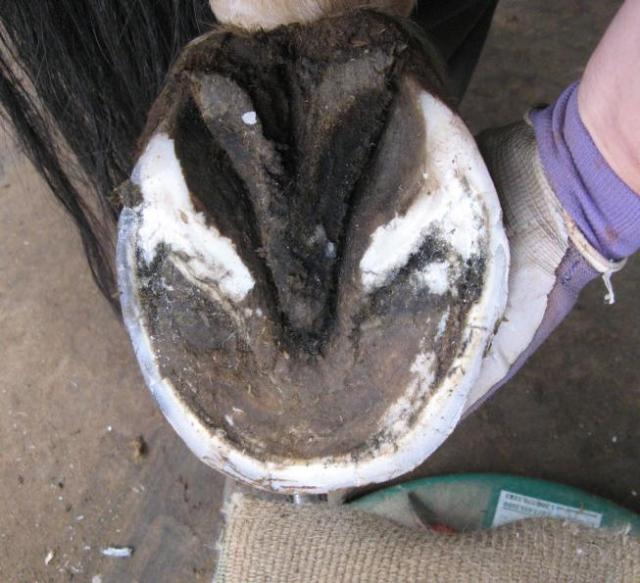
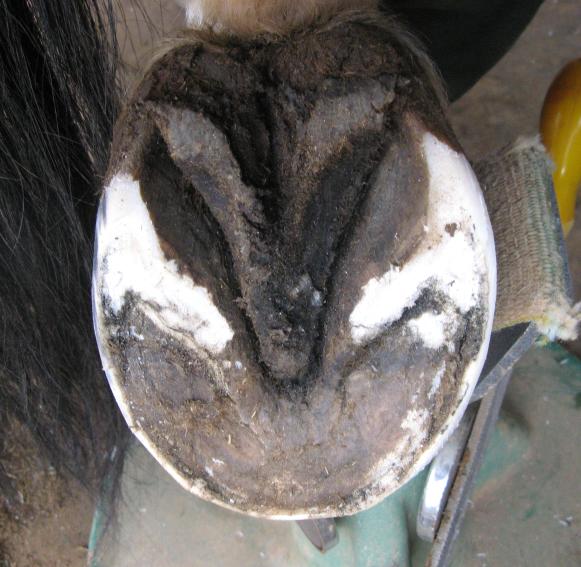
3. Turn it over and what do we have? Hmm, lots and lots of bar. You can see how the bar tends to overlay more on that flared outside quarter (near my hand). If you let the hoof get long like this, it just exacerbates the problem – his duck-footedness tends to make the foot want to grow in this direction; the bar gets long; the longer it gets, the more pressure from the ground pushes it in this direction. If I keep Uno’s feet nice and short and tidy, his foot stands a better chance of being structurally sounder. Although his conformation may still make his foot want to grow like this, if it’s well-trimmed, I’m training it away from wanting to flare.
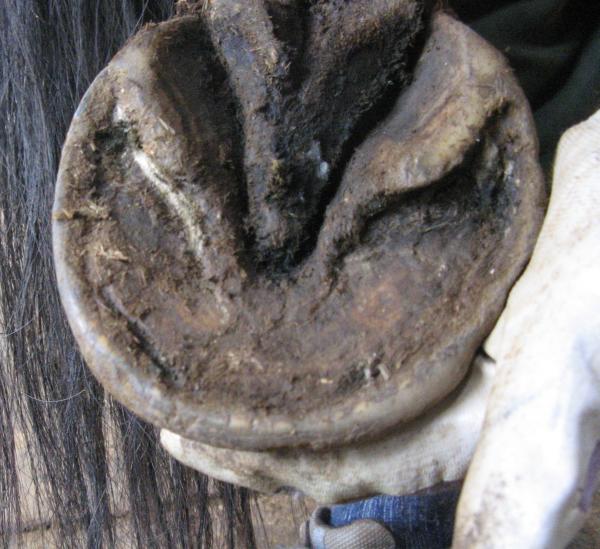
4. Another view of the same, showing the alarmingly overenthusiastic bars.
5. Here’s my first pass through with the nippers. I’ve removed the worst of the overlaid bar, and got rid of excess hoof. You can see some hoof-wall separation where that flare was occurring (black crumbly stuff near my hand between the hoof wall and the sole). Again, if you keep the hoof wall nice and short, this separation gradually goes away because the hoof wall isn’t continually being pulled away from the foot.
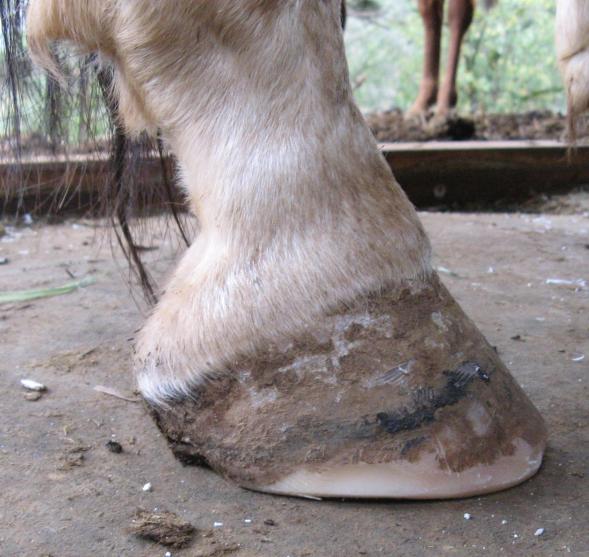
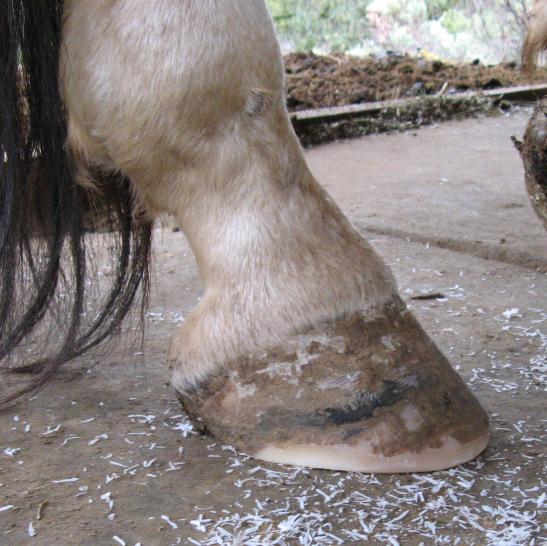
6. Side view after that first pass through. Not really too much improvement in terms of length of toe and the outside edge is raggedy. Time to move onto the next step with the rasp.
7. Here, by my cajoling powers of persuasion, I’ve gotten Uno’s back foot up on the stand and wiggled around underneath him, rasping off all the excess pointy toe from the top (this is where I’m thankful that Uno is one of my biggest horses and there’s actually room under his belly* to get underneath him). I’ve also rasped off some of that excess flare on the outer toe.
* Under his current “standing around doing nothing but eat” regime, the room under his belly is diminishing by the day.
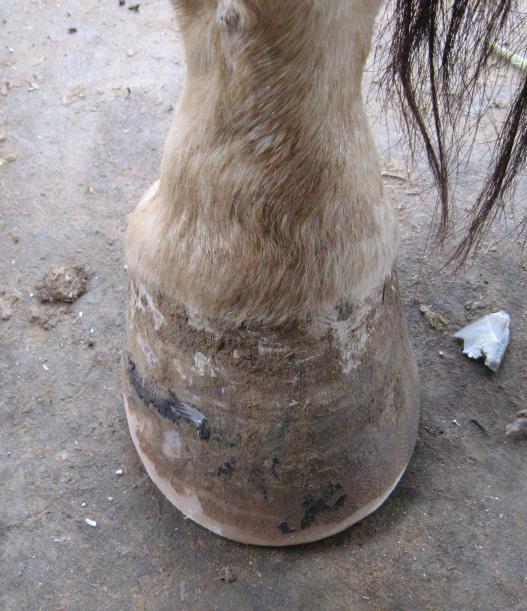
8. Same stage from the top – outer flare B gone (compare to photo 2 above)
9. Now back working from the underside, I’ve bevelled the outer edge of the hoof wall to avoid any further chipping. Time to get the heels in order.
There’s probably some false sole built up in the toe area that I’ve left alone – I’m going to let that shed on its own, rather than go crazy peeling it away.
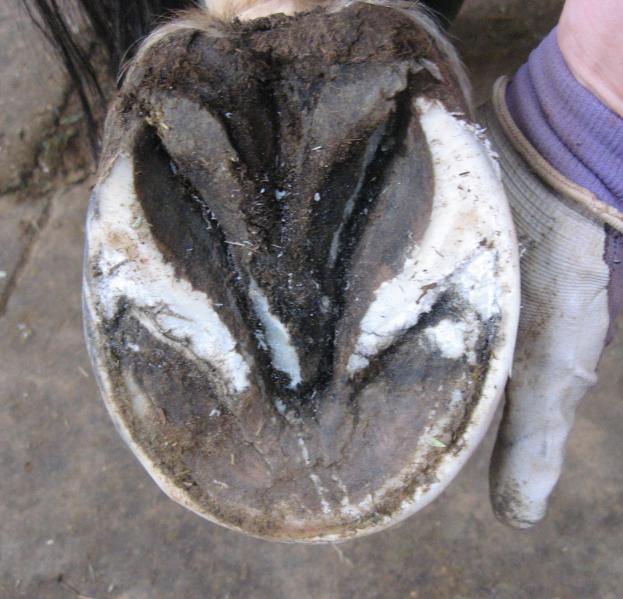
10. Holding the leg by the fetlock, let the hoof dangle vertically while sighting down the back of it – you’re looking for high spots and to make sure the hoof is trimmed evenly so you don’t have one side higher than the other. Uno’s heels were still a little high, so here you can see that I’ve rasped down the outside one (closest to my hand). By rasping, it has brought the weight bearing surface further back to better support his heel (compare with the photo above, #9, to see the difference). I still need to rasp a little off the inside heel.
11. Ta-da! The finished foot. Two down, two to go.
