The following is an account of an experiment conducted by your average endurance rider using Easycare products. This may or may not be new information to anyone.
What I like about Glue-On Easyboots
I have found that Glue-Ons offer light weight hoof protection, traction, and excellent shock absorption. I’ve also come a long way in understanding what a good fitting boot looks like, and what it shouldn’t.
What I don’t like about Glue-On Easyboots
The accepted procedure for glueing on boots includes the use of Vettec Adhere, and it’s what we’ve been using for our horses. There are several key things I’ve come to dislike about this protocol.
- The preparation for the mechanical adhesion of Adhere to the hoof requires that the hoof wall be roughed up with a file. While doing this a few times a year doesn’t bother me, the idea of roughing up a hoof wall every two weeks for a ride seems a bit counter productive to hoof health.
- I’m not rich, and Adhere is fairly expensive.
- Adhere is difficult to remove from both the hoof and the boot, and it shortens the life of the Glue-On boot.
- Lastly, more than once I’ve removed a boot and found small globs of hard brittle Adhere in the bottom of the boot. It had squeezed under there during application. I cringe a little every time I see this. Globs of very hard glue between the sole or wall of my horses foot and the inside of the boot is less than ideal.
The Question
Can I glue on boots without using Adhere, and more to the point, can I glue on boots without putting any glue on the hoof wall at all?
My Hypothesis
I can avoid using Adhere by replacing it with four things: powerstraps, athletic tape, as perfect a fit as I can manage, and Goober Glue injected in through the bottom of the boot.
The Experiment
For this weekend’s SASO 50 ride in San Jose, CA I used Easyboot Glue-ons in a new way, at least new for me.

First, a few good wraps of athletic tape making sure to cover as much hoof wall as possible with the tape. Then I applied the boots in my usual way, which involves much squirming, grunting, and smacking with a mallet. Once the boots are on I always like to take the horse for a quick jaunt, preferably downhill, to really seat the hooves into the boots all the way, then continue whacking with the mallet, just to make sure. Once that was done I whipped out the trusty Goober glue and proceeded to make a mess.

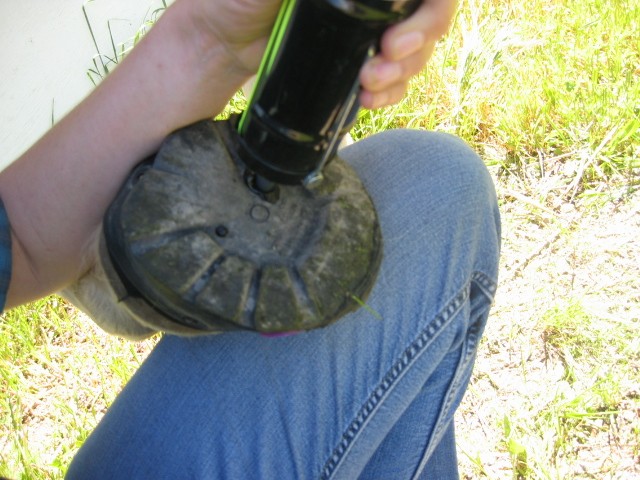
This is a bad angle, but note the excess glue coming out the second hole. I don’t stop squeezing until I see glue come out the other hole. This ensures that I have more than enough in there and it will squish up into the hoof and boot when the horse puts weight back on the foot. I use duct tape to seal up the holes in the bottom of the boot but the glue still squishes out the bottom and makes a mess.

So, the end product is a mix of application techniques, thus the Hybrid experiment. I’m hoping that the use of Powerstraps and athletic tape with replace the need for glue on the hoof walls.

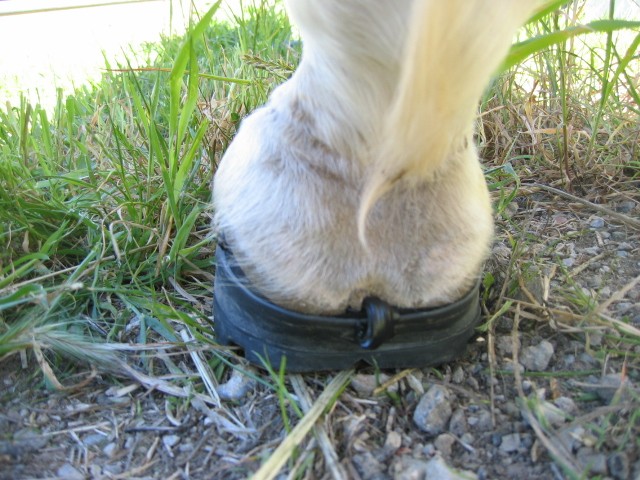
This a shot of Giorgi’s hind feet. I had thought that this was my weakest link. The SASO ride is technically easy with only a few small water crossings and very little mud, so it’s an ideal testing ground, but there are a few steep hills and I thought Giorgi might torque her way out of these while powering up a hill.
![]()

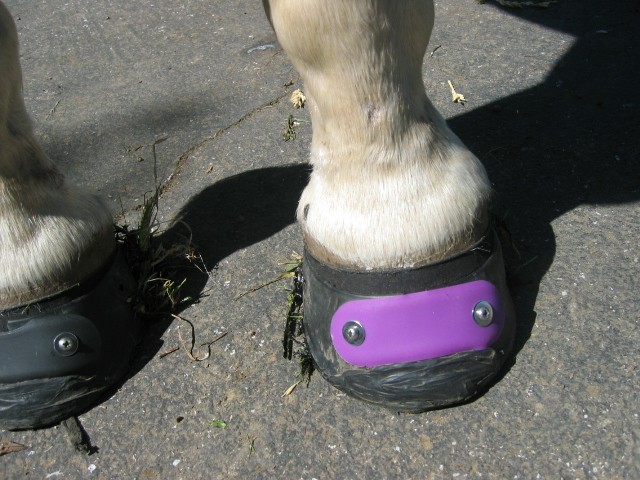
This is a shot of her front feet. Note all the gunk stuck to the boots (I just pull all this stuff off a few hours later). I made my mistake here. Giorgi is trying to transition into a size larger boot on the front, so if her feet are not freshly trimmed she fits into a size 1.5 Glove. I was debating on which size to use for this experiment and chose the wrong size. These are size 1.5 and one came off about 28 miles in to the ride. Darnit! And the other front boot was far too easy to remove the next day. So, note to self, she needs size 1 on the fronts. The hind boots worked beautifully and they were a bugger to pry off later. Perfect!
These are Giorgi’s hind boots right after removal. Note the complete lack of glue on the walls of the boot. The Goober Glue will be easy to rip out of the bottom with a pair of pliers and clean up with a steel brush.
I’ve decided to call this experiment enough of a success to try it again at the next ride. Next time I think I’ll also use some Goober Glue along the top edge of the boot to try and seal out water. I’ve learned that fit has to be even better than I thought (no surprise there), and maybe I can make my Glue-On boots last just as long as my Gloves! That would be delightful.
Till next time!
Jennifer Voight
Team Easyboot Member


