


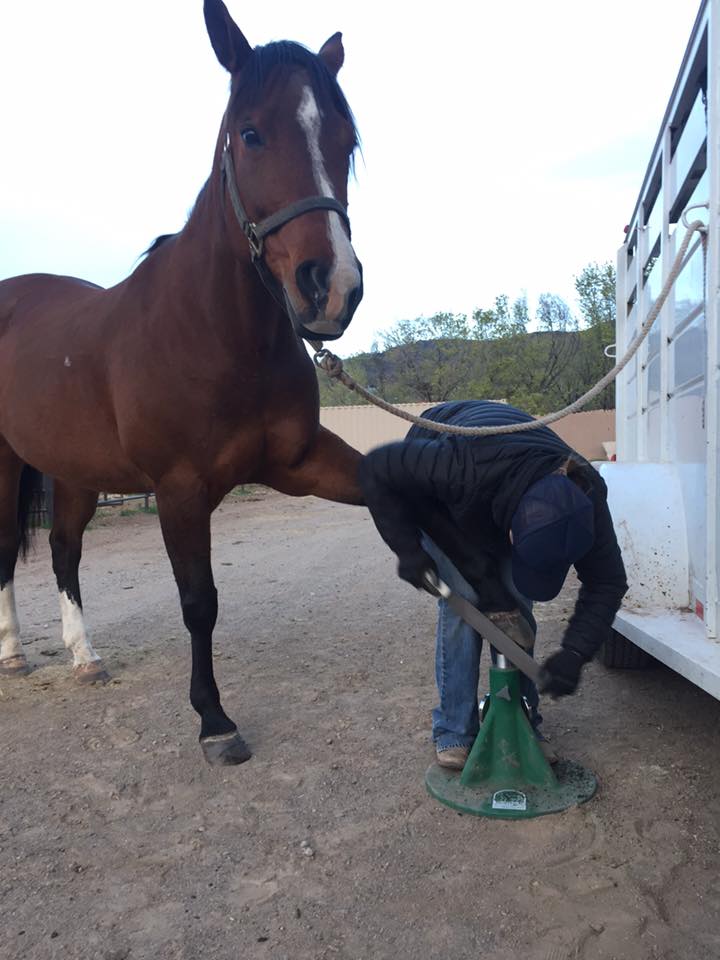
When we glue hoof protection on, us rookies just hope we actually have the chance to remove it and that it doesn’t just fall off on its own or come flying off while riding. For the most part I have been very successful and the protection I have glued on stays in place for the entire duration. The Flip Flop was no exception. Since the Flip Flop is quite easy to glue you would think it would be easy off as well. Easy on, easy off, right? WRONG! The Flip Flop is not easy off. I’m not implying that it is difficult to remove when you need to do so I’m stating that these were not going to come off on their own and tools were going to have to be involved.
This set of Flip Flops had been on just over 6 weeks, there was one tiny spot just above the junction of the base and the cuff that was coming unglued but it was in no way going to cause the Flip Flop to fall off.

In true rookie fashion I was not the most prepared, but if I were it wouldn’t be any fun right? If you have the Flip Flop application guide you will notice on the removal section it suggests either using a hoof knife or vibrating cutting saw. I do have almost everything anyone could ever need in my trailer but unfortunately a vibrating cutting saw is not something I have stashed away. I do have multiple, very dull hoof knives, so I was in luck.
I will admit, I did ask the man in the silver sneakers for tips on how to remove the Flip Flop and he said to make sure I was pushing the base away from the sole when cutting and to also not remove the entire base as I could use it the to peel the cuff away from the hoof wall.
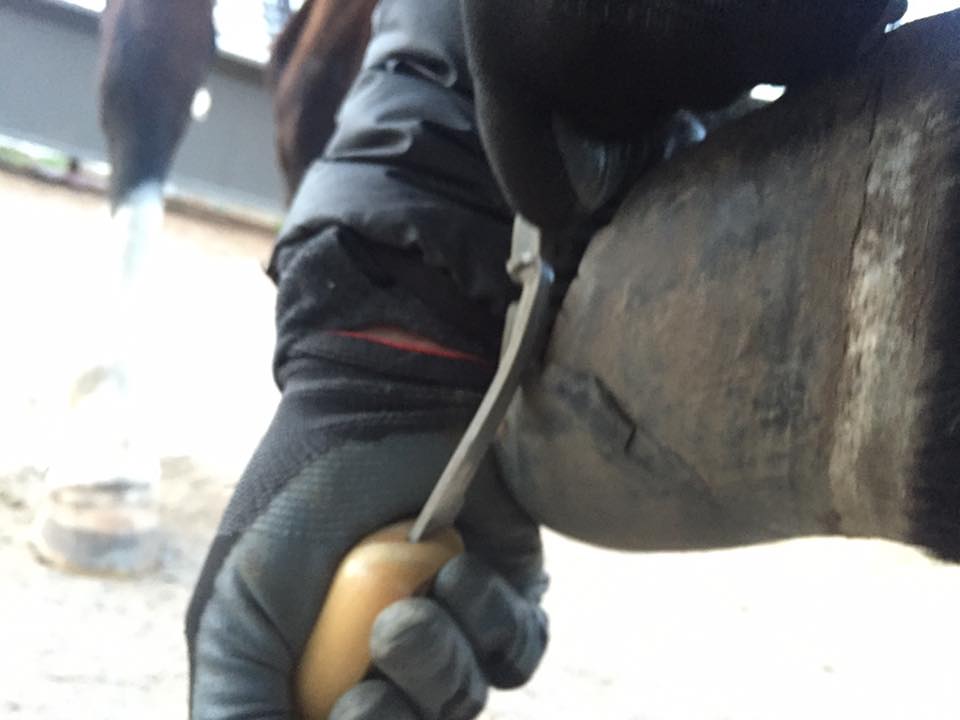
Well, my awesome hoof knife was so dull that no matter how hard I tried it was not going to cut the junction without quite a bit of strength. As I was leaving the office that day we were talking about removing my Flip Flops and I had received another bit of advice from another man that unfortunately does not wear silver sneakers about rasping where the cuff and the base meet so that is exactly what I did.
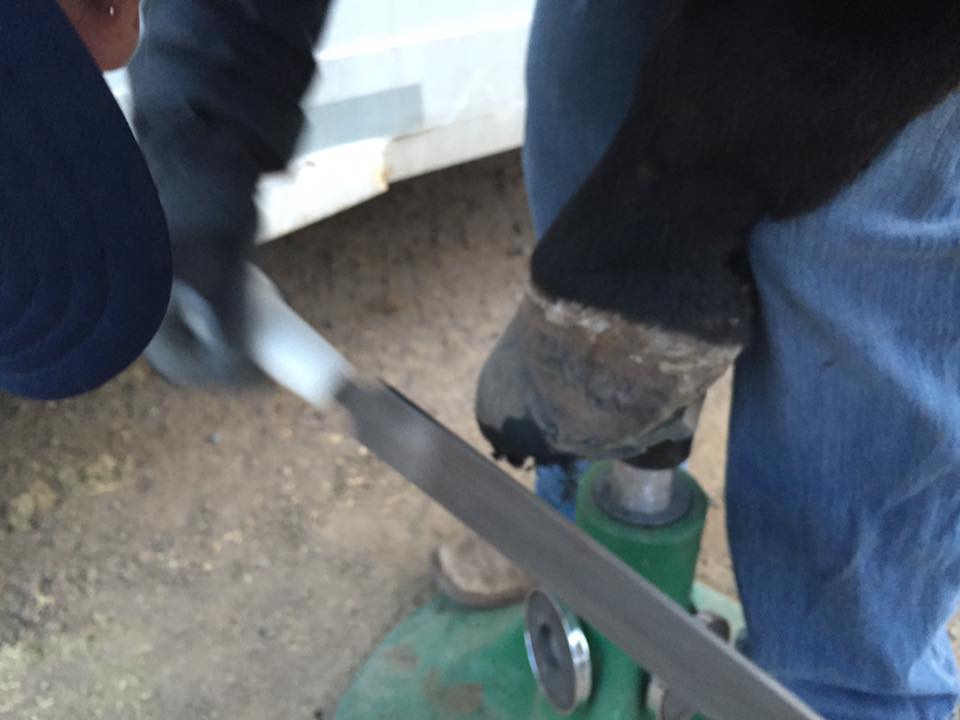
I made sure to really rasp the thickened part right where the junction starts, I believe that would have been enough if my hoof knife was sharper than a butter knife but I went ahead and did the entire junction.
Once my rasping was done I grabbed my super dull hoof knife, pulled the base down and the junction cut just like butter!
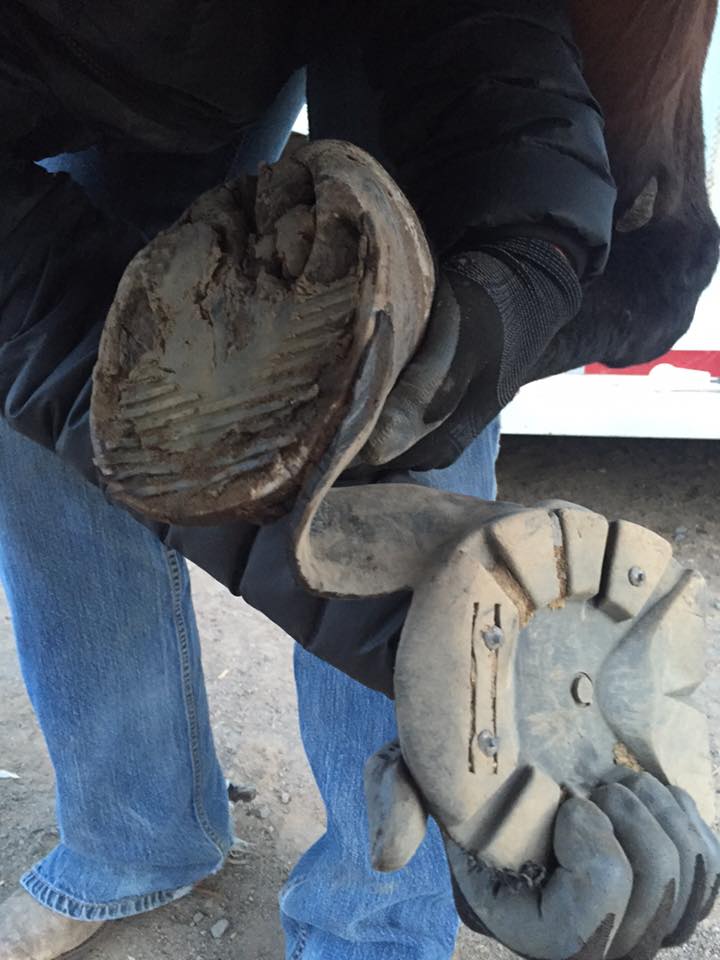
I cut about three quarters of the junction and then stopped. This allowed me to use the base as a handle to pull the cuff away from the hoof wall, it peeled with such ease and virtually no damage to the hoof wall. It also made my clean up much easier as there was only a thin line of Adhere left on the hoof wall.
The Flip Flop is almost as easy to remove as it is to apply, all you need is a rasp and some sort of knife. It doesn’t even need to be that sharp, although I would imagine it would make it much easier if the knife was sharp, and the rasp won’t not be needed. It could also make the process more dangerous. I have never done well around sharp objects so I’ll stick to the dull hoof knife for removal. When I wrote A Rookie Went Gluing: Flippin’ Success with the Flip Flop I raved about how much I liked this new product. Well, nothing has changed after weeks of use and my horse being extremely comfortable. I think I may be more in love now than I was to start.


