


For many of us in the northern hemisphere, winter is here. Since ice and snow can’t be easily avoided, let’s talk about how best to give your horse protection, comfort, and traction.
EasyCare offers two different styles of studs, Quick Studs (pictured below on the left) and standard Horse Boot Studs, often called Ice Studs (pictured below on the right), that can be added to any of our boots for extra traction.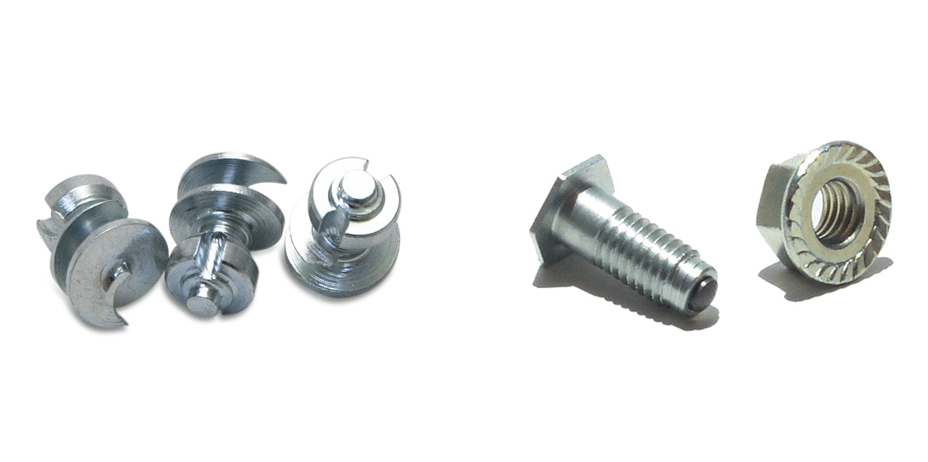
Ice Studs are available in two different lengths, ¾ inch and 1 inch. For thinner tread patterns (such as those found on the Easyboot Epic, Easyboot Glove, and Easyboot Back Country) and smaller boot sizes, we recommend using the ¾ inch studs. For thicker tread patterns (such as those found on the Easyboot Cloud, Easyboot Rx, Easyboot Trail, and Old Mac’s G2) and larger boot sizes, we recommend using the 1 inch studs.
Let’s look at one of our therapy boots to demonstrate how best to apply these studs.
The Easyboot Cloud provides cushion and support with its firm polyurethane base and EVA foam pad. The tread on the bottom of the boot provides extra traction, but it isn’t always enough in icy, frozen conditions.
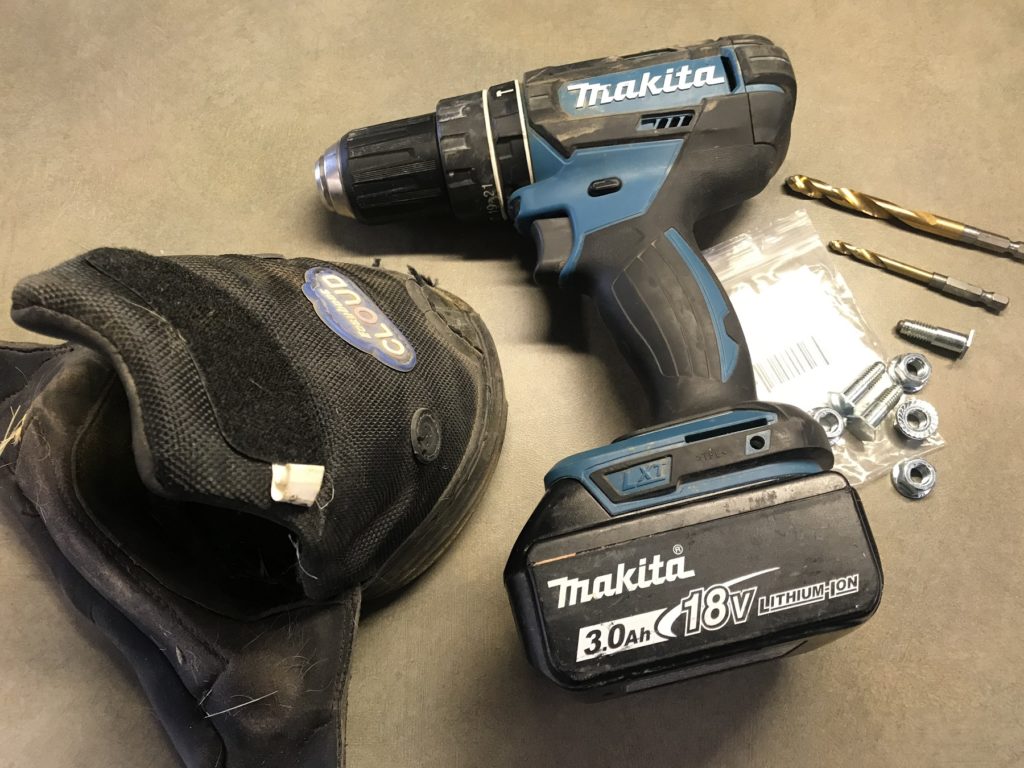
The following pictures show a size 0 Easyboot Cloud and 1-inch studs. Items needed to install these studs include a pack of Ice Studs, your Easyboot, a hand drill, a 3/16 inch drill bit, a 5/16 inch drill bit, and a pair of pliers or a socket wrench.
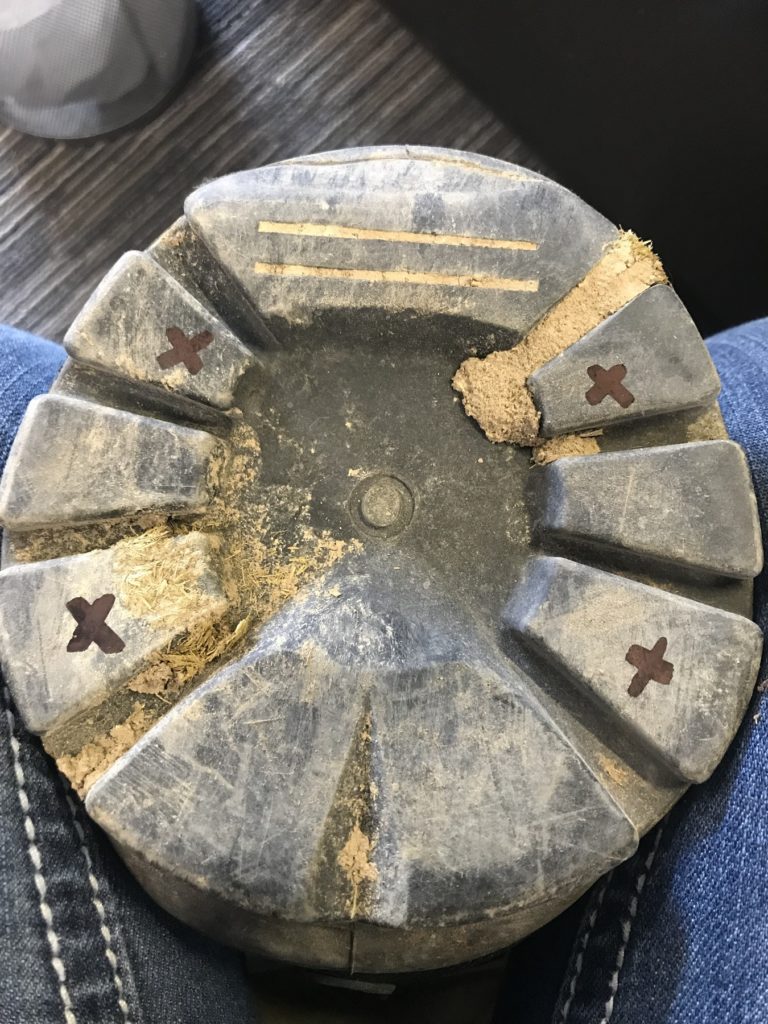
 Step 1: Remove the blue pad inside of the boot. Mark the places on the bottom of the boot where you would like to place your studs. We recommend two in the front near the toe and two at the heel, as shown below. Exact placement can vary, though, and comes down to your personal preference.
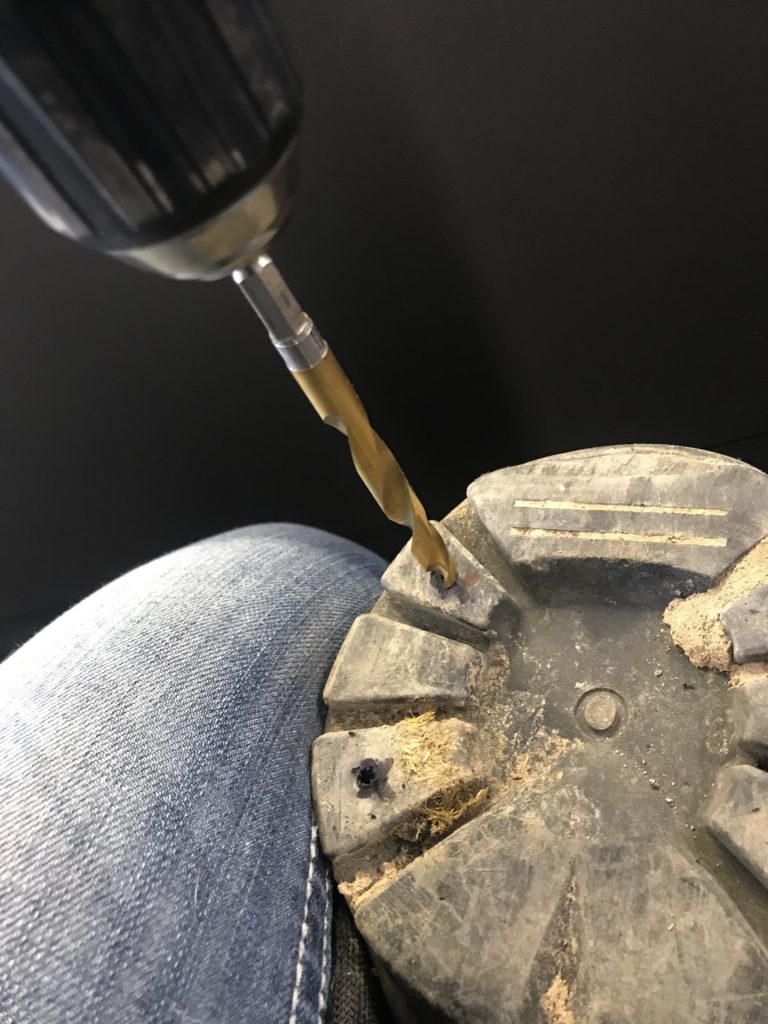
 Step 2: Begin with your 3/16 inch drill bit, and start drilling through each of your marked locations.
 Note: Make sure you do not create a hole too close to the outer edge of the boot. The flat portion of the stud that will be inside the boot needs enough room to lay flush against the bottom of the boot and not rub against the inside of the wall of the boot.
Step 3: When you have all four holes drilled through the bottom of the boot with the 3/16 inch drill bit, switch to the 5/16 inch drill bit. Drill through each hole again with this larger drill bit.
 Note: Don’t be afraid to do circles with the drill to widen the hole a little more. The studs will fit snug in the boot, so to make it easier to insert them, make the holes a little bigger than you think they need to be.
Step 4: Once the holes are big enough, insert the stud from the inside of the boot so the flat head sits flush with the inside sole. The portion that sticks through on the bottom of the boot is where you will screw the nut on tightly.
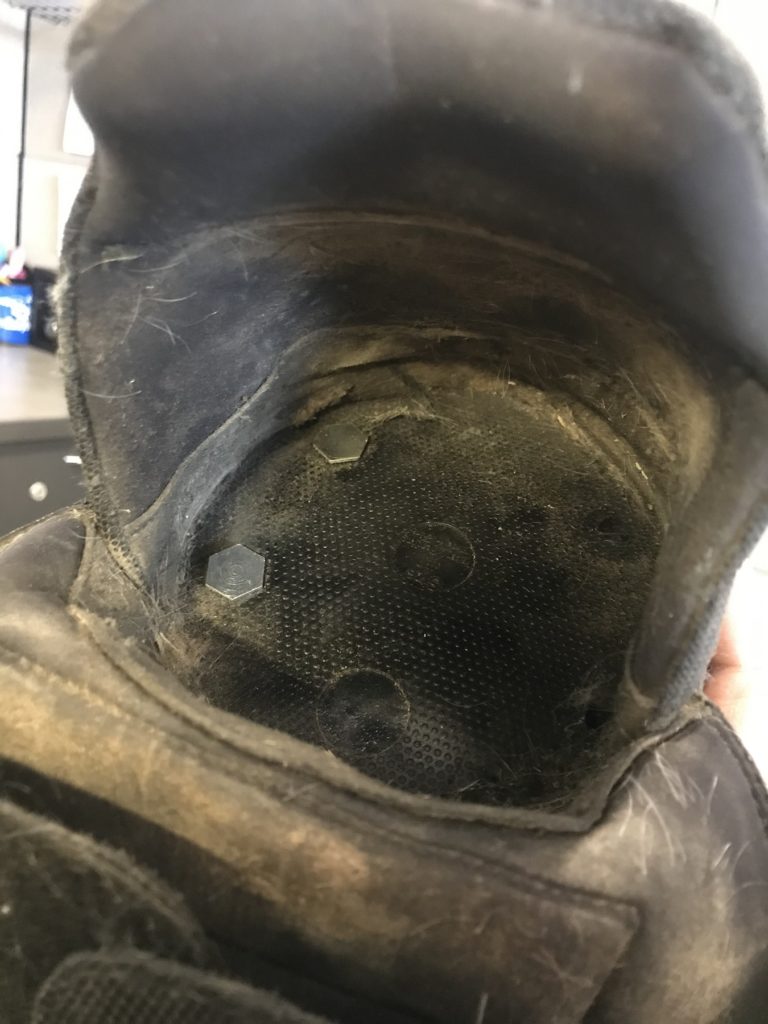 Note: Just tightening it with your hands won’t be enough. Use a wrench or pliers to tighten the nut further.
 Step five: Reinsert the blue EVA foam pad.
Now your horse will have added traction for icy environments and protection from the frozen ground. Although the stud heads sit flush with the sole of the boot, the EVA foam pad included with the Easyboot Cloud will cover them and offer peace of mind that no solar pressure will occur. You have now successfully installed your own studs!


I’d love to order a set of the 1” horse boot ice studs for my Clouds. Could you call me for CC number? Thanks SO much!!
Comments are closed.