

Installing your HiTie is supposed to be a quick project that most anyone can do. It is supposed to take between 10-50 minutes. I would like to personally find the individual who can do this in 10 minutes and shake their hand. Of course I will probably get flooded with comments from people who were able to do so. I guess the delaying factor that my installer (aka husband) was dealing with (um, a control-freak of a wife) just may have extended out this project a leetle bit longer than it could have been. Ah well, we lived, we installed, we survived.
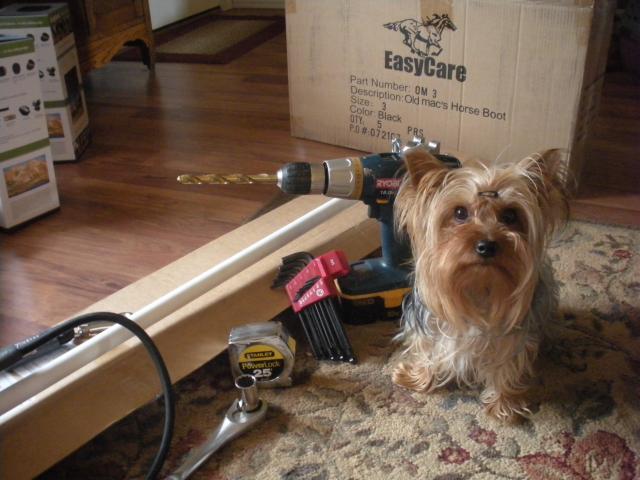
First, we went about assembling the tools and items we would need to do the project, start to finish. There is nothing worse in my OCD-laden mind than getting halfway through something and realizing you don’t have one essential item.
What you need:
- Electric Drill (and charged battery!)
- 1/2″ drill bit
- 5/16″ Allen wrench
- 3/16″ Allen wrench
- Marker
- Tape measure
- 3/4″ Socket
What is nice:
- A ladder
- x-ray vision
- A big, tall friend who happens to stop by
- A refreshing beverage
What you don’t need:
- A control-freak wife
- A yappy dog
- A hungry husband
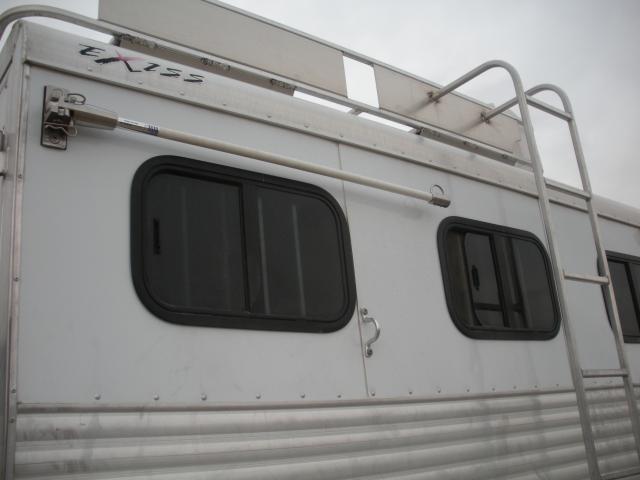
We first had to decide where to place the HiTie. This is where the xray vision would come in handy. Now to prevent the HiTie from ripping the metal stuff off your trailer and then proceed to gallop wildly around camp toting the HiTie and half your trailer, you need to find a support beam in which to fasten the device. Of course this sounds easy, when in reality, how do you KNOW there is a beam there?!?!? While we thought there “probably” was a beam supporting the frame of the window, the thought of the above scared me enough to want “probably” to turn into definitely. I caved on the placement and decided to put it where we knew for a beam would be there to support my new toy (aka my pony).
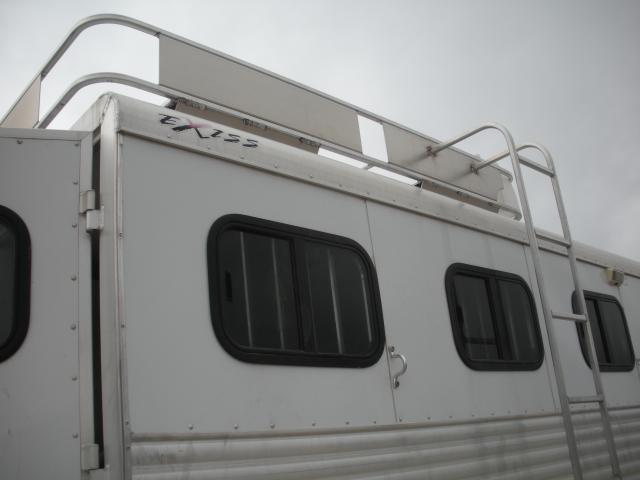
The ladder to the hay rack made things a little difficult. While I wanted the HiTie above the near side of the second window, we weren’t sure about the support beams there. My justification was that I wanted to be able to pull out the HiTie myself, and I could do it there standing on the fender. Unfortunately I will either have to sprout some three-foot-heels, or bring Garrett along to reach up and pull and set the pin without even thinking twice. Considering I am a little bitter about my height (or lack thereof) after a long period of saddle-shopping-from-Hell, I am a wee bit sensitive about that right now. Damn tall people and their long legs!
Having to change the location of the HiTie made me a little bit crabby, which made the arrival of a friend all the more welcome. Luckily for us, one of my husband’s clients and a friend of ours stopped in to pick up some stuff. I chose that opportunity to take a chill-pill and let Brent step in.
We finalized the decision of where to put it and the boys got to work while I did some cleaning and organizing.
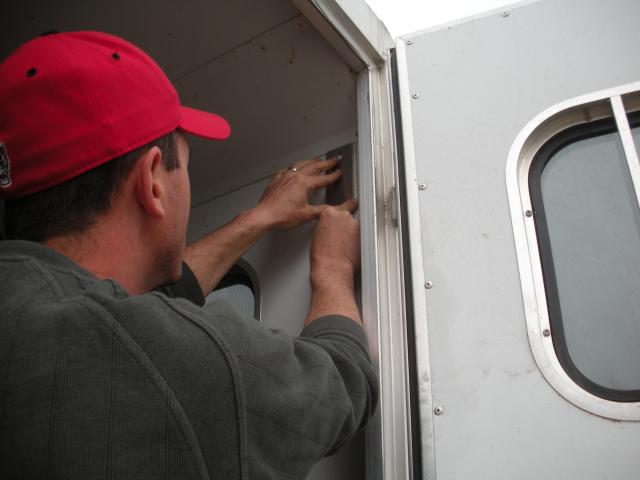

Then he starts drilling… (breathe in, breathe out, it’s just a trailer).
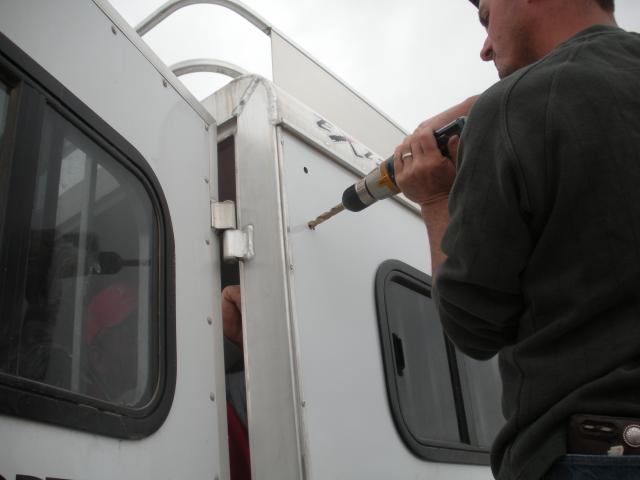
More drilling… this time from the outside because something about the holes not lining up. I wouldn’t know, I had my fingers in my ears, lalalalala.
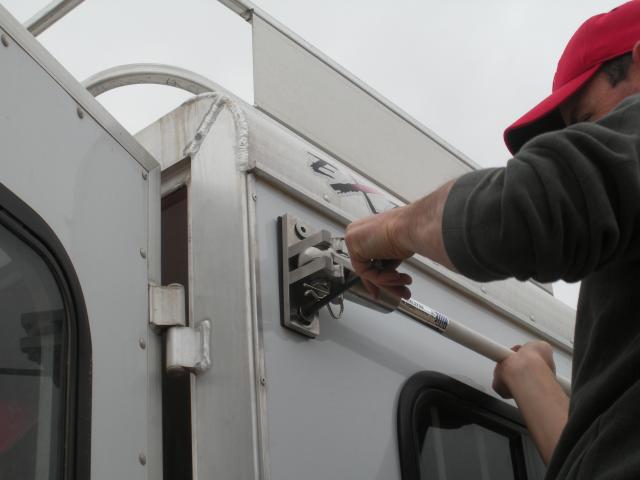
After everything got lined up, they inserted the screws or bolts (whatever) and fastened everything tightly. With the addition of some Loctite we were almost done!
All-in-all, I can safely say I am very glad Brent stopped in, as we did actually need another hand and considering I am about as good with tools as my Yorkie is with coming when called, it was very helpful to have a tool-inclined dude around. I cannot wait to use this HiTie this weekend for the upcoming ride. It’s only a one-day ride, and while I love my portable aluminum pen, it is a pain to cart around and set up for only 24 hours or so. It’s really nice to have the option of using the pen or the HiTie, or both in the case I ever take two horses.
Pictures of the sporty Red Rocket set up on her Hitie to follow!!!
Go RIDE!
~ Amanda Washington
SW Idaho


To keep your Hi-Tie from marking up your trailer while giggling down nasty gravel roads, we took the end of the Hi-Tie off (where you attach the horse’s lead) and slid a tennis ball with a big hold drilled thru the middle of it on the Hi-Tie’s arm then put the end of the Hi-Tie back on. (They make Pink tennis balls, too!). The tennis ball makes the Hi-Tie ride tighter and it won’t scratch your trailer. I have seen some folks use those pool noodles (floaty things) on their Hi-Tie arms. They come is all kinds of pretty bright colors, too.
I love my Hi-Ties!! I KNOW where my ponies are during the night…still attached to my trailer. I sleep so much better after I got my Hi-Ties.
Too funny; my husband loved this! I think he was glad to know he does not have the only OCD wife who freaks out at the proposition of drilling into the trailer. I got a different trailer last fall and took my tie off the old one. I still have not had the courage to trust him to drill in the new one. The old trailer was a stock combo, so you could see the beams, much more reassuring. I’ll have to soon though…ride season is upon us! 🙂
I can totally relate to your experience. We installed another version, Tie Rite, which is even more complicated and had many of the same issues, only with more holes and bolts involved. Mostly, too short bolts and forgetting to install rubber padding. No way was hubby taking all that s— off just to put a little piece of rubber under the whole mess. Of course instructions didn’t say exactly when and where to install this piece so when the aluminum on my trailer starts to be cut thru with metal on metal we’ll have another discussion and project day.