


One of the most exciting aspects of glue and composite shoes for me is the ability to add foot where I need it, when I need it, especially when I can’t achieve what I need for the horse with the trim alone. I think of it like building “prosthetic foot”. In this previous blog I demonstrated one example of the use of shoes and glue when the trim alone wasn’t enough.
In general, I would consider increasing heel height for many reasons at one time or another, such as:
- increasing the palmar P3 angle in a low heel or negative plane foot
- in response to leverage testing where the result indicated a relief of pain with a raised heel
- to facilitate rehabilitation of a prolapsed frog and/or digital cushion
- to aid in healing of soft tissue injury at the direction of the veterinarian
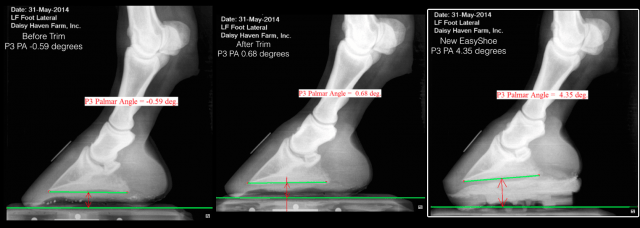
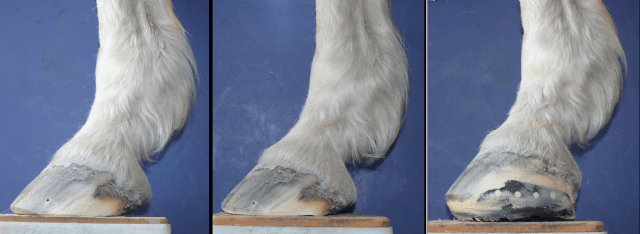
In the case of this horse I wanted to increase my palmar P3 angle on a chronically low heeled foot. Here is the left front foot before trimming (foot was cleaned up lightly with the rasp and knife for radiographing) showing a palmar P3 angle of -0.59 degrees:
I was only able to improve the palmar P3 angle to 0.68 degrees with my trim. Note: I left the toe a bit longer so I’d have room to glue without being too close to P3 on the sole:
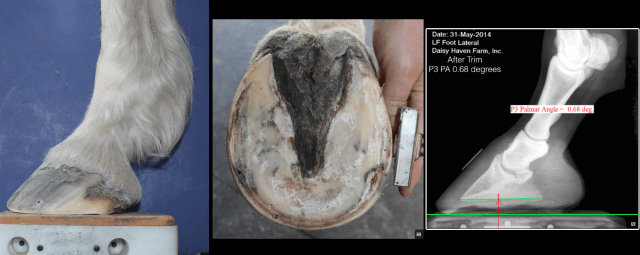
While I am pleased the palmar P3 angle increased by 1 degree, it still does not fall within the ideal range of 3-8 degrees. I will use the shoe and glue to build the added heel height I need.
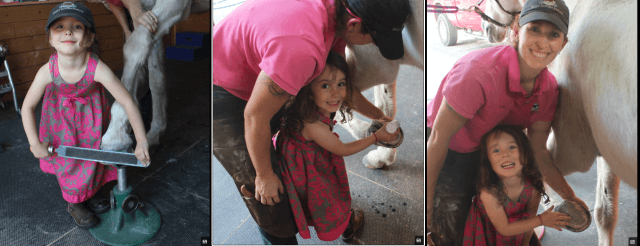
I know heel wedging at times gets a bad name, however, I have found when the trim is accurate, and the load of the wedge is spread across the heels, bars and frog, the health of the back of the foot improves rather than breaks down. Here is how I would do it with an EasyShoe, with special thanks to the fabulous assistant, my daughter Rowyn:
Trim and prep the foot the same way you would for any EasyShoe application with the following additional steps:
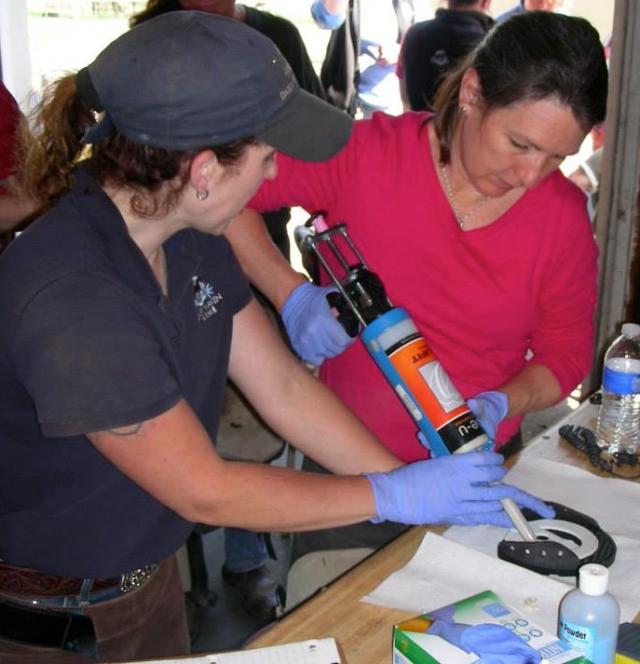
When wedging the heels I use dental impression material and EasyShoe Bond glue to create the wedge. The added benefit of using EasyShoe Bond instead of Adhere is that I can treat the foot with specific antimicrobials and the glue will still stick. In our wet climate, I always use fungidye in my quarters, old nail holes, etc. Be sure to use your moisture meter and butane torch to thoroughly dry the area you’re treating before glue application. I also like to use an antimicrobial hoof packing like Artimud by Redhorse Products around the frog under my dental impression material to prevent thrush and foot funk from growing under the shoe and packing.
 Once your foot is thoroughly prepped, the shoe and wedge can be applied. As soon as you start these next steps you are on the clock as the dental impression material (DIM) and the glue both cure pretty quickly, usually within 2 minutes or less. I’d definitely recommend recruiting an assistant or two to help ensure successful application if possible, especially when first working with these materials this way.
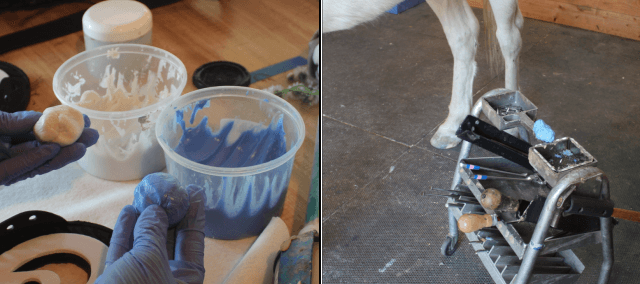
Mix the DIM material 50/50. Most brands bought in farrier supply stores will work well. How much you need depends on the size foot, amount of concavity/frog present, and amount of wedge you need to build. In this case, I have a foot with a full frog, a little bit of concavity, and aiming to build a 3 degree wedge. Blend the two colors together until they are one uniform color and STOP MIXING. The heat from your hands will speed up the curing process. Place the DIM near the horse’s foot you’re working on; I like to use the top of my tool caddy.
Apply the glue to the shoe, adding extra glue in the back of the wings and the heel area of the shoe as this will create a good bond with a wedge effect. When using DIM, I remove the white liner on the shoe as the DIM is providing the glue dam instead.
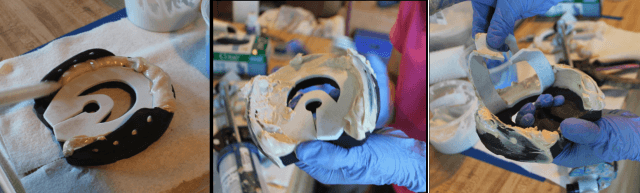
Walk over to the foot quickly, placing the shoe within reach, and pack the foot with the DIM. Do not pack where the glue is going to bond. Be careful to add height of the DIM at the back of the foot as this creates your wedge. Note: the horse had an infected area of wall which I cleaned up prior to gluing creating a dip in the medial heel quarter in the photo.

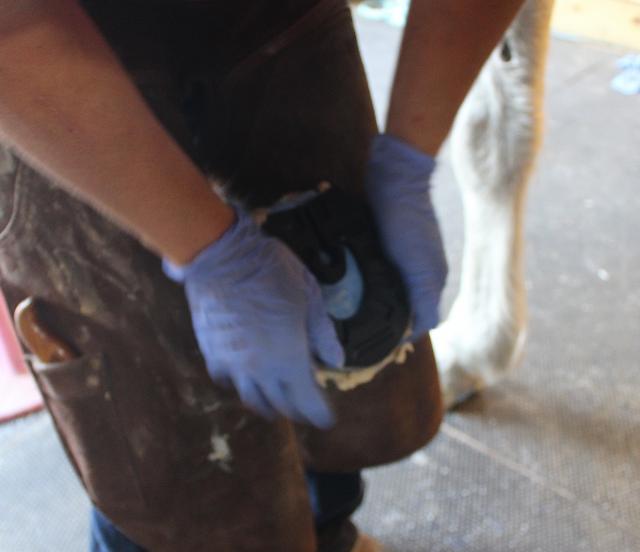
Apply the shoe when the glue is just starting to get thicker, as thin cold glue will not hold the heel height. As you are applying the shoe, press DOWN in the toe. This is going to finish the wedge effect. The timing of the glue in this step is the hardest part of this process with the biggest learning curve, but well worth it to be able to build with the glue.
The amount of wedge you create is dependent on the height you build with your DIM, and the amount of glue between the shoe and the foot at the toe. So pressing down on the toe is a critical part of the wedge. Plus it gives you extra glue to spread and feather on the rest of your shoe, especially the heels and wings.
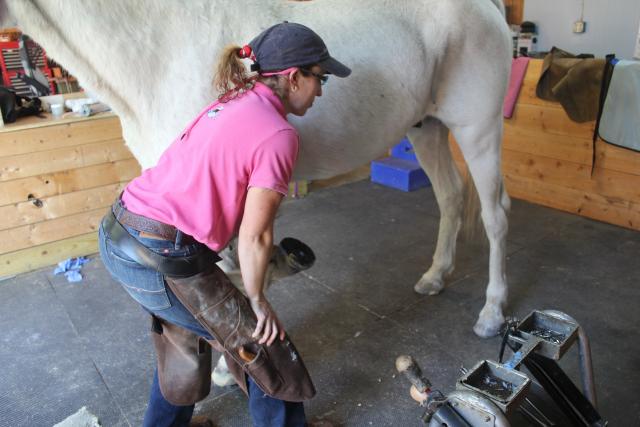
When you’re finished smoothing the glue hold the foot up until the glue is cured. If you put the foot down, you will compress your wedge and probably wreck your glue bond in the process. Hold the foot up until the glue is hard to the touch, even if it’s still tacky and warm, usually only 2 minutes. Be prepared to have a competent horse handler at the horse’s head with some distraction available if necessary to encourage the horse to stand. If the horse is footsore on the other foot, please apply an Easyboot with a soft pad to the supporting foot to help the horse stand comfortably.
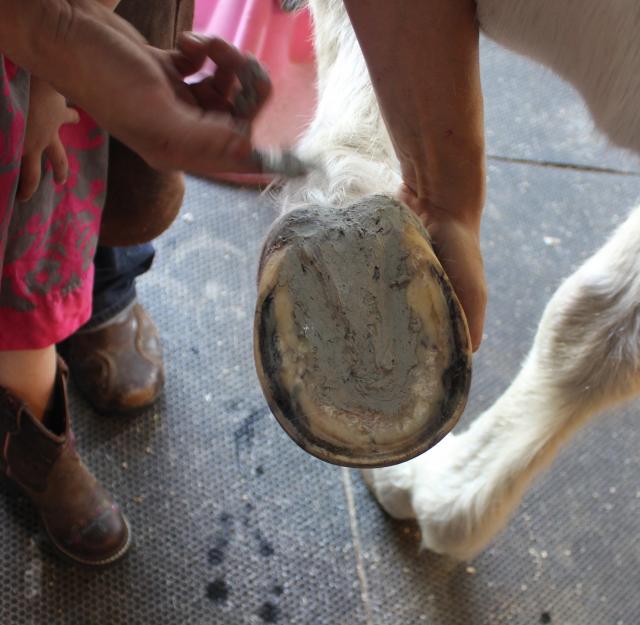
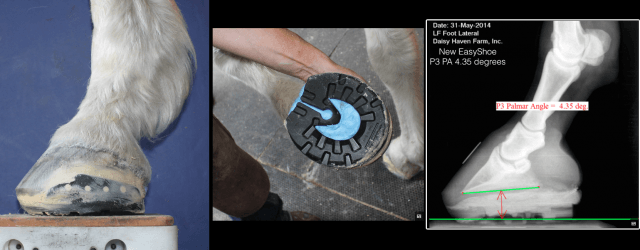
The finished product. The palmar P3 angle increased to 4.35 degrees, so I’m very happy, and so is the horse.
Some comparisons:
For more information on Daisy Haven Farm, and the School of Integrative Hoofcare where we teach glue on processes including this one shown here, please visit us at:
www.DaisyHavenFarm.com
www.IntegrativeHoofSchool.com


