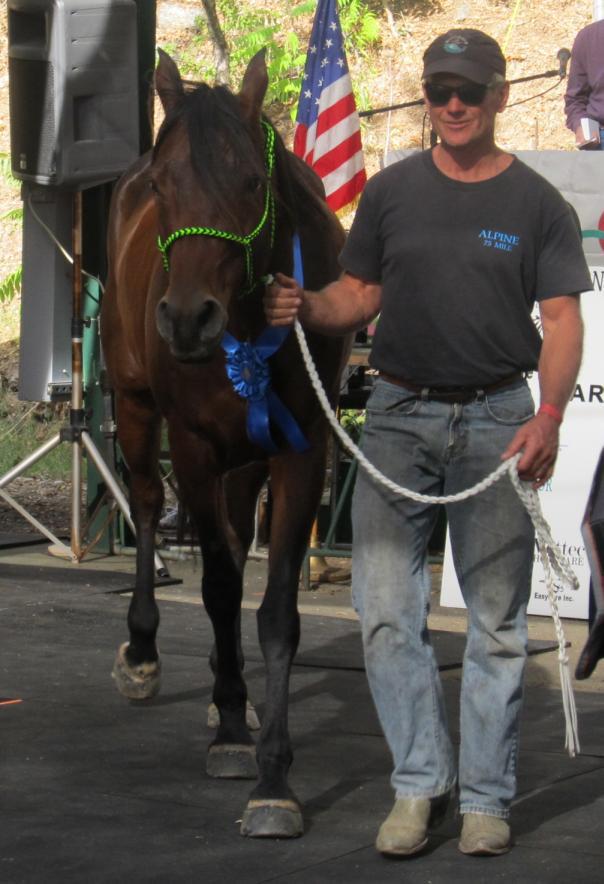
Heather Reynolds presenting Riverwatch for Haggin Cup, which he won.
The successes at Tevis 2011 were numerous: I summarized some of them in my blog on October 18, 2011. Arguably one of the most significant achievements was the high success rate of glue-on boots. It was drastically higher than in previous years, and we’re proud of the 99.3% rate. 38 riders started Tevis in Easyboot Glue-Ons, and we are aware of only one boot loss of the 154 boots that were applied. Outlined below is a summary of the gluing process that led to that success.
1. Start with a well-maintained hoof in a dry environment.
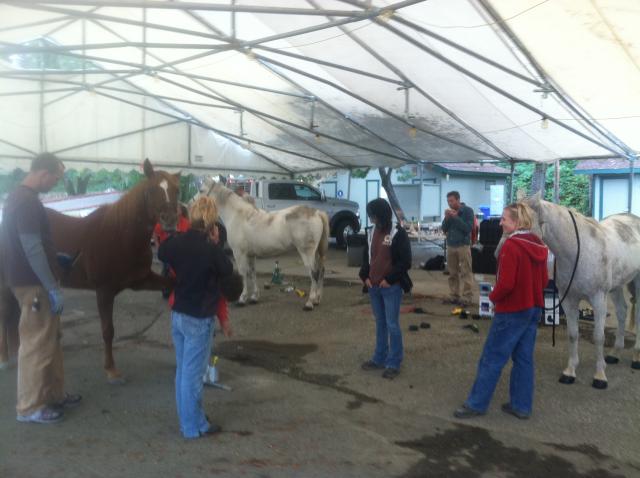
Each of the riders was asked to bring a horse that had been recently trimmed. We did almost nothing to the balance of the foot, heel height or toe length. But we were very careful about keeping the horse out of wet conditions, and we glued under a tent on blacktop, which helped us avoid the horse standing in water or in a dusty footing. The temperatures were very cool and it poured for most of the time we were there, so the conditions were very humid indeed.

The gluing teams at Gold Country Fairgrounds in Auburn three days before the event.
2. Prep the hoof.
We started with a heat gun on the sole and hoof wall to combat the cold, damp conditions. We then roughed the hoof wall with the edge of the rasp and cleaned out any obviously exfoliating sole. We brushed the hoof walls and sole with a wire brush, then used the heat gun for a second time for about 20 seconds per hoof, or until the sole and frog looked dry.
3. Prep the boots.
We were obsessive about using boot shells that were untouched by human hands. Each rider brought their own set of boots, but if there was any sign of oily residues or dust or wood shaving dust, we traded the boots out for a new set that were still in their individual plastic bags. Using heavy duty latex gloves, we applied a bead of Goober Glue on the inside of the boot, where the boot shell meets the sole. We call this the Goober Goober Apron – and you can read more about it in the blog I wrote on September 6.
4. Apply the glues.
Working in pairs, Person # 1 applied Goober Glue directly to the clean hoof using a spatula, and held the hoof off the ground, while Person # 2 applied the Vettec Adhere to the inside of the boot shell, starting about half-way up the inside of the boot shell. I like to use a generous amount of the Adhere, about the thickness of a generous dollop of toothpaste on a toothbrush.
5. Apply the boot.
Person # 2 took the horse’s leg, put the boot on the hoof by twisting the slightly, then placed the leg on the ground and picked up the opposite leg to attain maximum weight in the boot. A beat of Adhere was placed around the top of the boot shell, and regular checking of the tackiness of the seal was used to see how quickly the Adhere was setting up. If the the glue dried slowly, a heat gun was used sparingly on the outside of the boot.

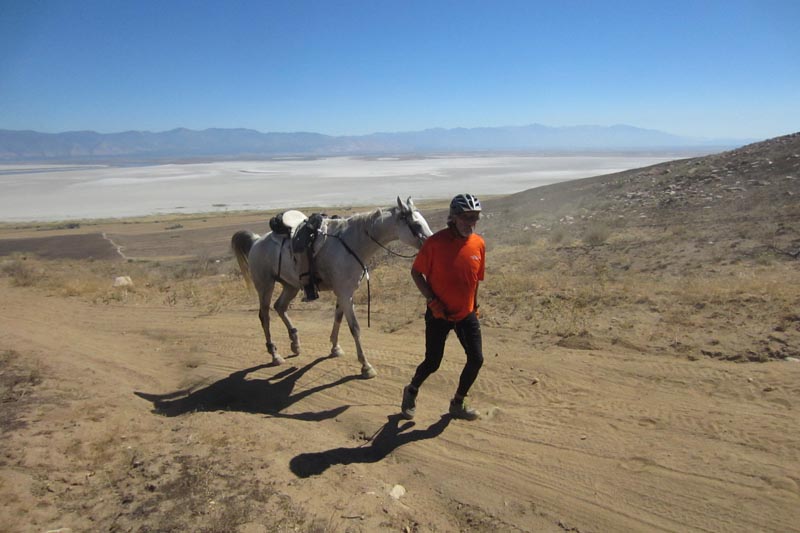
Dennis Summers and Lola, who won third place.
6. Wait patiently.
We encouraged riders to linger under the tent for at least 15 minutes after the boot gluing was complete. Riders were strongly discouraged from riding the horse for 24 hours, in order to let the Goober Glue in the sole set up completely.
Go to the Videos page on the EasyCare website for the most current application videos broken down into various sections. Make sure you select the correct boot on the landing page in order to access the correct videos for the correct boot.
Kevin Myers

Director of Marketing
I am responsible for the marketing and branding of the EasyCare product line. I believe there is a great deal to be gained from the strategy of using booted protection for horses, no matter what the job you have for your equine partner.


