Submitted by Tami Rougeau
Using Easyboot Glue-Ons takes a bit of patience and practice. Once you get the hang of the application process though it is relatively easy. It really helps if you have a person who knows what they are doing to help you out the first few times. There are times when using Glue-Ons just makes more sense for me. Multi-day rides and 100 milers are two times when I really try to use glue ons. I don’t have to worry about messing with boots when I might be tired and more apt to take shortcuts. The other thing that I like about using glue ons is the added cushion provided by the Goober Glue, especially in really rocky terrain.
That said, I tend not to glue on except for the reasons listed previously. One reason is I have exceptionally good luck with the Gloves and they lend themselves to my (not always so organized and often pressed for time) schedule. The other reason is that not only does glueing take prep time it also takes the time after to remove and then ultimately clean out the boots if you plan to use them again. For the most part I have found that you can get at least 2-3 rides out of a boot depending on the terrain and how the horse wears the boot.
It is the actual sitting down to really clean out the boots that poses the biggest challenge for me. Typically the boots can be cleaned out with a flathead screwdriver, pliers and a wire brush. Goober glue seems to come out nicely and if you are sparing in your use of Adhere that is not so much of an issue either. I had one set of boots that did not meet any of these specifications. My helper for VC 100 last year really likes Adhere, so needless to say there was more in this set than usual so cleaning them out was put off until yesterday. Yes, that is 8 months that the boots sat in the boot bag. I had tried to get most of the glue out but to no avail so I had to turn to the mechanical method. Since I had never had to go to these extremes I thought it would be good to see what worked best.
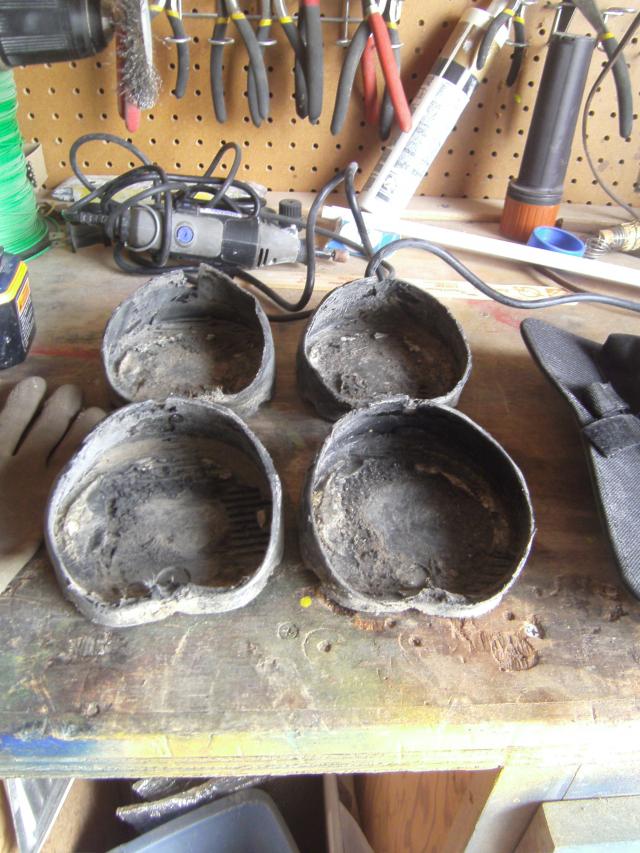
To begin I cleaned out the boots using a small wire brush. As you can see they were pretty filled with glue. On the up side they stayed on beautifully well through some really tough terrain and Fancy’s feet were fine after the ride. This set of boots were on thier second ride, the first being the NASTR 75 which is also notoriously rocky. It would be really great if I could get another ride out of them but they were also a good set to experiment with and if I ruin one then I would not be as broken hearted.
After gaining access to the coveted “Husband’s Shop” and all the wonderful tools inside I set out what I thought I would need. Included with the usual flathead screwdriver, pliers and wirebrush was the small drill with several attachements and the larger drill with wire brush attachment suggested by husband who was by now facinated by what was going on (and a bit nervous that I had access to all of his tools).
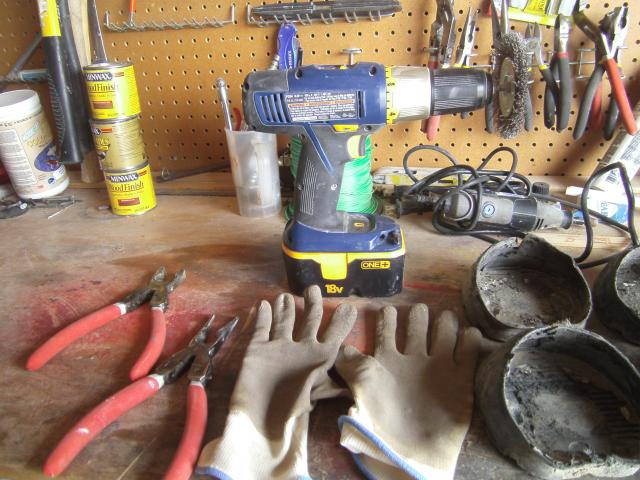
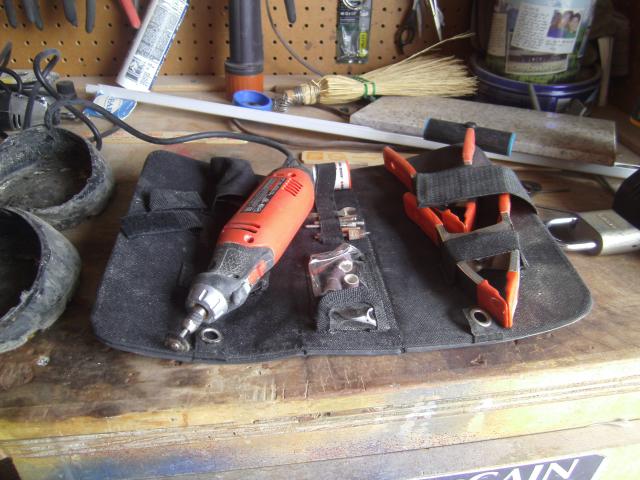
Gloves and eye protection are also highly recommended. I decided to start small and see what the various tips would do. The small wire brush attachment on the small drill wanted to work well but it wore down very quickly so it was a no go. The sandpaper tips were OK but they too wore down too fast. The tip that seemed to work best was cone shaped and had the texture of fine pumice stone. The large drill with the wire brush attachment worked great also. After experimenting with the various drills and bits a plan was formulated.
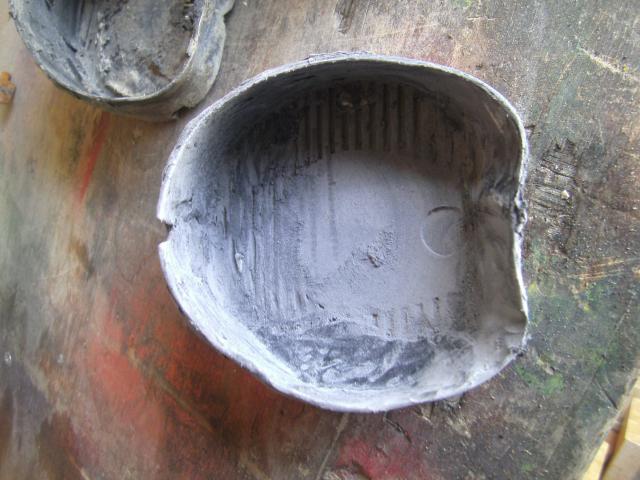
Boot number one was chosen for it moderate amount of glue (did not want it to be too easy but also did not want the toughest challenge out the gate). First up was the large drill. This drill and I have a long history together (nearly 20 years of DIY home remodeling) and I like it because it is well balanced and fairly lightweight so easy to use one handed while holding the boot in the other hand. The wire attachment worked great at taking off any small or loose bits right away. With a bit more pressure it took down the left over Adhere really well.
Once the largest mounds were gone from the bottom the small drill went to work. The small cone shape of the drill bit was perfect for getting the detail work done. You do have to be careful not to press too hard and to know when you go through the glue and into the boot. Keeping a bucket of water handy to rinse the boot periodically is a good idea. Also, have an old toothbrush to be able to really clean out the dust so you can see where you are in relation to the boot. The grooves in the bottom of the boot are very helpful guides to let you know when you have come close enough.
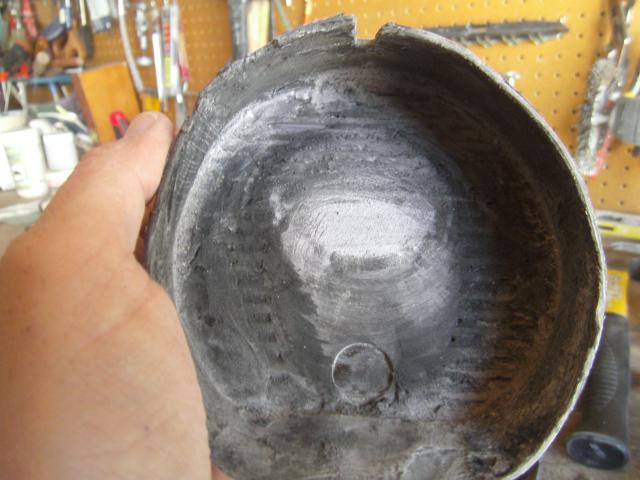
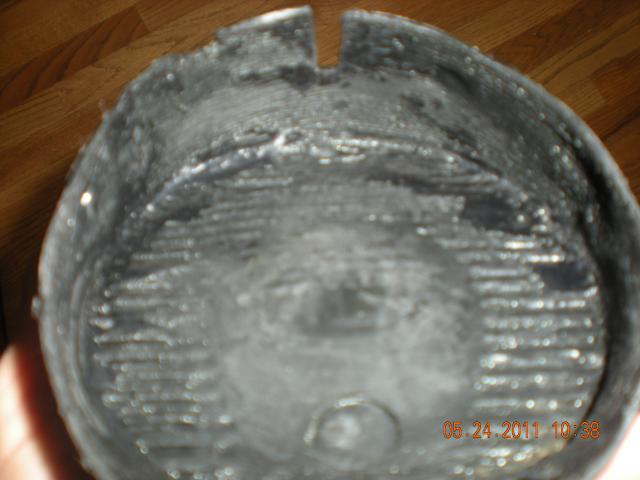
There is probably a point where you have to say “this is good enough”. It would take a bit more work than I was willing to do to get every last little bit out. My goal was to get the glue out of the bottom and as much off the sides as I could. I like to have the grooves in the bottom back as much as possible as well.
Once the layer of glue gets thin enough to see the grooves the small flathead screwdriver comes back out. It pries out fairly easy if you can get the head of the screwdriver under just a bit and wiggle it loose. I found that working from the middle of the boot to the edge was best. Then I could pry up the glue on the bottom and grab it with the pliers and it would come off of the sides of the boot as well. When the glue was thick I could use as much force as I needed to get through it but once it thins then I used less force. If you get close to the actual boot the smell will alert you to stop (burnt rubber is not a good smell). I finished off by going over the boot one more time with the wire bit then washed them out.
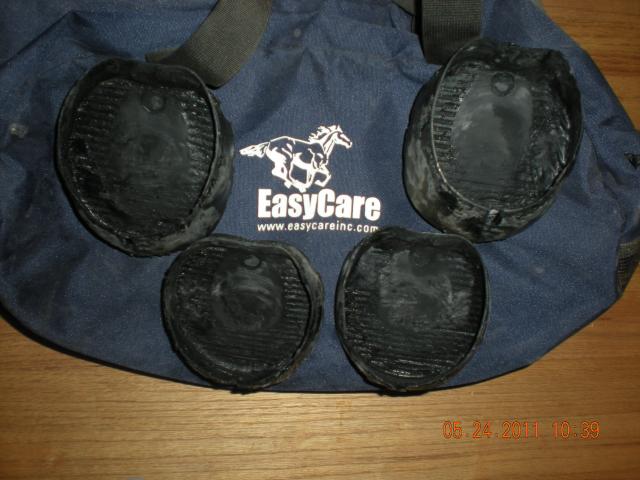
After I got the first one done it only took me about 20 minutes per boot to get them to a satisfactory point. It would take even less had there not been so much Adhere in the bottom. Goober glue comes out really easy and would probably take even less time. Once I was all done my husband suggested perhaps using the drill press and just rotating the boot around the stationary bit. I am not sure that I am tallented enough to make that work but it is another way to get the job done. It might have also worked good to put the boot in a vice. Holding the drill in one hand and the boot in the other worked fine for me. Now I have a nearly new (only 175 tough miles on this set so far) set of boots ready for glueing at the next opportunity.
Tami Rougeau
Team Easyboot 2011


