By now I think everyone has seen the lovely pictures of various hoof care professionals (like Daisy Bicking) and EasyCare staff applying the awesome EasyShoes that boast a line of peeps waiting to buy them longer than that of The Hunger Games and Twilight Breaking Dawn combined. I was fortunate enough to have had the opportunity to have The Bootmeister himself put on Topper’s first set of EasyShoes, and ever since pulling them off have been hesitantly waiting to put a new set on myself. I’m not sure what my hang-up was. I’ve glued on dozens and dozens of Easyboot Glue-On shells with success, even for important 100 mile events. I know my way around some Adhere and a glue gun, but for some reason was thinking this was a challenge I couldn’t meet. Of course only time (and shoe retention!) will tell, but I think I need not have worried.
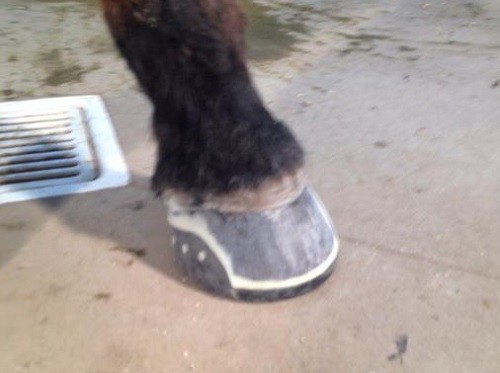
Garrett Ford’s pretty EasyShoe application.
When I finally got the nerve to glue on Topper’s second set of EasyShoes, the temperature plummeted to negative zero degrees. While this is certainly not ideal gluing weather, it made me that much more impatient with waiting for gluing weather. As the ground froze harder and harder, Topper started tip-topping around on the stabbing ice-ground which jabbed him with every move. His normally nice soft sand paddock froze solid. Luckily our Easyboot Gloves came to the rescue and we were able to keep him totally comfortable and happy in his Gloves. While waiting for a break in the temperature, we enjoyed a nice snowy ride on the trails and several dressage schools in the soft cushy indoor. Nevertheless, I was waiting impatiently for the temps to rise at least above 20*, like any reasonable person.
While waiting, I was able to view this video that EasyCare recently released, as well as make sure I was able to easily put on the shoes in a dry run without glue in the way. Today I decided was the day, as the temps were well into the 20’s and the horses were lazy and calm in the sun. Given that Topper has been standing in snow for the last week, I knew I’d have to pay extra attention to drying his hooves and because of the temps I made sure to warm up my Adhere and EasyShoes by keeping them in the sun until I was ready to go out.
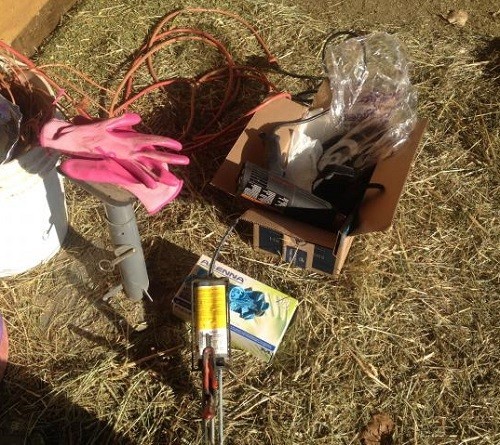
Gluing Stuff
Like I always do before gluing, I made sure to assemble everything I would need. Because I hadn’t glued on a single set of boots this year (seriously love my Gloves), I was a little rusty. No worries, a little consideration and preparation can go a long way when gluing on boots/shoes. I gathered my fresh Adhere, glue gun, more tips than I thought I would need, husband’s heat gun with the instructions of not to burn down the barn, paper towels, a pair of Easyboot Gloves, nippers, rasp, wire brush, hoof pick, box of plastic gloves (seriously, don’t think you can do this on four or eight gloves), EasyShoes and the horse, which is best to leave out until everything else is ready to go, unless your horse is more awesome than any of mine and have longer attention spans than gnats. The only thing I forgot was a screwdriver, to use when putting glue into the tabs. This would have been very helpful.
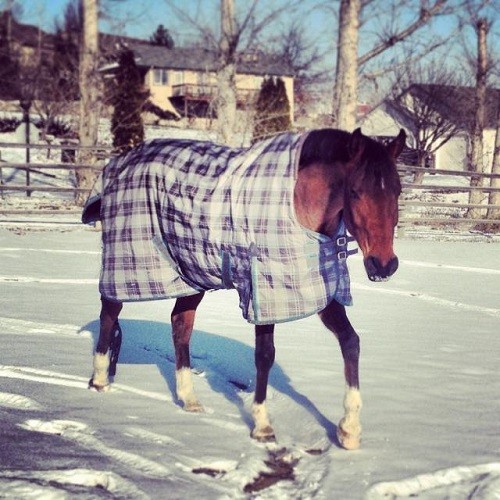
I went and grabbed Topper out of the snow and immediately dried off his feet with paper towels. I used the heat gun three different times in the course of prepping his feet, which I hope was enough. I first dried off his feet and then used the heat gun. Then I trimmed him and prepped the outside of his hooves with the side of the rasp, roughing up the surface to give the glue some tooth. I used the heat gun again. Then I put his feet in a pair of Gloves stuffed with paper towels. And then I burnt my arm on the damn heat gun. At this point I was ready to think about glue and pulled everything into an easy to reach pile from my post at Topper’s leg. From here it went quickly, as it always does.
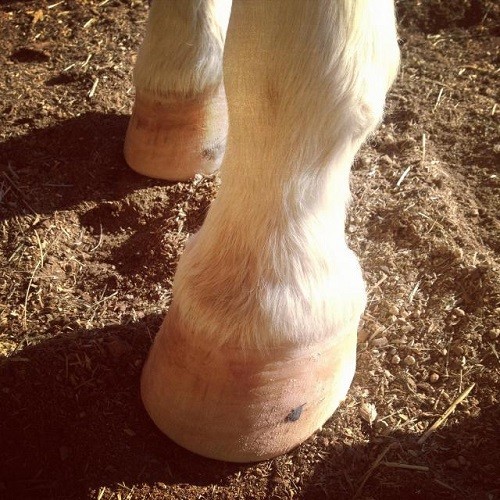
Hoof wall in the process of being roughed up for maximum glue stickage.
First you apply your plastic gloves (I always use two pairs on each hand so I can peel off the nasty sticky outside one and have a fresh glove to work with). Then I carefully nip off the Adhere and purge a little material. Then you put on a tip and off you go. I was impressed by my contortionism as I juggled Topper’s foot, the heat gun, the wire brush, the Adhere AND the EasyShoe. Thankfully my horse is good. I don’t recommend this method. For the second foot, I was a little more organized.
After getting both shoes on, I realized this process was easier than gluing on shells with Adhere and Sikaflex. The cool thing about Adhere is that once it’s set it’s set. The bad thing about Adhere is that once it’s set it’s set. Having a totally ADD horse myself, I appreciate the 60-ish second set-up time and always struggled with the minutes and minutes it would take to set up a a shell with a twisty horse and slow-setting glue. I think the glue-on process for either product takes practice and preparation, as does much anything worth doing in life.
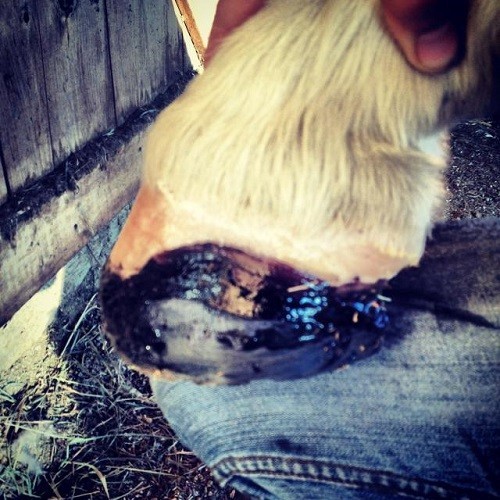
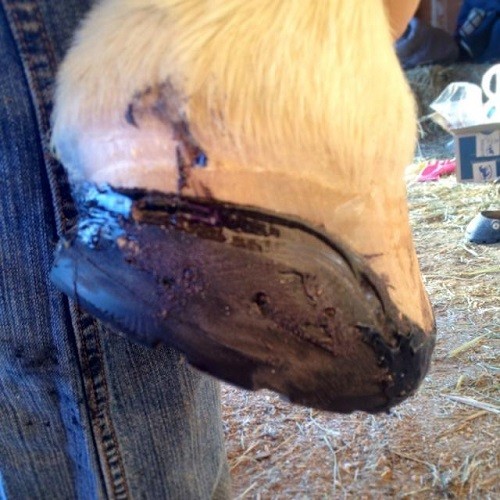
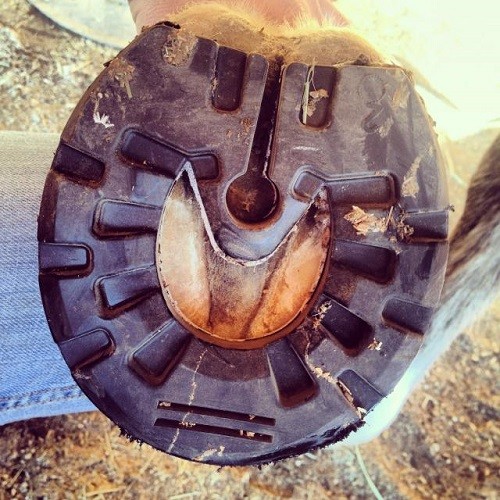
Can’t wait to watch these bad boys spread at the heels again!
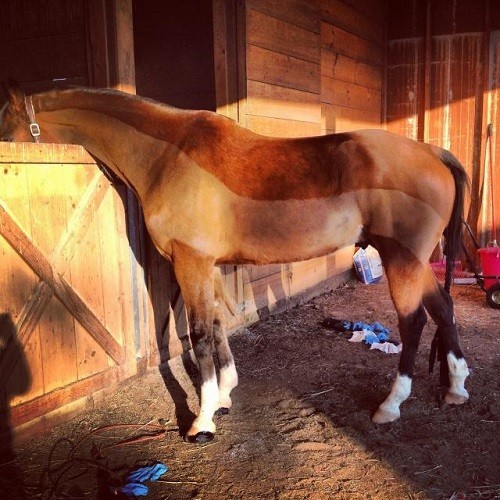
When you’re elbow deep in glue there are certain things you have to just roll with. In the process of putting on the first shoe, I realized I had forgotten a screw driver to use to pry the tab away from the hoof wall to get your glue down there. I used a hoof pick but it wasn’t really ideal. Because I had probably been a bit too generous with glue on the floor of the shoe, there was some glue coming out of the holes in the tabs. I hope this combined with the little bit of glue that I got in there with the help of my wimpy hoof pick was enough. On his second, shorter foot, I realized I hadn’t gotten my break-over as far back as I wanted. Thankfully, one of the coolest parts of these shoes is being able to shape them from the bottom almost as you would a bare hoof. Want a better break-over? Rasp one in. Want some relief at the quarters? Well rasp that in also. I was able to clean up the tabs on the walls with a rasp and added some more glue to where I felt it would be better anchored to the hoof wall. I rasped in a better break-over and voila! Off we go.
Topper seems happy in his new shoes tonight and we’ll test out my application this weekend with a couple of dressage schools and hopefully a trail ride. Hopefully they hold, as if they don’t I have no one to blame but myself – I already know they can last over eight weeks!


