


The EasyShoe Versa Grip Light is one of our most successful shoes. It is easy to shape, easy to fit, and can be applied with nails, casting, tabs, or adhesive. All methods are fairly straightforward, except for the direct gluing using adhesive. Direct gluing requires a bit more attention to detail.
I recently applied a pair of Versa Grip Light shoes to an endurance horse that went on to train and compete in his first 30-mile event. I had photos taken during the application to help others have the same success.
Here is a photo sequence of the process I used to apply the EasyShoe Versa Grip Lights:
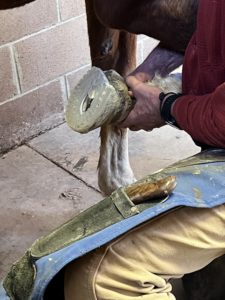
1. Prep is key! It’s essential to properly clean, dry, and rough the hoof before application. I follow the same procedure regardless of temperature or humidity levels. The procedure needs to stay the same. Prep well and prep the same way each time, even if you believe the hoof to be clean or dry enough. These are my prep steps:
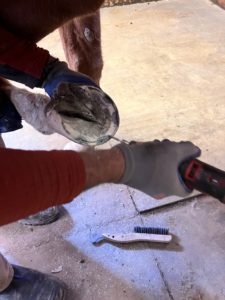
-Wire brush the entire hoof well. Then torch the hoof well. Torch all portions of the hoof that will have contact with the shoe. Repeat three times until you see no dust.
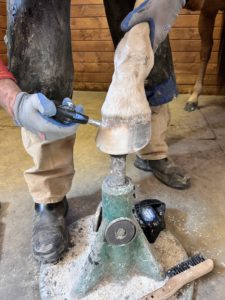
-Use a Dremmel #9931 bit on the solar surface of the hoof that will come in contact with the glue. Then use a circular wire brush. This will rough the surface and allow it to form a stronger bond with the adhesive.

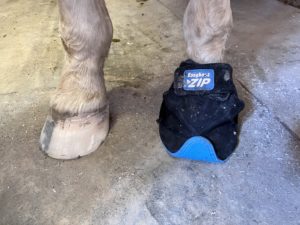
-Now slip on an Easyboot Zip without putting the hoof down. Setting the hoof down on a rubber floor will undo your work getting the hoof as clean as possible. Even rubber mats that appear clean will hold oils from shampoo and fly spray.
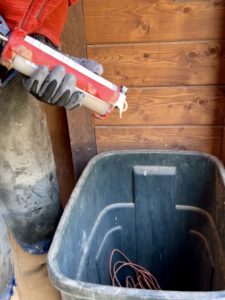
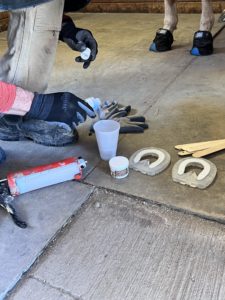
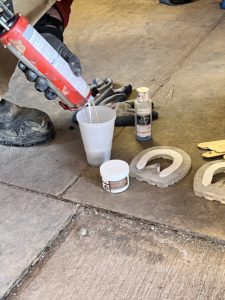
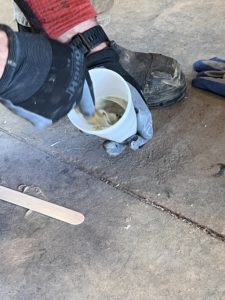
2. Get your glue ready. Cut the end of your glue cartridge off with a pair of nippers. Purge adhesive until it flows freely. Mix the adhesive with Copper Sulfate in a cup. Mix well and vigorously for roughly 45 seconds.

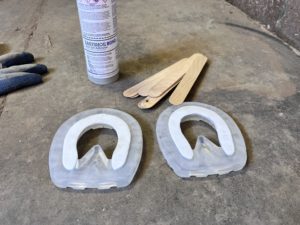
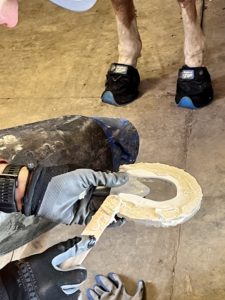
3. After the adhesive (EasyShoe Bond in this case) and Copper Sulfate are mixed well, apply the adhesive mixture to the shoe. I prefer to use a liner on the inner web of the shoe so the glue does not migrate to the inside of the foot. You can purchase liner in a hardware store, in the window and door-seal area.
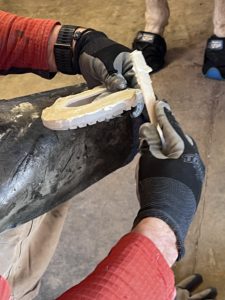
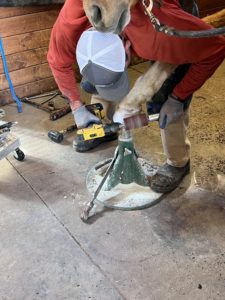
4. Apply the shoe to the hoof with a twisting motion. Push the shoe down firmly, but not so firmly that all of the adhesive is squished out. Try to keep 2mm of adhesive between the hoof and shoe. Use a popsicle stick to layer glue around the sides and heel area.
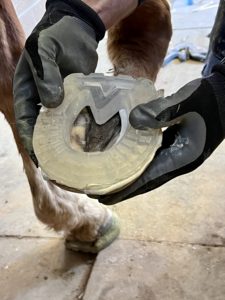

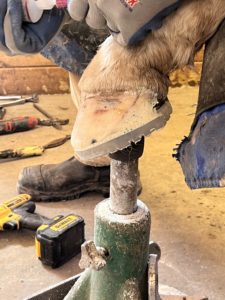
5. Hold the hoof up in the air until the glue sets. This usually takes roughly 4-5 minutes using EasyShoe Bond Fast Set. Do not set the foot down or use plastic wrap with this application method. Setting the hoof down with squish all of the adhesive out and compromise the bond.

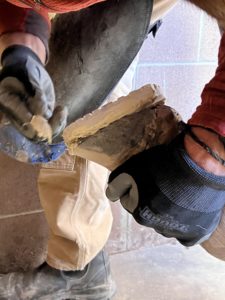
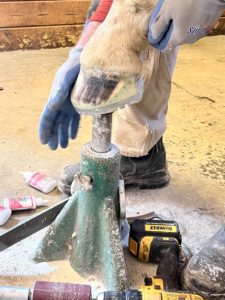
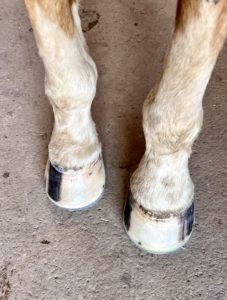
6. After the EasyShoe Bond dries (to the point that your fingernail cannot dent the adhesive), you can set the hoof down. Use a Hoof Buffy to clean up the front and sides of the hoof. Leave roughly half of the glue material to tie in the heels (important). Finally, apply super glue to seal the hoof.
Following these simple steps will result in great success with direct glue. Let us know how it worked for you!


Is there a video on how to remove these?
Can you share the link to the video about direct gluing?
Thank you!
This direct-glue application on the Versa Grip Light was just done as a photo sequence with written instructions. Check out our other how-to videos (many of which will show a similar gluing process on some of our other shoe styles) on our on Youtube channel: https://www.youtube.com/channel/UCxGsbpy9QsmWj-G0goU7pgg.
Comments are closed.