


Submitted by EasyCare Product Specialist, Jordan Junkermann
Our Easyboot Gloves are a form fitting, versatile boot that allow high performance riders to perform at the level they want without adding weight or bulkiness to the barefoot hoof. The Glove has the capacity to be used for long distances and frequent riding, which means they also do well with weekend riders, parades, and with driving horses.
To truly benefit horse and rider, this boot requires a snug fit, and while some hooves glide into the boot like Cinderella into her glass slippers, others have a shape that makes for a challenging fit. For a more rounded hoof shape, you’ll find that the Glove comes in larger widths. This may give you the perfect fit. But, if the hoof is narrow for its length, there’s a solution to snug up the fit – the Easyboot Power Strap. It cinches the boot like a belt.
Here are some tips on applying the Power Strap
The two best methods for inserting holes where the Strap will connect to the boot are a leather punch or a wood burning tool. Keep in mind that the holes need to big enough to accommodate a T-nut, screw and washer.
1. Leather Hole Punch
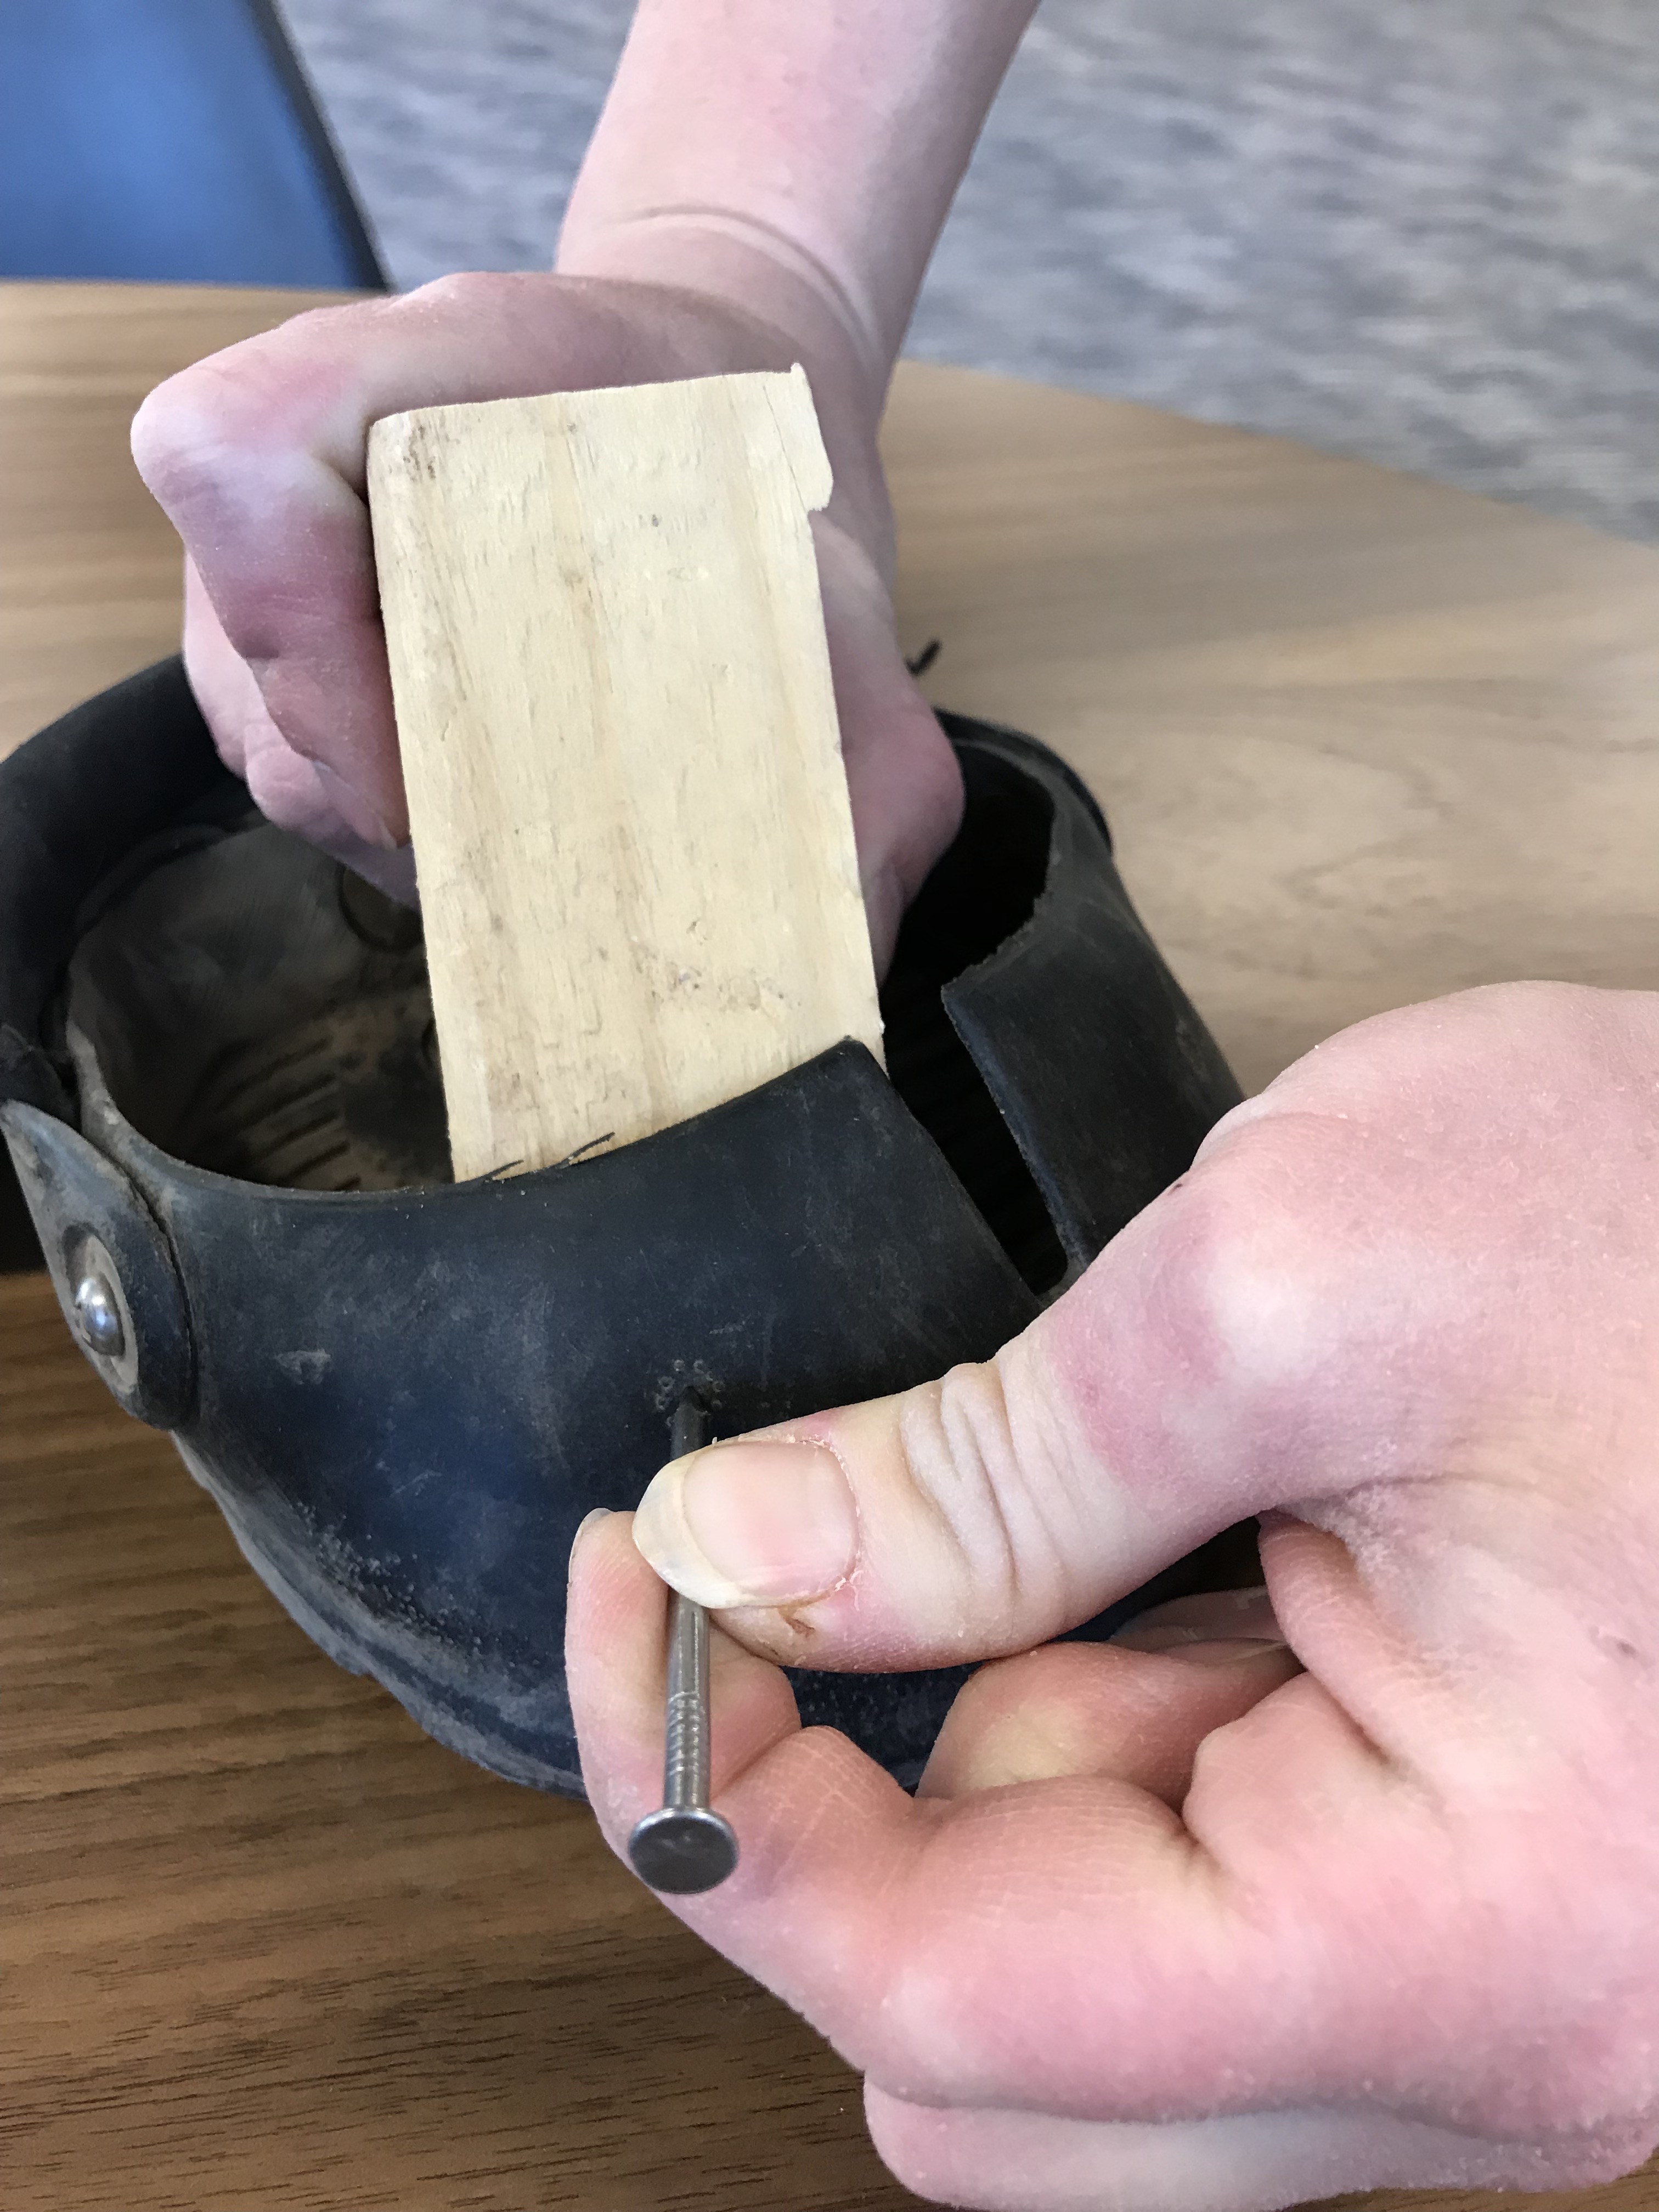
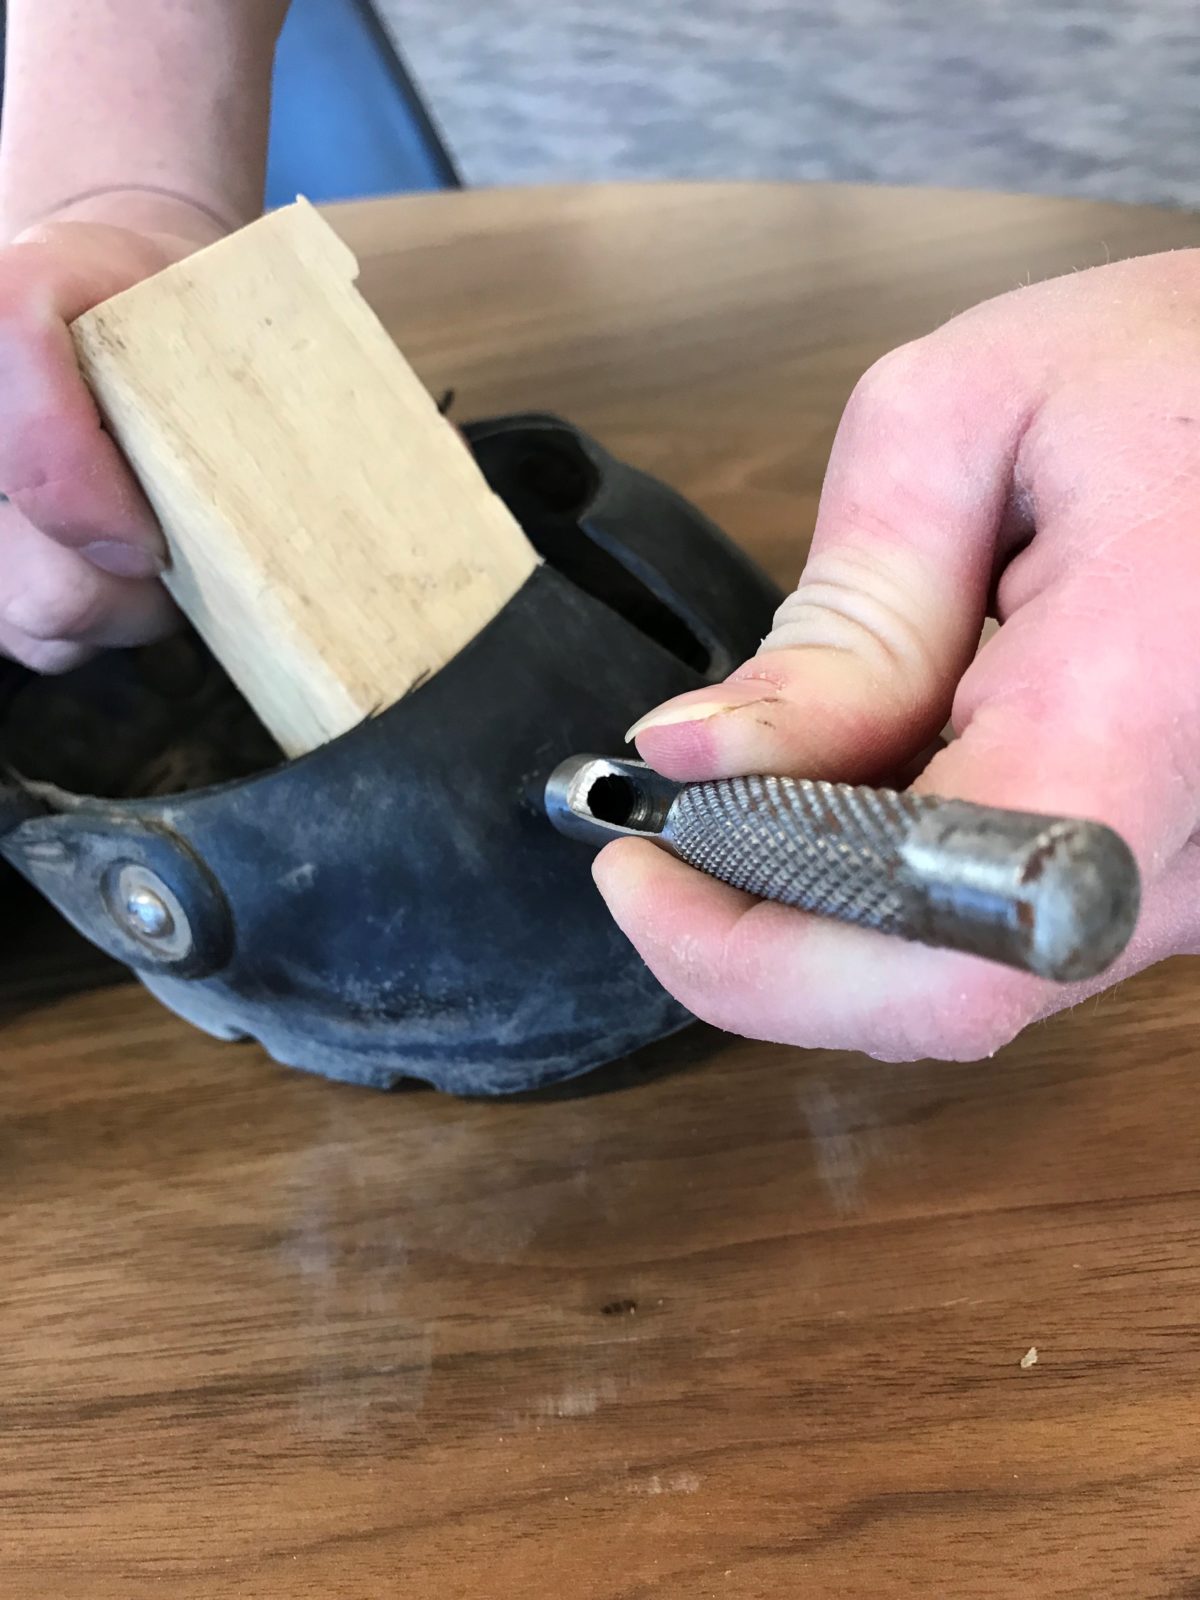
One option is to use a leather hole punch and punch on the indicated areas of the front of the boot and power strap. In the method below, we used a different kind of punch that works best when it’s sharp. The tools you will need for this method include: a wooden block, a nail to start the puncture, a punch, and a hammer. First, make a small hole on the boot with the nail and hammer, using the wooden block as a brace on the inside to give you something solid to steady the punch. Next, hammer a hole on the other size of the boot with the punch and hammer, again using the wooden block as a brace.
| Using a nail can start a hole in the desired area
|
| Using this type of punch requires a hammer.
|
2. Wood Burning Tool
Another method suggested by one of our Product Specialists is to use a wood burning tool. It can be purchased for around $16, and it’s quick, requires less strength and creates a perfect hole for the hardware to sit in.
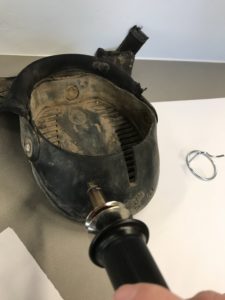
Start by heating up the wood burning tool. It’s a good idea to have a rag handy, because you’ll want to periodically clean the melted rubber off of the tip of the tool to reduce excess smoke.
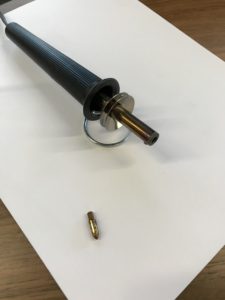
| We tried a couple different tips but found a wide one to be useful. Make sure to screw it in before you heat up the tool.
|
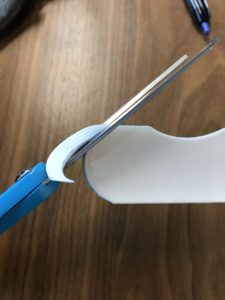
| Start with the base of the boot. Make your holes where indicated on the front of the boot. Don’t be afraid to make it a little bit bigger than the tip.
|
| Clean up any excess rubber at the back end or any that builds up in the front. This excess could get in the way of threading the screw onto the T-nut.
|
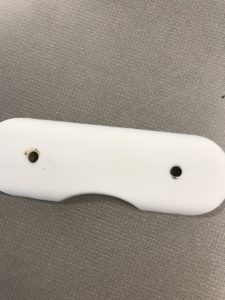
| Create the same holes on the Power Strap using the markings on the back of the Strap as guides.
|
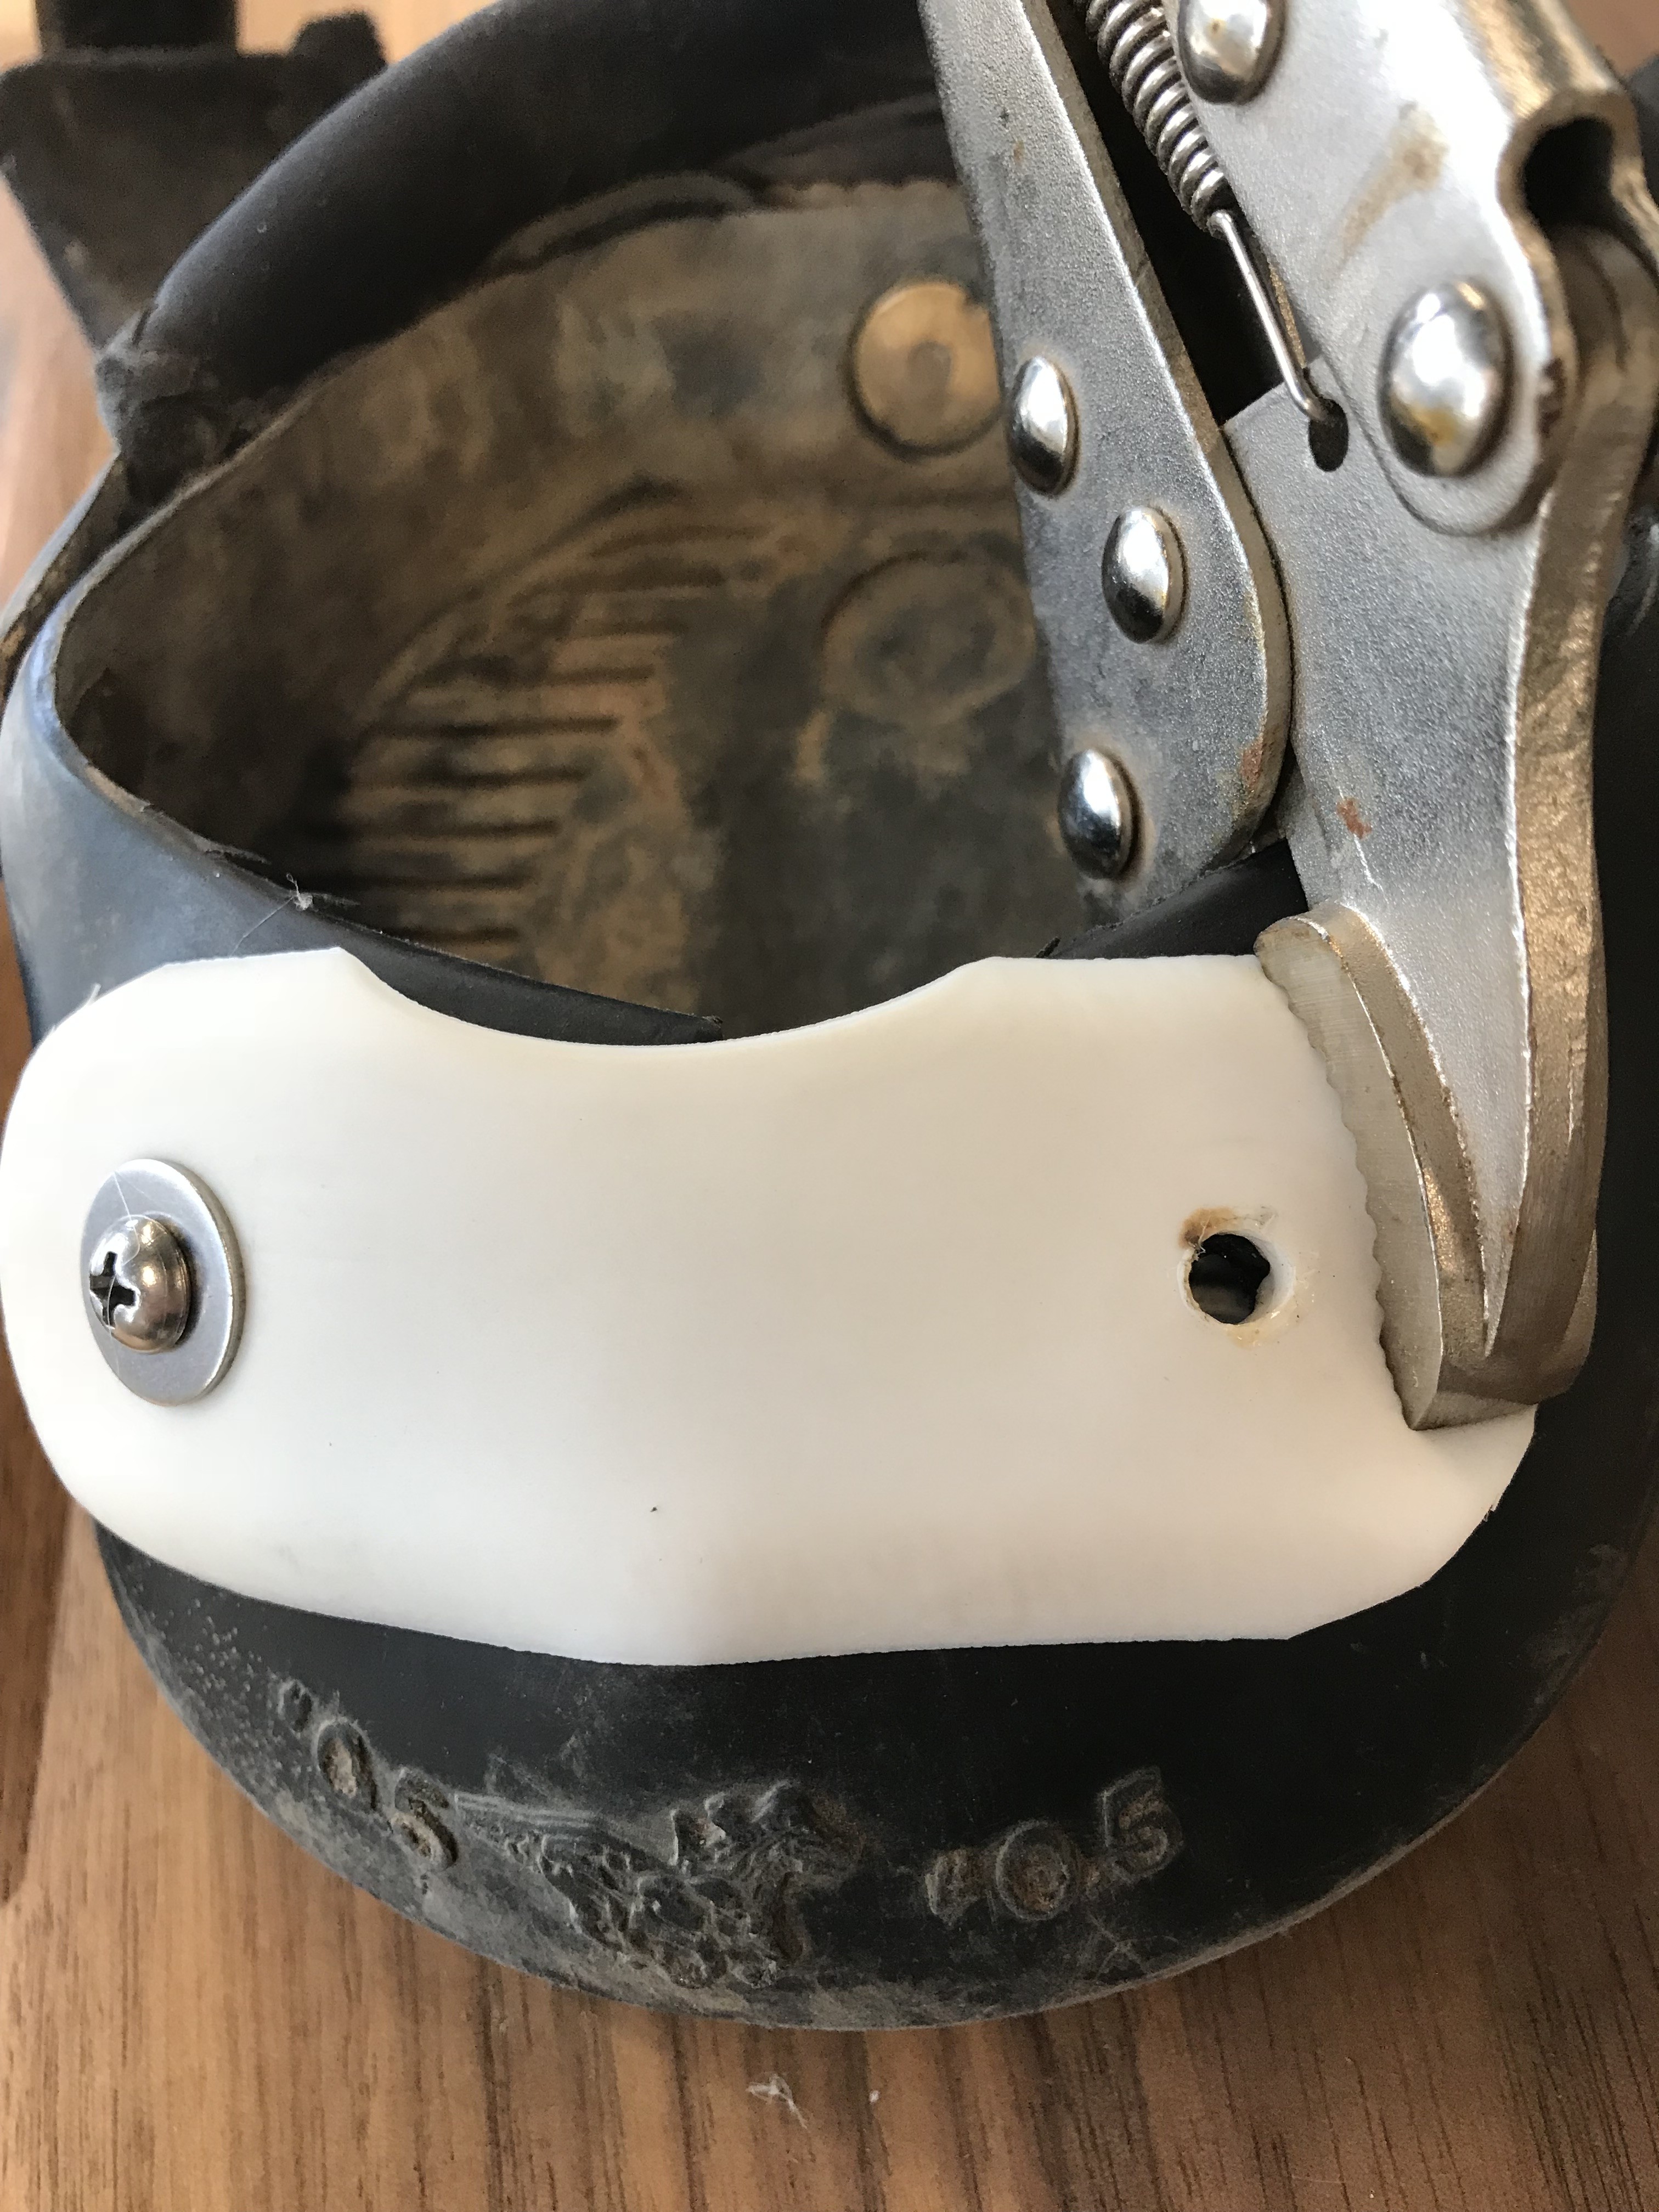
| Make sure to check that your screw will fit into the holes you have made.
|
| Trim the ends of the Power Strap by cutting the line above the correct number on the Power Strap that matches the size boot you have. |
 |
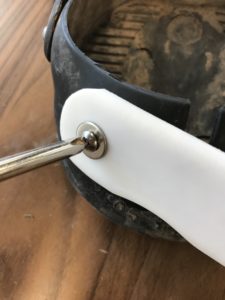
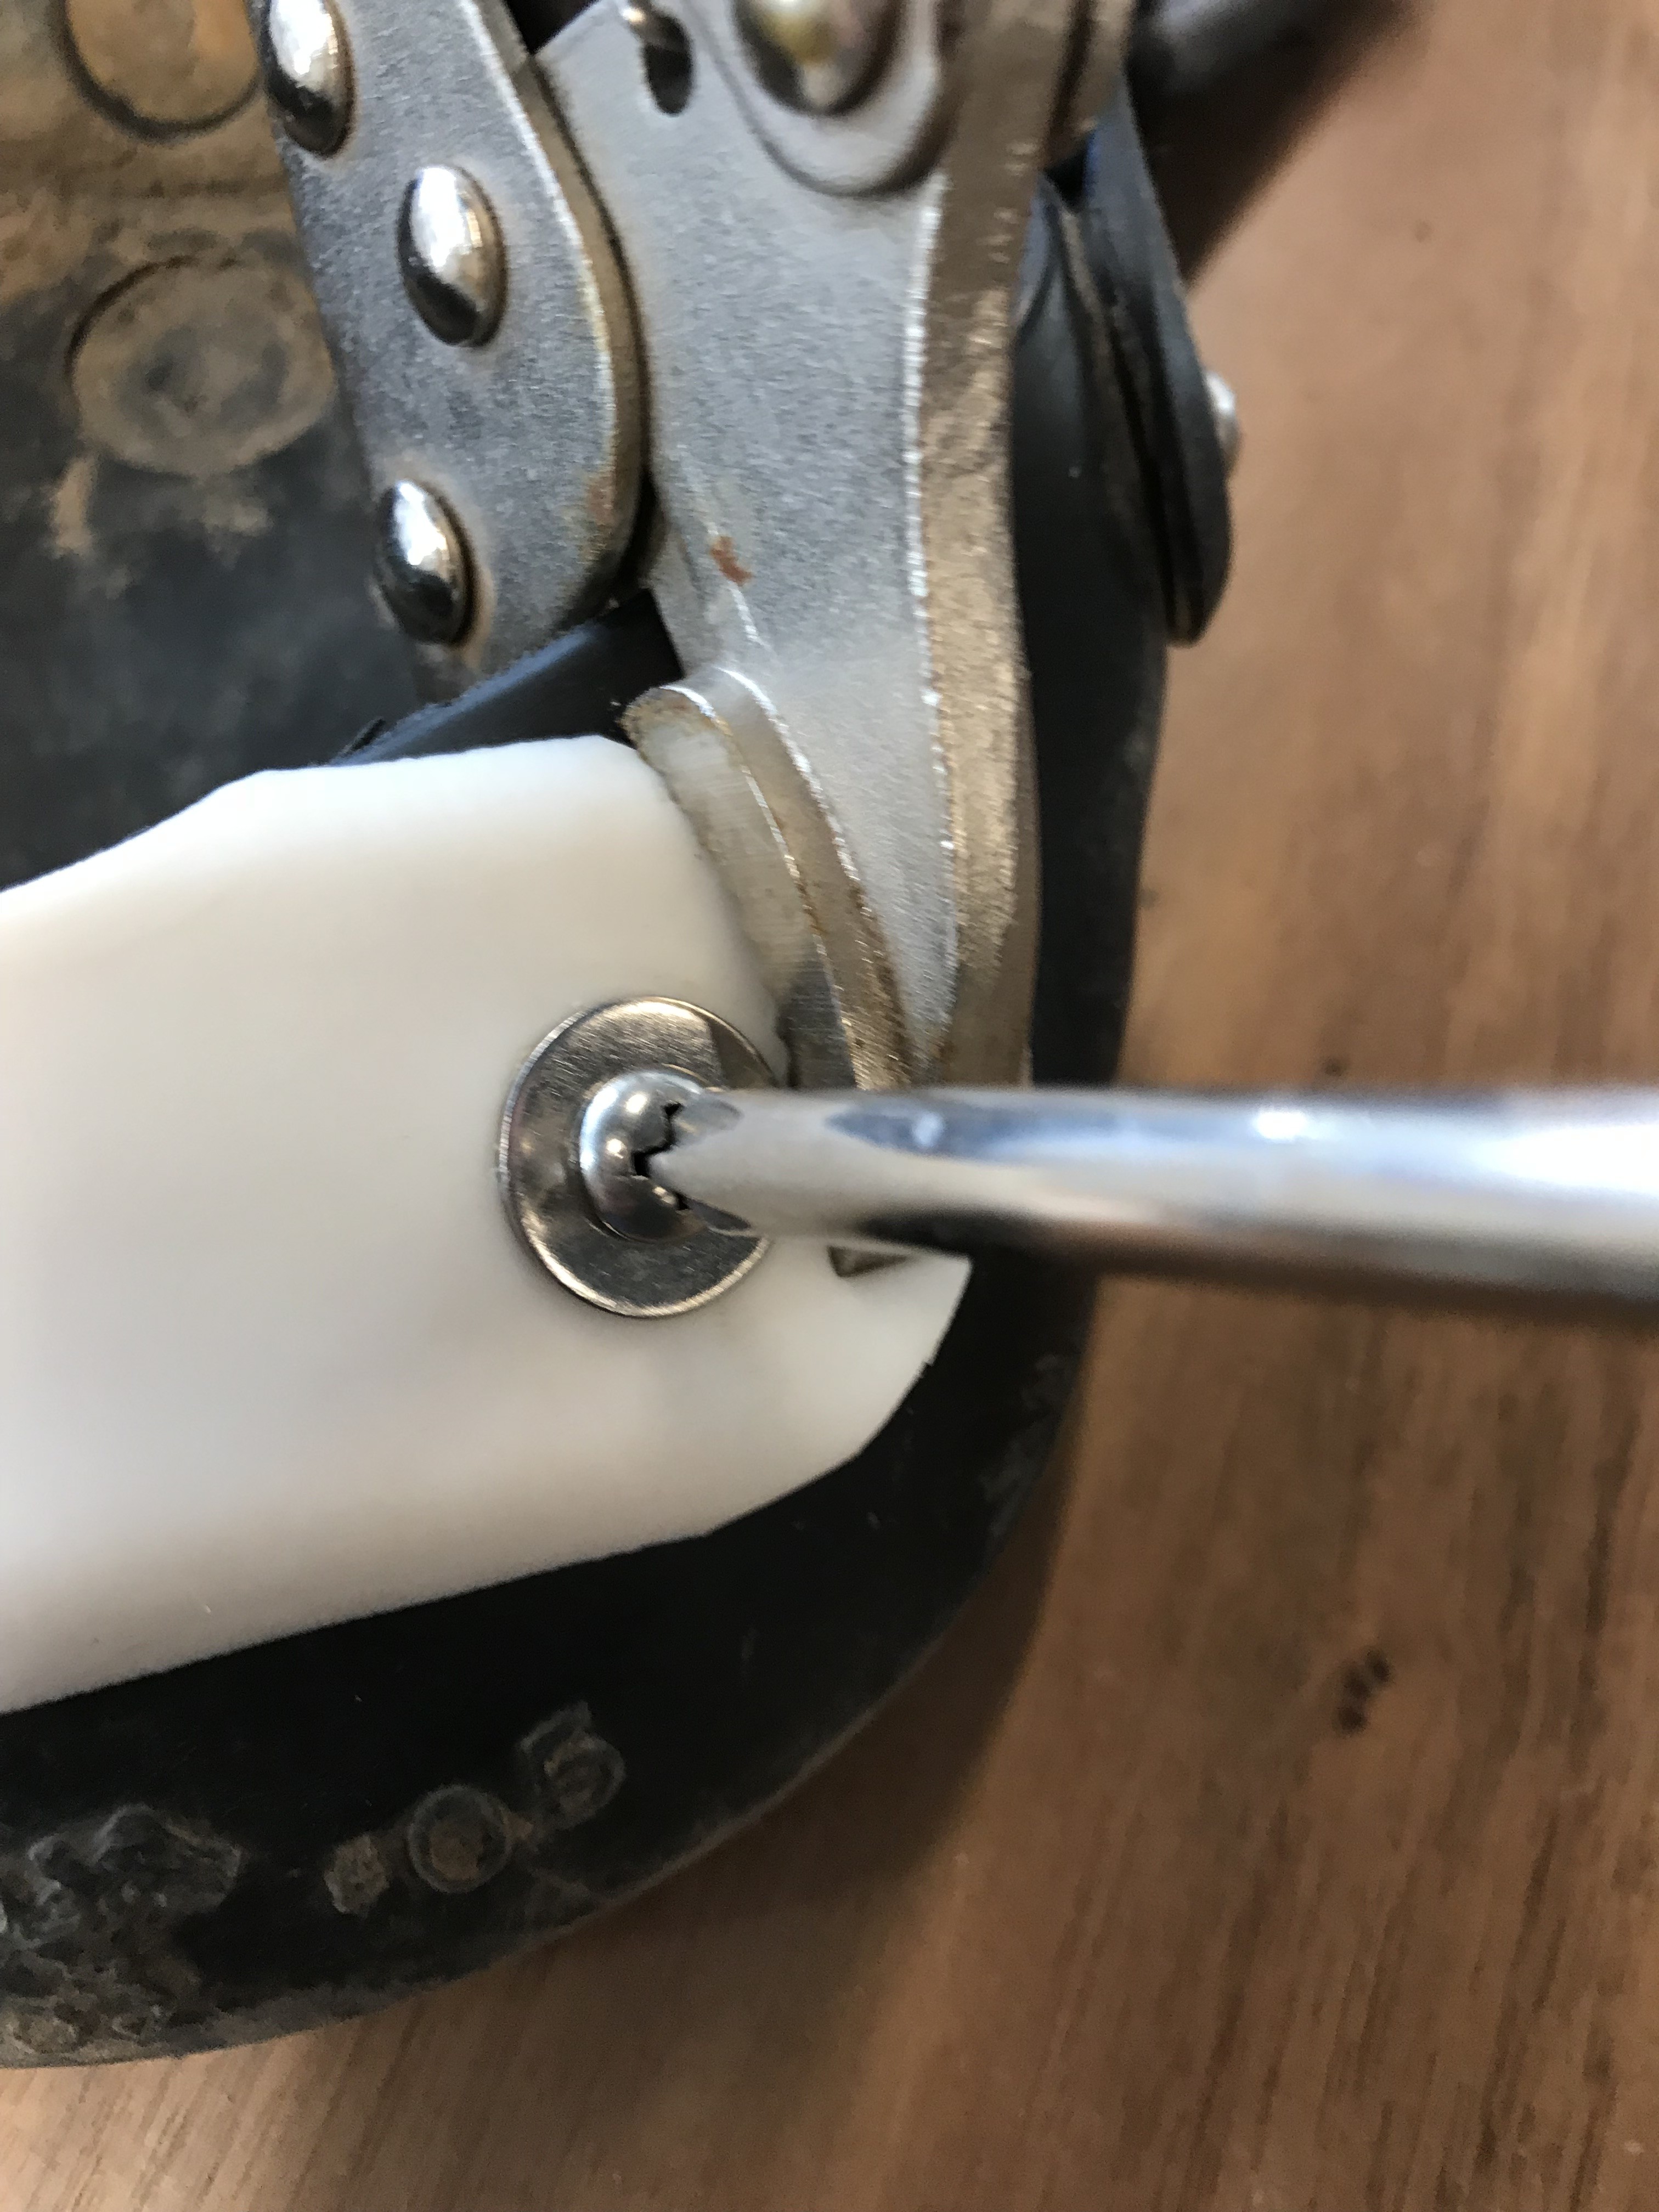
| Once the T-nut is seated in the back of the boot, it only takes a minute to line up the Power Strap hole and tighten it down with the screw and washer. |
 |
| To make it easier to line up the second hole, use a pair of locking pliers as a clamp to hold the boot, Power Strap and hardware in place. |
 |
| Placing the second side screw is easy with the locking pliers. |
 |
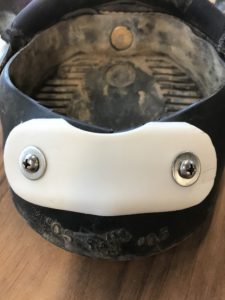
| The Power Strap in place! |
 |
Attaching the Power Strap to the Glove can be simple and should provide the snug fit needed to enjoy this popular boot.


