


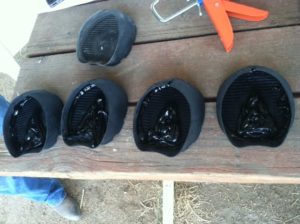
The first part of the plan: assemble the Easyboot Glue-Ons and tools.
Thanks to the “Title Wizard” for my snazzy title. Its other suggestions were:
- “A Simple Guide to Gluing Tips and Tricks” – Hmmm, I wouldn’t necessarily classify gluing as “simple”.
- “You Don’t Need to Be Rich to Do Gluing Tips and Tricks” – Well that’s a relief since owning horses and being rich seem to be mutually exclusive states for most people.
- “The Best Gluing Tips and Tricks You’ve Ever Seen or Your Money Back” – Sounds too much like an infomercial, not to mention the tips and tricks are free.
This is a follow up to my last blog, My First Gluing: A Two Person Job. Although I don’t think I have mastered gluing tips and tricks in just two days, I did have another wonderful gluing experience. Last week, the customer service team attended a hands-on learning session with Kevin Myers and my horse Cal was the gluing subject. Here are some additional tips when gluing:
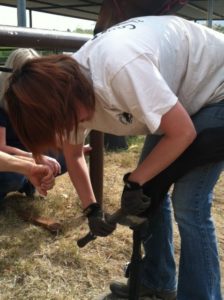
- Have a well organized plan. Gluing is best done as a team of two. Make sure you have a coordinated plan and stick to it.
- When roughing the hoof wall, make the striations go across the hoof wall at an angle. The rasp tries to follow the linear growth of the hoof wall so make sure you don’t fall into this trap.

Kevin demonstrates the angle you should hold the rasp at (left).
My attempt at roughing the hoof at this angle (right).
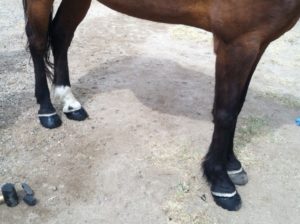
- Rough the bottom 2/3 of the hoof wall around the entire hoof.
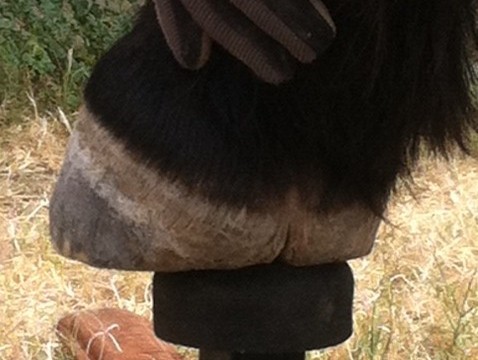
Rough the hoof wall as far back as possible.
- Always check your fit before gluing. Apply Sikaflex around the bottom edge of boot and in the frog area to all boots at once. Since Sikaflex takes several hours to set up, there is no risk of the glue drying before you apply the boots to the hooves.
The top boot was used for fitting – this ensures the boots used for gluing stay free of dust.
- Excess Sikaflex will come out the back of the boot. Fill any gaps in the heel area with this glue.
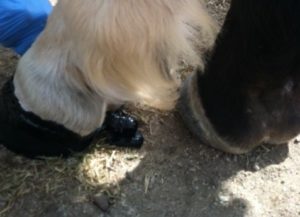
The excess Sikaflex will continue to ooze out for several hours.
Resist the urge to remove it until the following day when it has set.
- Always have extra glue and Glue-Ons available in case something goes awry. You can expect to glue approximately 4-6 boots per tube of Sikaflex and Adhere. Be sure to check the amount of Adhere remaining before you start applying it to the boot. If you run out of Adhere halfway through a boot, the glue will set before you can get another tube going.
Another successful gluing!
- A final note: working in warmer temperatures will increase the speed at which the Adhere sets up while working in cooler or damp environments will delay the set-up time. You may offset these external factors by cooling the Adhere in a portable cooler or by warming it near a heater in your truck or trailer.
Alayna Wiley


