


Sometimes success and failure are separated only by a thin line. The little things can make a difference between a successful gluing of an Easyboot Glue-On and a lost one. Many blogs have been written about gluing boots on horses hooves, click here to read up on the Bootmeisters (mine) gluing suggestions. EasyCare has published several videos on how to properly apply Glue-Ons, all should be reviewed occasionally on the EasyCare website.
Today I want to focus on a few easily overlooked application steps that might help improve your gluing procedure.
First, however, let’s take inventory by evaluating our previous gluing job:
- Did the boot stay on for the intended time period?
If NO, then go back to watch the application videos and reread my previous Glue-On blog. If YES, proceed to next question: - How easy did the boot come off when you removed it from the hoof?
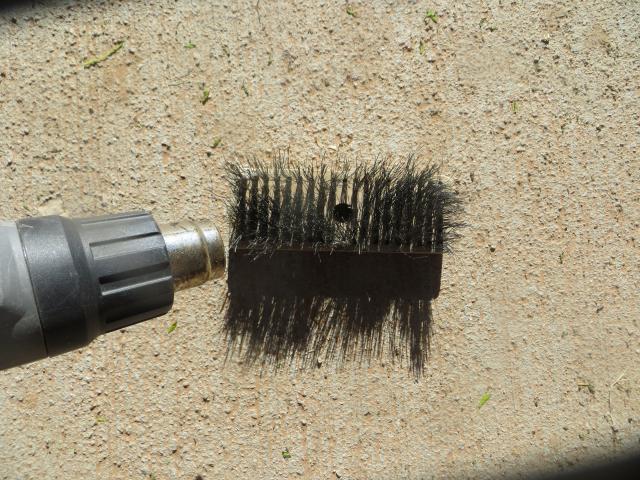
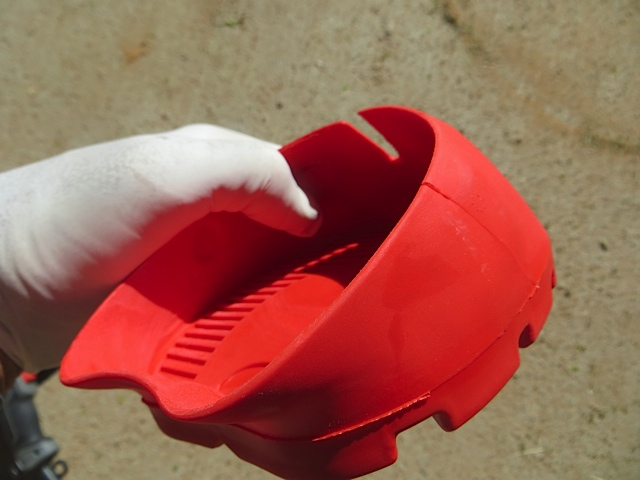
If “EASILY” is the answer, review your application procedure. If “DIFFICULT” is the answer, how did the boot and hoof look: - Was all the glue left on the hoof wall or all of it inside the boot? Or, were there roughly equal amounts of glue left inside the boot and the hoof wall?
If all the glue stayed inside the boot, that means your hoof wall was either not properly prepared or was somewhat contaminated. If all the glue stayed on the hoof wall, then the inside of the boot was contaminated. On the images above, we can see that about half of the glue stayed inside the Glue-Ons and half of the glue remained on the hoof wall. That is the desirable appearance of hoof wall and boot wall after boot removal.
What additional steps can we take to guarantee 100% success all the time?
1. Heat the wire brush with your heat gun to burn off all possible contamination, like dust, oil and moisture. Heat is cleansing! Use your wire brush only to brush your hooves with. For cleaning the barbeque, use a different one.
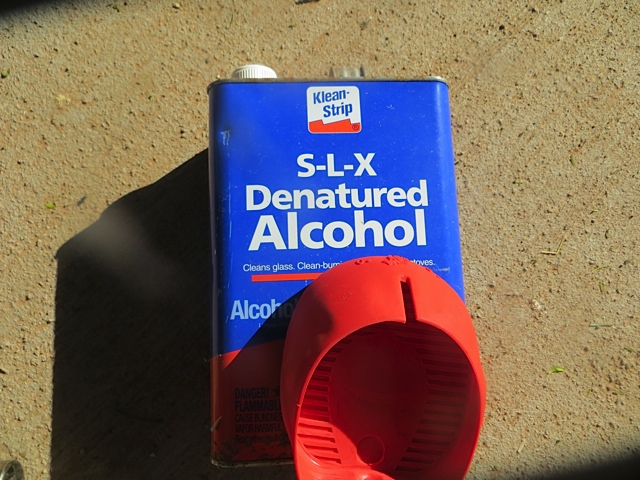
2. If the boots are not fresh out of their original package, clean the inside of the boots thoroughly. Nobody knows who handled the boots, someone might have just finished his lunch sandwich before packing your boot. Body oils could have contaminated the inside of your boots. You can clean them with denatured alcohol or even easier, just use your heat gun to thoroughly dry and decontaminate them.
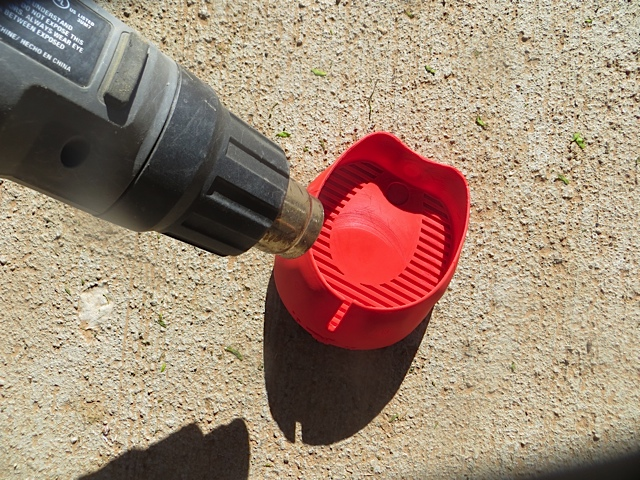
Afterwards, do not handle the inside of the boots with bare hands again.
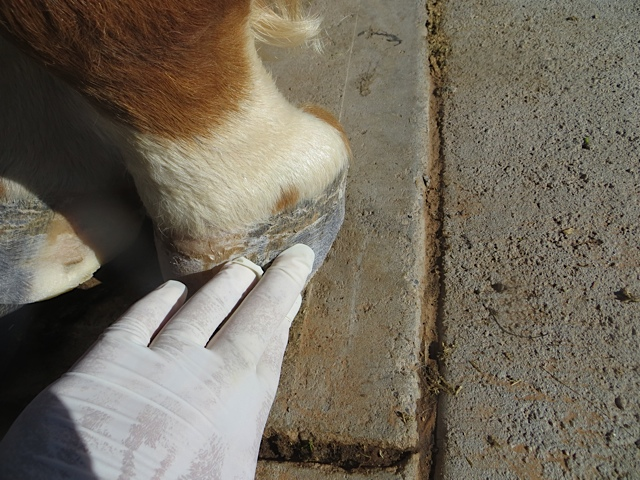
3. After the drying and sanitizing procedure of the inner boot wall and outer hoof wall, only touch with clean protective gloves. Nylon or surgical gloves work best. Natural oils on the skin of your hands can again contaminate the hoof walls and boot walls, which you just cleaned with great effort.
Now boots and hoof walls are ready to have the glue applied. If prepared this way, your boots will stay on for weeks at a time, if you choose to keep them on that long. (Note: EasyCare recommends removing Glue-Ons after 5-10 days.)
Your Bootmeister
Christoph Schork


