


In last month’s blog, EasyShoes – There Are Many Options, I talked about the different options available to customize the various EasyShoe models to fit your horses hooves and needs. One of the options we want to highlight today is the nailing option.
Of the four models of EasyShoes, the Performance N/G is the only one meant to be glued and/or nailed. One might ask: “why nail when we can glue?” Nailing is a viable alternative when glues are not advisable, either the weather is non suitable for gluing, the hoof care professional is not comfortable with gluing, time is short or for cost reasons. Let’s face it, nailing is less expensive compared to gluing and is much faster with a little practice.
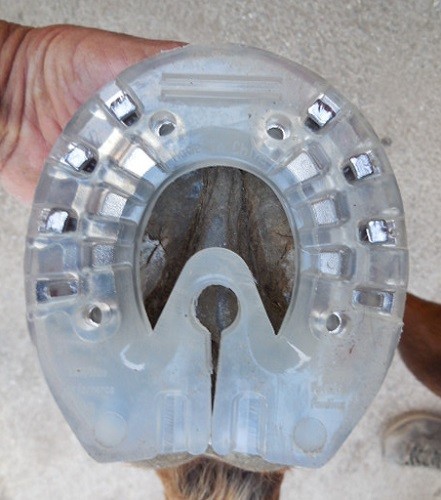
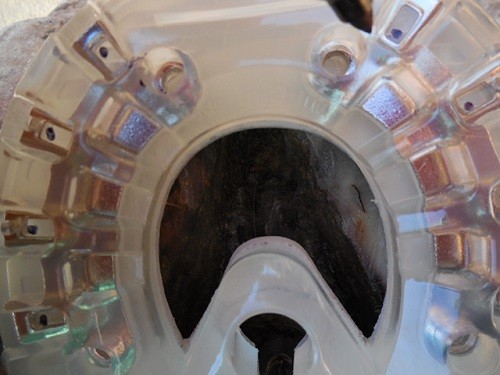
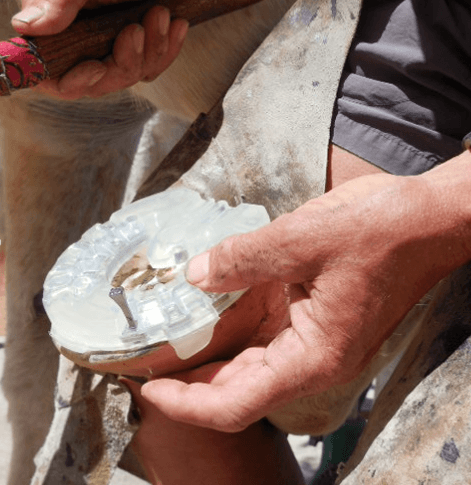
An EasyShoe Performance N/G nailed.
When nailing, one should be very familiar with the internal hoof structure and anatomy. The nails are typically placed into the white line. Nails placed into the hoof wall will not hold, nails placed within the sole area will draw blood and make your horse lame. The Performance shoe is clear, so we can see the white line through it. It also has a metal insert to stiffen the shoe and make the nails hold better. When selecting the proper size Performance N/G, make sure that the shoes fit full. That means the shoe should be about 2mm wider than the hoof in the quarter and heel area.

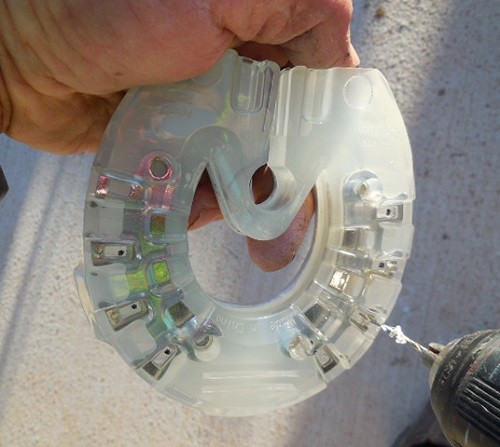
To achieve the proper size, you might have to use one of the Spacers to keep the shoe wide enough while nailing.
You can read more about Spacers in Garrett Ford’s blog, EasyShoe Spacers – Why, How and When?
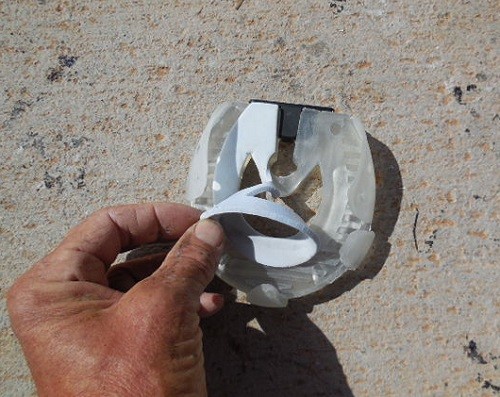
Next, if you do not want to use any glue, remove the sides of the shoe, the glue cuffs. You can also trim away any clips that you do not want (at minimum, it is recommended that you leave either the toe clip or the side clips). If you want to set the shoe back for better break over, you can remove the toe clip. Any scissors or tinsnips will work for this. Alternatively, you create a toe clip bed by rasping some dorsal hoof wall away to accommodate the toe clip.
When nailing the Performance N/G, you do not need the white foam glue dam. You can just peel it off.
I like to outline the white line with a black marker, this makes it easier to see through the shoe.

Next, hold the EasyShoe Performance N/G over the prepared hoof sole. You can now see the blackened white line better. You can nail straight through the shoe or you can pre-drill your nail holes if you prefer. Pre-drilling will make it easier, especially if you are new to nailing. If you want to pre-drill, mark the spot where you want to place the nail over the white line with the felt marker.
If you choose to pre-drill holes (and not everyone adds this step), I suggest you drill the spot with a 2 mm drill bit.
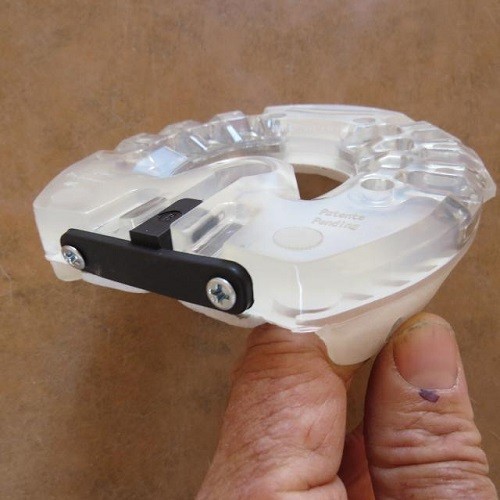
It is of utmost importance that the nails are deep seated. The best nail heads for the EasyShoe are the E Heads. For small hooves and thin hoof walls a #4 Slim might work. Sometimes even a Race Nail or Special is necessary. If the hoof wall shows a thin crack after you place the nail, it was too thick. The E heads are more square compared to the City Heads and fit better into the nail slot provided. To deep seat the nail heads, it is advisable to use a nail setting tool. A nail setting tool can drive the nail head below the level of the shoe. This procedure will hold the shoe much better and because the nail heads are deep seated, they will not contact the ground during the landing of the hoof, thus greatly reducing the vibration experienced with nails flush or protruding beyond the shoe plane. This is very commonly observed with steel shoes, where the nail heads are flush with the shoe.
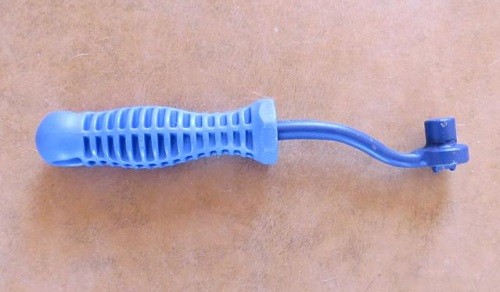
Nail Setting Tool
The Nail Setting Tool will drive the nail head nicely below the surface level of the shoe.
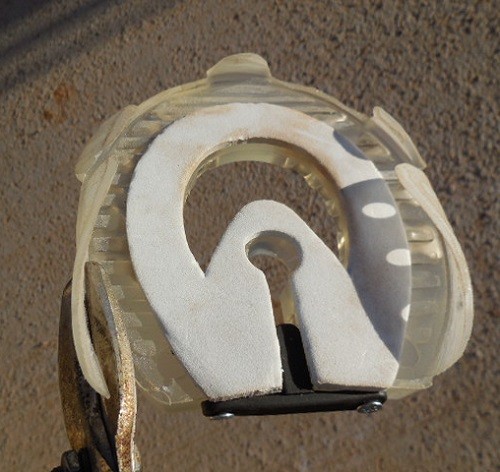
After the nails are sunk, the clinches need to get set. Because of the deep seated nail heads, the nails could easily get pushed back a little and loosened when clinching without pressure onto the nail heads. For this procedure, a clinch adapter can help. It will help by putting counter pressure onto the nail head while the clinches are set.
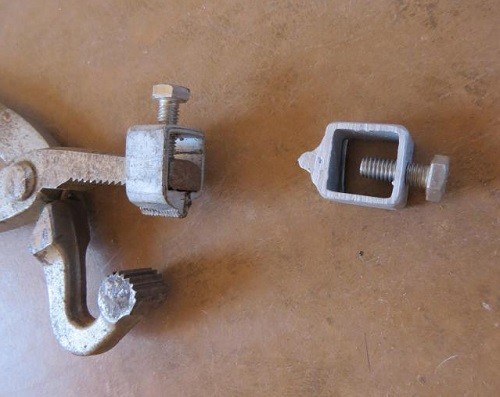
The Clinch Adapter.
The biggest fear for beginners is driving the nails into the sensitive laminae or too high. Proprioception helps with accurate nail placement. We can use this phenomena with our hands by slightly tapping with our index finger on that spot on the hoof wall where we want the nail to exit. Like magic, the driving hand will automatically seek the tapping fingertip and exit there. Like being pushed to exactly that spot.
This nail is exiting at the spot on the hoof wall that I had tapped with the left index fingertip. Works every time.
EasyCare is hosting an EasyShoe clinic in the Charlotte area May 16-18, click here for more information: EasyShoe Clinic.
Christoph Schork
The Bootmeister
Global Endurance Training Center


