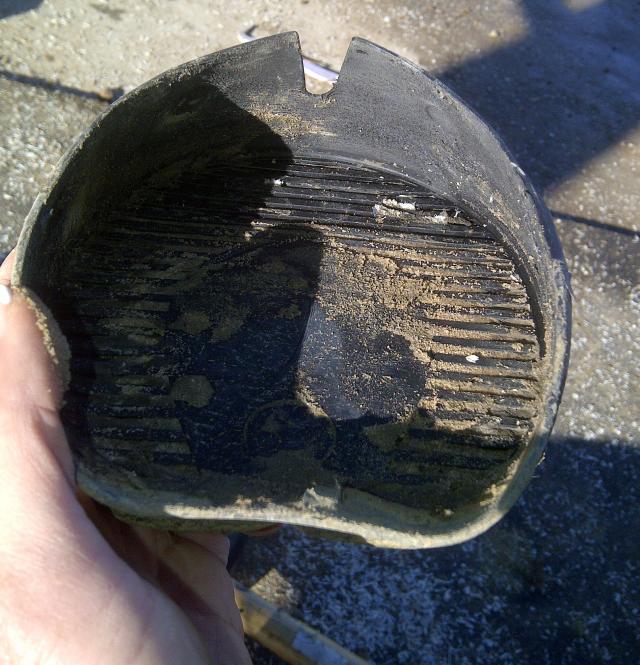
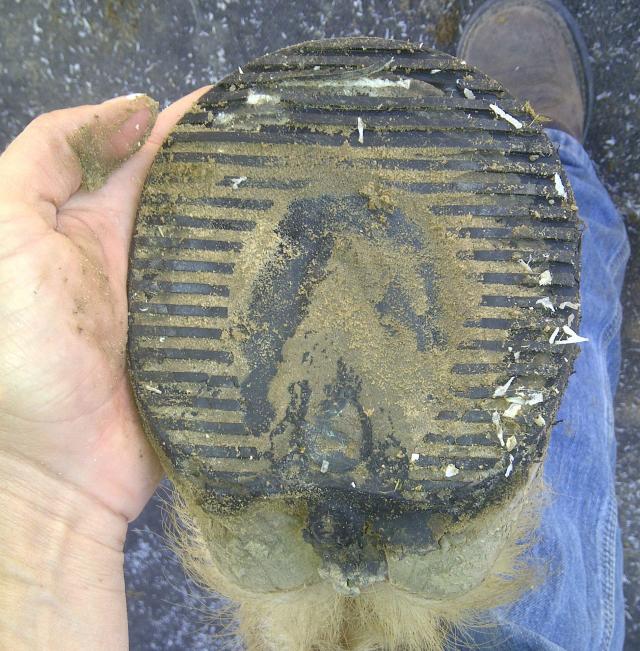
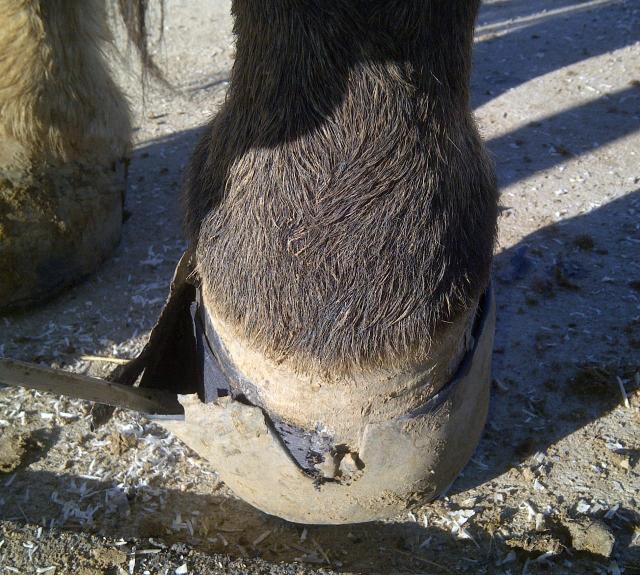
Removing a glue on, looks like the right amount of glue was used since there is some on the hoof and some on the boot.
My husband and I started gluing on our own boots years ago; we have been very successful overall with the process, encountering only a few problems other than just getting the hang of it. We very rarely loose a Glue-On boot, but if we do it is almost always a result of improper use of glue. The way you diagnose this failure and find a solution to the problem is to study the boot and hoof and check your glue pattern, after
losing or removing your Glue-On. Here are some examples.
If you can see the shape/pattern of the tube of glue that you squeezed into the boot initially, then the boot failed to stay on because the glue was already set-up to some degree by the time it got on the hoof. This happens for two reasons that I have noted: either you were too slow in getting the boot on the hoof after putting the Adhere in it, or you got a bad tube of Adhere.
The temperature that you are working in affects the rate at which the Adhere sets up. On a hot day, you will have to work very quickly. Try putting the glue in the fridge for a few minutes to slow the reaction and give yourself some extra time. On a cool day you can take your time, but make sure your horse stands still an extra couple of minutes because it will take a little longer to set up. On rare occasions, we have used Adhere that gets so hot and sets up so fast that the two of us working as a team in cool whether cannot work quickly enough to succeed. I can tell if the glue has set up too soon when I try to slip the shell on the hoof; I know that I can normally twist the shell back and forth to smear the glue around on the hoofwall before finally centering it. If it’s already setting up and it is too firm for me to twist the shell around a little, then it will not adhere to the hoof wall properly. So I pull the boot off right then and there and start over.
I have also lost a Glue-On as a result of bad glue. It was very apparent because there was still liquidy glue in the toe and the hardened glue had a blood-orange tint. So at least by diagnosing this problem, I was able to whine about the bad glue instead of blaming myself and the process! If the glue looks or feels abnormal in any way, chuck it, especially if you are gluing on for an important event.
If you can see bald spots where there was either no glue or an extremely thin layer of glue between the hoof and the shell, then you didn’t put enough Adhere in the boot. The boot then failed to stay on because there was not enough contact. Just use more Adhere next time.
 This boot actually stayed on 4 weeks, but it was removed very easily, so I was bound to loose it soon. Lesson learned: not enough glue. There was zero glue on the shell and only a smear of it on the hoof. I guess we were feeling frugal with the Adhere that day.
Another problem that we encountered in the beginning was lameness caused by one of two things: either a small blob of adhere had gotten under the hoof during the glue-on process (and it setup under the sole or wall and acted like a rock in your shoe that never moved), or sand had gotten in to the boot over time and had built up in the bottom between the frog/sole and the bottom of the boot, causing undue pressure on the frog and sole. Both of these problems resulted from improper use of Goober Glue (or CS or any other hoof pack). With both of these problems, the horse will regain soundness immediately upon removal of the pressure.
If you remove the shell and feel or look where the hoof rested on the floor of the shell, you may encounter a hard bump of Adhere that was causing your horse pain. Adhere, once setup, is like hard plastic, whereas Goober Glue is soft and cushioning. When you slip the hoof into the shell, it is possible for the hoof to catch a dab of adhere as you force it on. That dab of glue can cause pressure and then possible lameness. This is why when we pack the frog and sole with Goober Glue, it is also important to put a bead of Goober Glue all along the edge of the shell’s internal wall. We have not encountered this problem since we started putting that bead around the edge. Regardless, if you study the boot after removal, is all the adhere on the wall and is the Goober Glue bead intact around the edge? Or can you see or feel an Adhere bump on the floor of the shell or still glued to the bottom of the hoof? By studying the shell and hoof you will know if it was a gluing mistake, and if so, you can focus on preventing it from happening the next time.
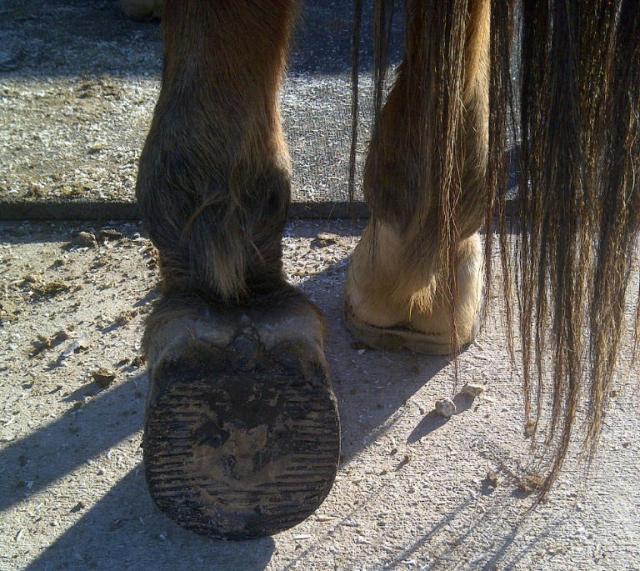
 Goober Glue remaining in the hoof that just had a Glue-On removed. A small amount of sand got in but not enough to cause any problems.
If you pick up your horse’s hoof and the Glue-On shell is actually bulging out in the center, you probably didn’t use enough Goober Glue to pack the frog and sole, leaving room for debris/sand to enter, but not escape. Remove the shell, and check to see if the Goober Glue completely filled the entire concavity and grooves of the frog. It’s better to have excess packing than not enough, since excess will just squeeze out the heels.![]()

A Glue-On was just removed from the left hoof. Notice the Goober Glue, still on the hoof, fills the frog and concavity entirely. It forms a rim around the outer edge of the hoof, and fills all the way up the heel bulbs so nothing can seep in back there.
As you can see, these problems are all the result of mistakes made during the glue-on process, not the failure of the boots. I recommend that you not only study the shells that you loose on trail but also those you remove that stayed on and worked successfully. From simple observations, you will learn a lot about how to do it better next time. You will start to see patterns of what works, and what doesn’t.
Submitted by Tennesee Mahoney, Team Easyboot 2011 Member


