


You may remember my blog on hoof mapping on my own horse. Several months later those flat pancakey Percheron/TB feet are finally tight enough to fit into the size 5 EasyShoe Performance with a 14mm spacer. What a transition my girl has made! I had the opportunity to glue shoes on all four feet with Garrett Ford and Derick Vaughn-I learned so much and had such a blast! And best of all, Rosie is LOVING her new shoes, moving well, and enjoying her work as a jumper.
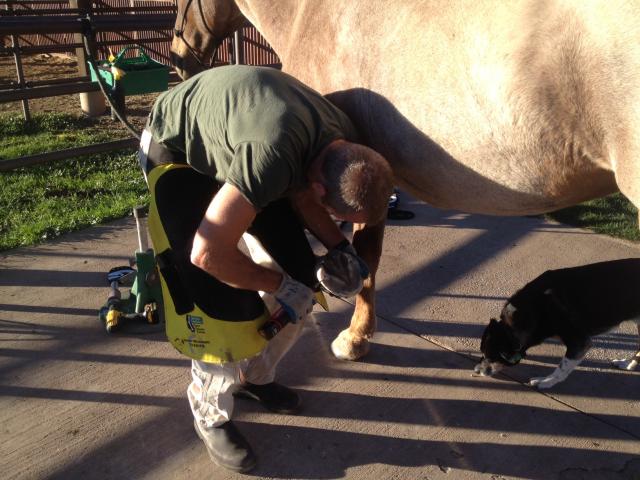
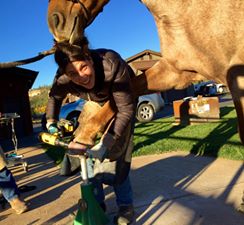
First Garrett and Derick tag teamed Rosie’s trim while I looked on and did my best to absorb every bit of information. They let me prep the hooves using a rotating hoof buffer attachment with 50 grit sandpaper and a Dremel tool. I buffed and rasped the hoof wall and made sure to remove all the periople on the heel. Then we used a butane torch and wire brush to put the finishing touches on the hooves-we torched each hoof 3 times! Those feet were CLEAN and DRY and good thing too because with Rosie tipping the scale at 1476 pounds there is NO room for error.
We decided to go with a two part gluing process and then filled in the sole with the Shore 40 Glue-U Shufill.
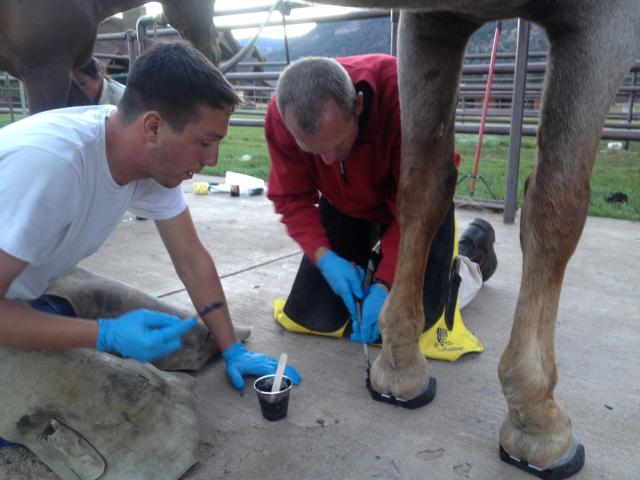
First we applied Vettec Adhere to the sole portion of the shoe and put those on. I held the foot up for 2 minutes and then set it down carefully so Rosie could do the rest of the work. Applying the Adhere to the shoe and the shoe to the hoof for the first time was quite the rush. The clock was ticking and let’s just say that my dexterity with this process has some way to go. I was grateful for the knowledge and encouragement around me and especially for the nail that Garrett drove through the toe of the shoe to help guide placement and to minimize the chance of Rosie’s toe slipping forward after setting the foot down.
Next we glued the cuffs with EasyShoe Bond Fast Set. Since we wanted Rosie’s shoes to look slick, we mixed some cement dye into the Bond to match the black of the shoes. Next time I might have to add a little glitter! Using a hoof pick to pry the glue cuff away from the wall and a fat popsicle stick to slather the Bond in proved a little awkward but effective and Bond was oozing out of the holes in the cuffs.
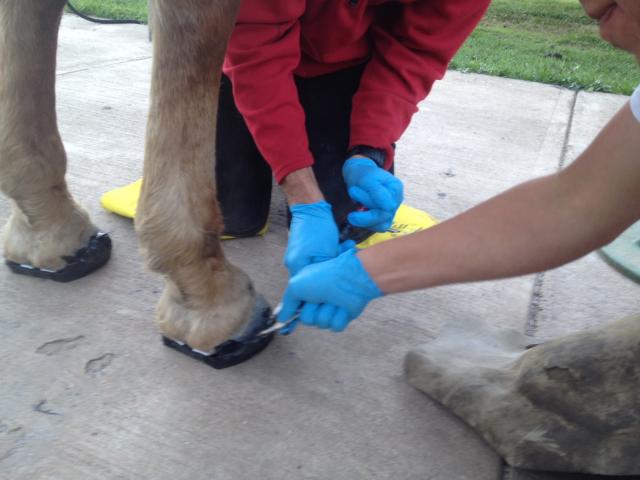
After allowing the Bond to set up we went to town with the buffy and buffed the glue, the wall, and the cuffs to a perfectly smooth transition. We then filled the sole with the yellow Shufill-this is the firmest of the four durometer silicones EasyCare offers-taking care to inject some up under the web of the shoe so it would stay put. The Shufill was then covered with a layer of duct tape to hold it in place while it set up-only a few minutes. As if Rosie’s feet weren’t looking slick enough, Garrett busted out his super glue stash and slathered a layer over the top of everything to seal it off and provide one uniform outer layer. We pulled the duct tape off the bottom and were done. WOW! PERFECTION!


The shoes have now been on fourteen days including two big days of jumping; schooling over 4′ and another two days at a jumping clinic and the shoes are holding up great! I have been enjoying the ease of tacking up with shoes instead of our Old Mac’s G2’s and Rosie has been enjoying the comfort and protection around the clock. I expect to see some good quality hoof growth by the time we are ready to remove the EasyShoes and trim again.
Photo Credit: Caroline Miller
Since my ankle is finally healed enough for me to be riding seriously again, Rosie and I have been back to work on the cross country course and in the jumping arena putting our shoes to the test. So far they are getting an A+++!


