


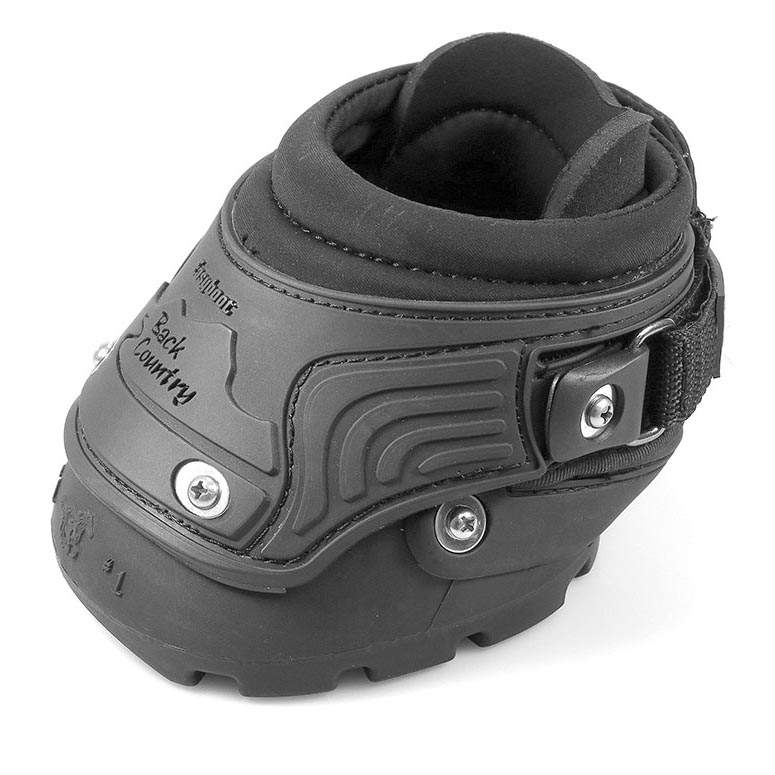
The new and improved Back Country boot has evolved into what I like to call the “Black Knight” of boots.
With it’s rugged, warrior-like good looks, tough as nails rubberized upper, and extra-thick neoprene comfort cup cradling the heel bulbs, this boot is the best of both worlds. It combines the fit, comfort and convenience of the Glove with the ease of application of the Trail. At the back of this boot is the Snug Strap and its job is to hold everything together in a strong, but tender, embrace. This strap is now standard equipment on every Back Country boot, ensuring a super-secure fit.
Though this boot begins its life as a Glue-On shell, the fit requirements for the Back Country are vastly different from those of the Glue-on shell or for the Glove boot.
Thanks to the Back Country’s innovative design and robust construction, even if your horse’s hoof measurements don’t fall perfectly into the parameters of the sizing system, the forgiving qualities of this boot’s 3-lap Velcro closure system can make up for various hoof shapes, conditions and pathologies.
Here’s an excerpt from the Fit Kit application guide:
“Although the size chart for the Easyboot Back Country is the same as one for the Easyboot Glove, the fit does not need to be as snug. Customers who are unable to use the Easyboot Glove due to length of trim cycle or lack of hand strength should consider the Easyboot Back Country. If your horse is on a trim cycle longer than 4 weeks, we recommend using a 1/2 size larger than the snug fit required for the Easyboot Glove. Sizing up a half size also allows for ease of application.”
Therefore, when using a Fit Kit to fit your horse for the Back Country, find the boot shell that “fits like a Glove”, where the “V” at the front is spreading and it’s like a second skin. Then, try the next ½ size up. Keep in mind that the actual Back Country boot, with the upper and comfort cup gaiter attached, adds to the strength and rigidity to the boot, making it seem a tiny bit smaller than it actually is.
That being said, here’s some more food for thought:
If your horse’s measurements fall in at the low end of the sizing system, it IS possible that it will be a good fit for the Back Country. This is especially true if your horse’s hooves fall into the wide sizes. This is why I always recommend using a Fit Kit whenever somebody expresses interest in either the Glove or the Back Country boot.
FYI, whenever a horse’s hoof width measurement meets or exceeds the length measurement, we consider that a wide foot.
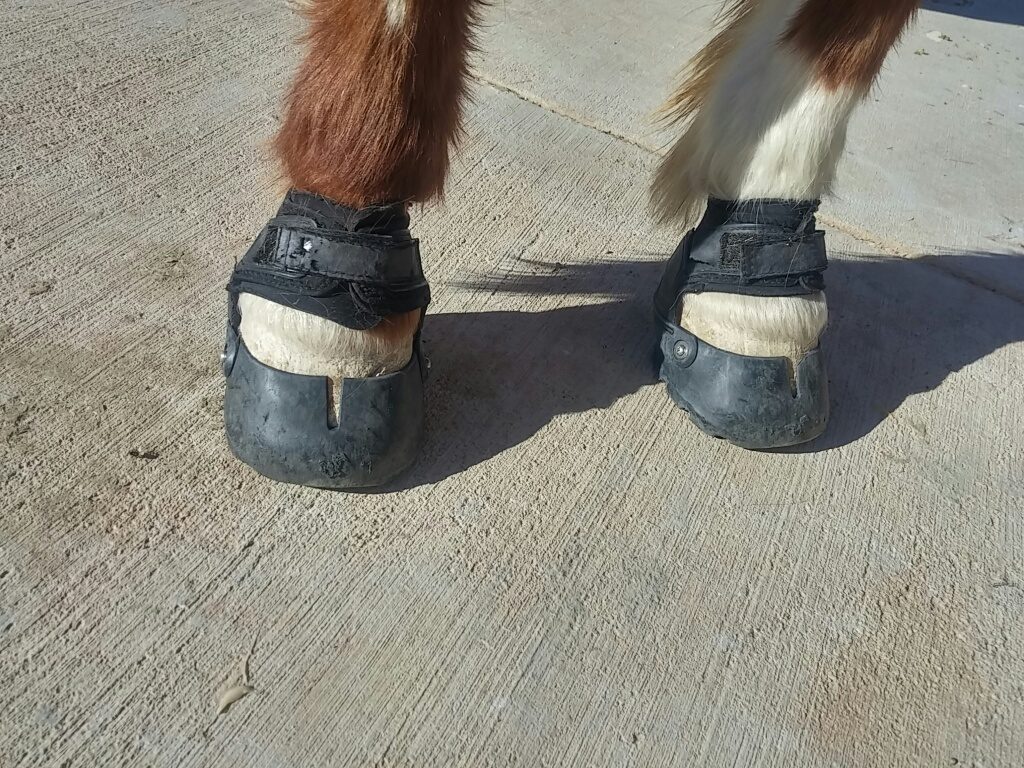 Here’s my horse in his size 1 Gloves.
He is a rock-solid size 1 in Gloves, measuring 114mm x 123mm after a fresh trim. I’ve had these boots for about a year. I’m thinking of adding Power Straps pretty soon. I normally apply Mueller Tape to the hooves when I ride in Gloves and have never lost a boot.
Shown below, I am trying to stuff his right hoof into a size 1 Back Country. It’s a bit of a struggle, but I got it on.
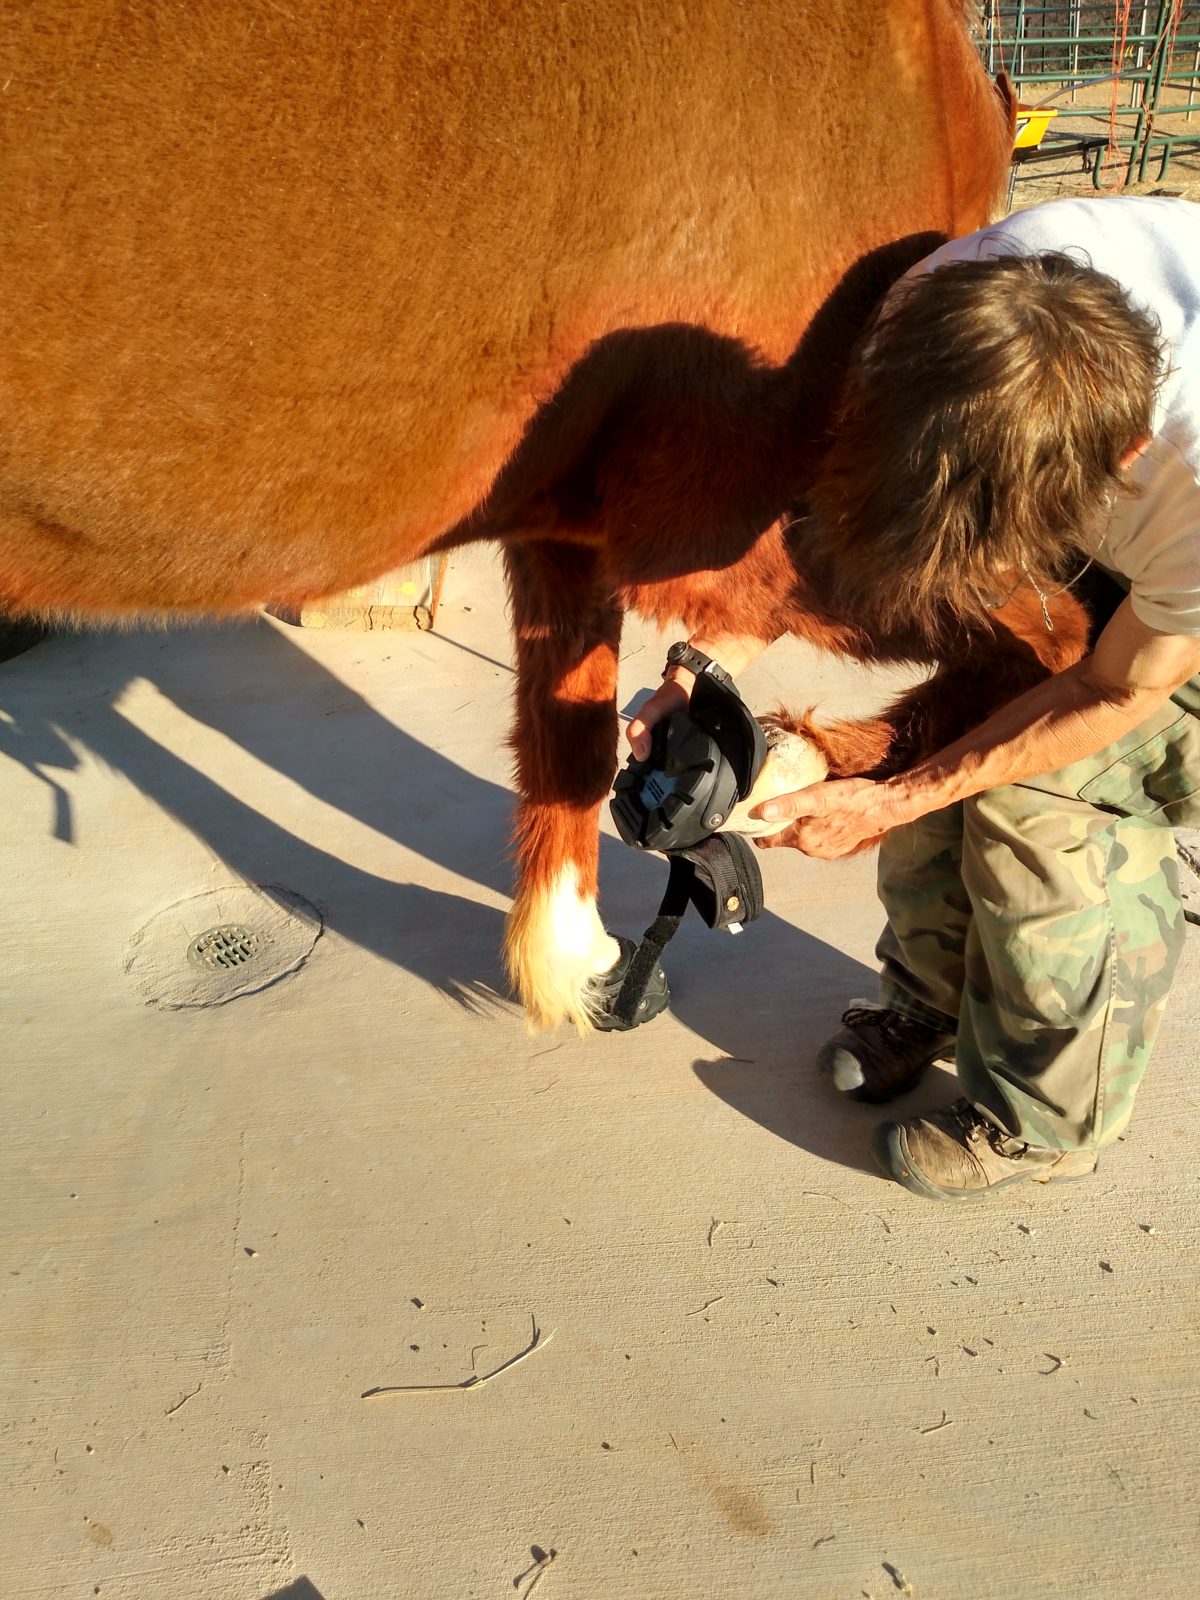
After I set his hoof down, I noticed he caught the Comfort Cup Gaiter between his heel and the boot, creating the dreaded “wedgie effect”. His heels could not seat properly into the boot. Even after I fixed it, I am not happy with this fit, so I will go up a 1/2 size to the 1.5 and add a Comfort Pad if necessary.
From the back, you can see that the closure system of the size 1 on the right only has about a 1/2″ of Velcro overlap, while the size 1.5 on the left has a much better purchase. The Snug Strap on the size 1.5 is also getting a better overlap compared to the size 1. See what a difference 4 mm makes? That’s the difference from one boot size to the next.
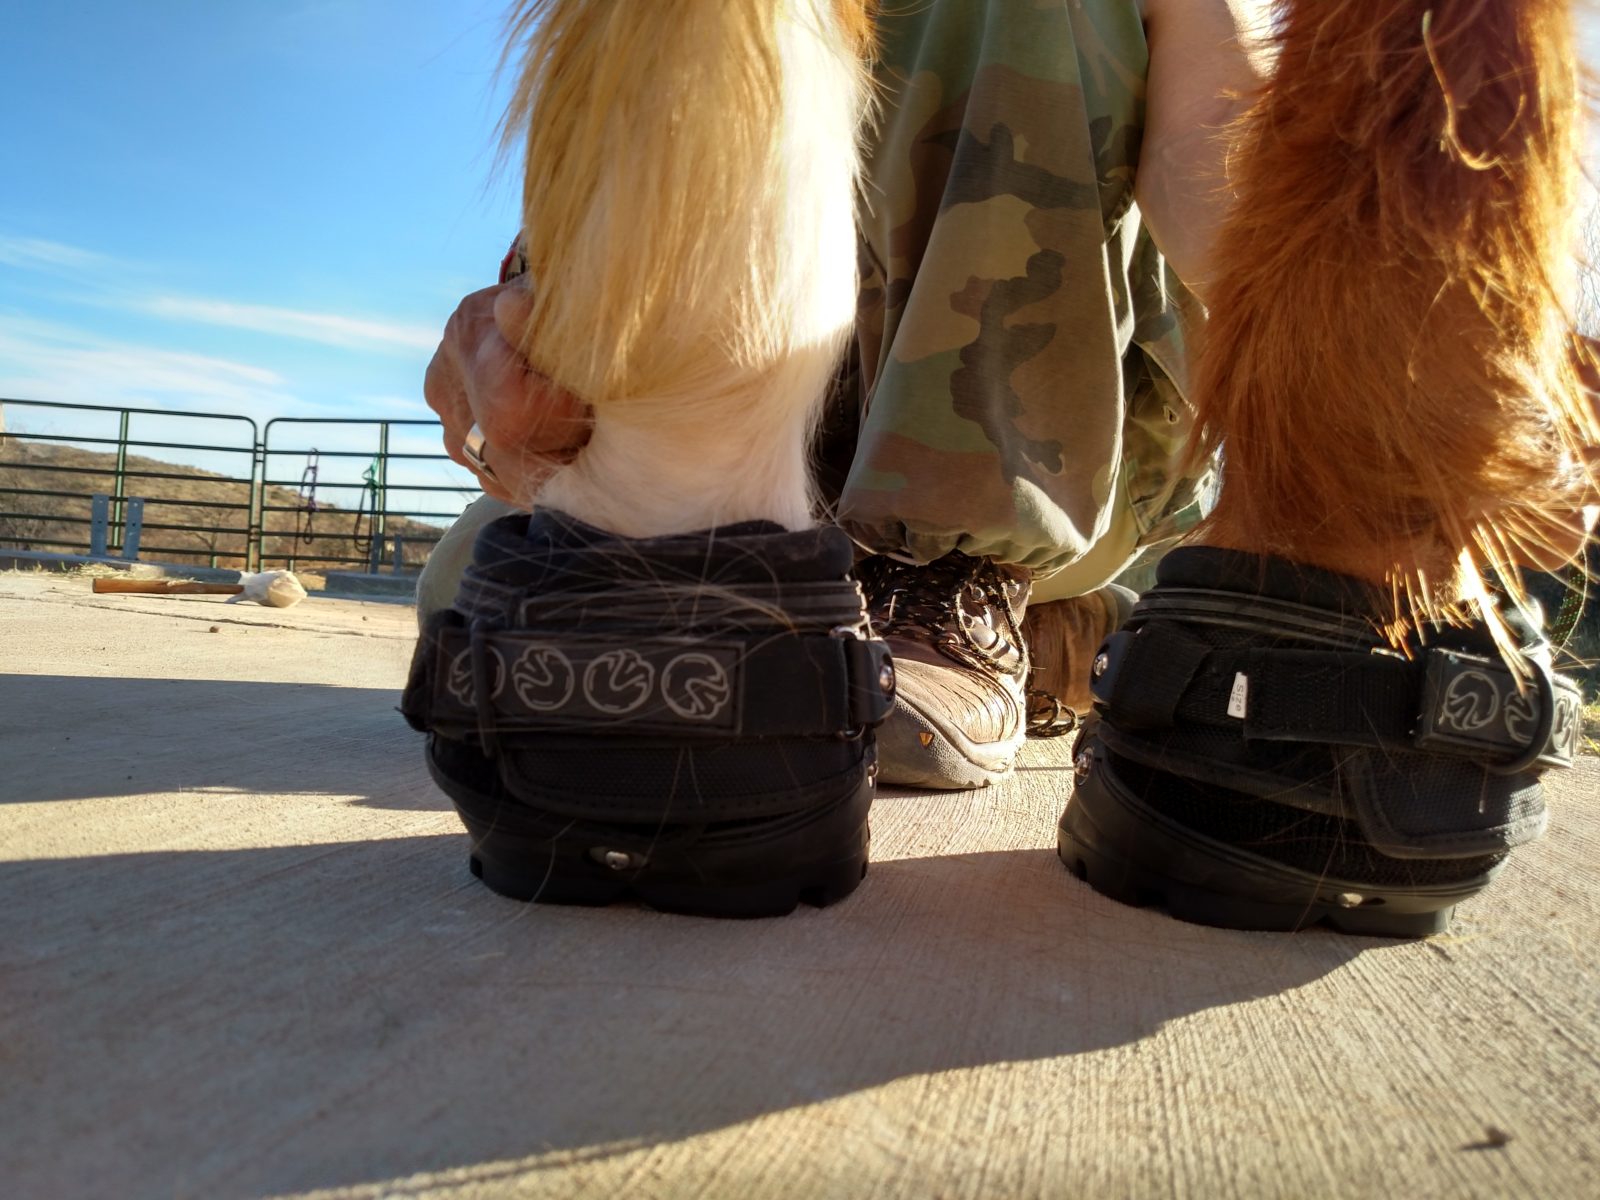
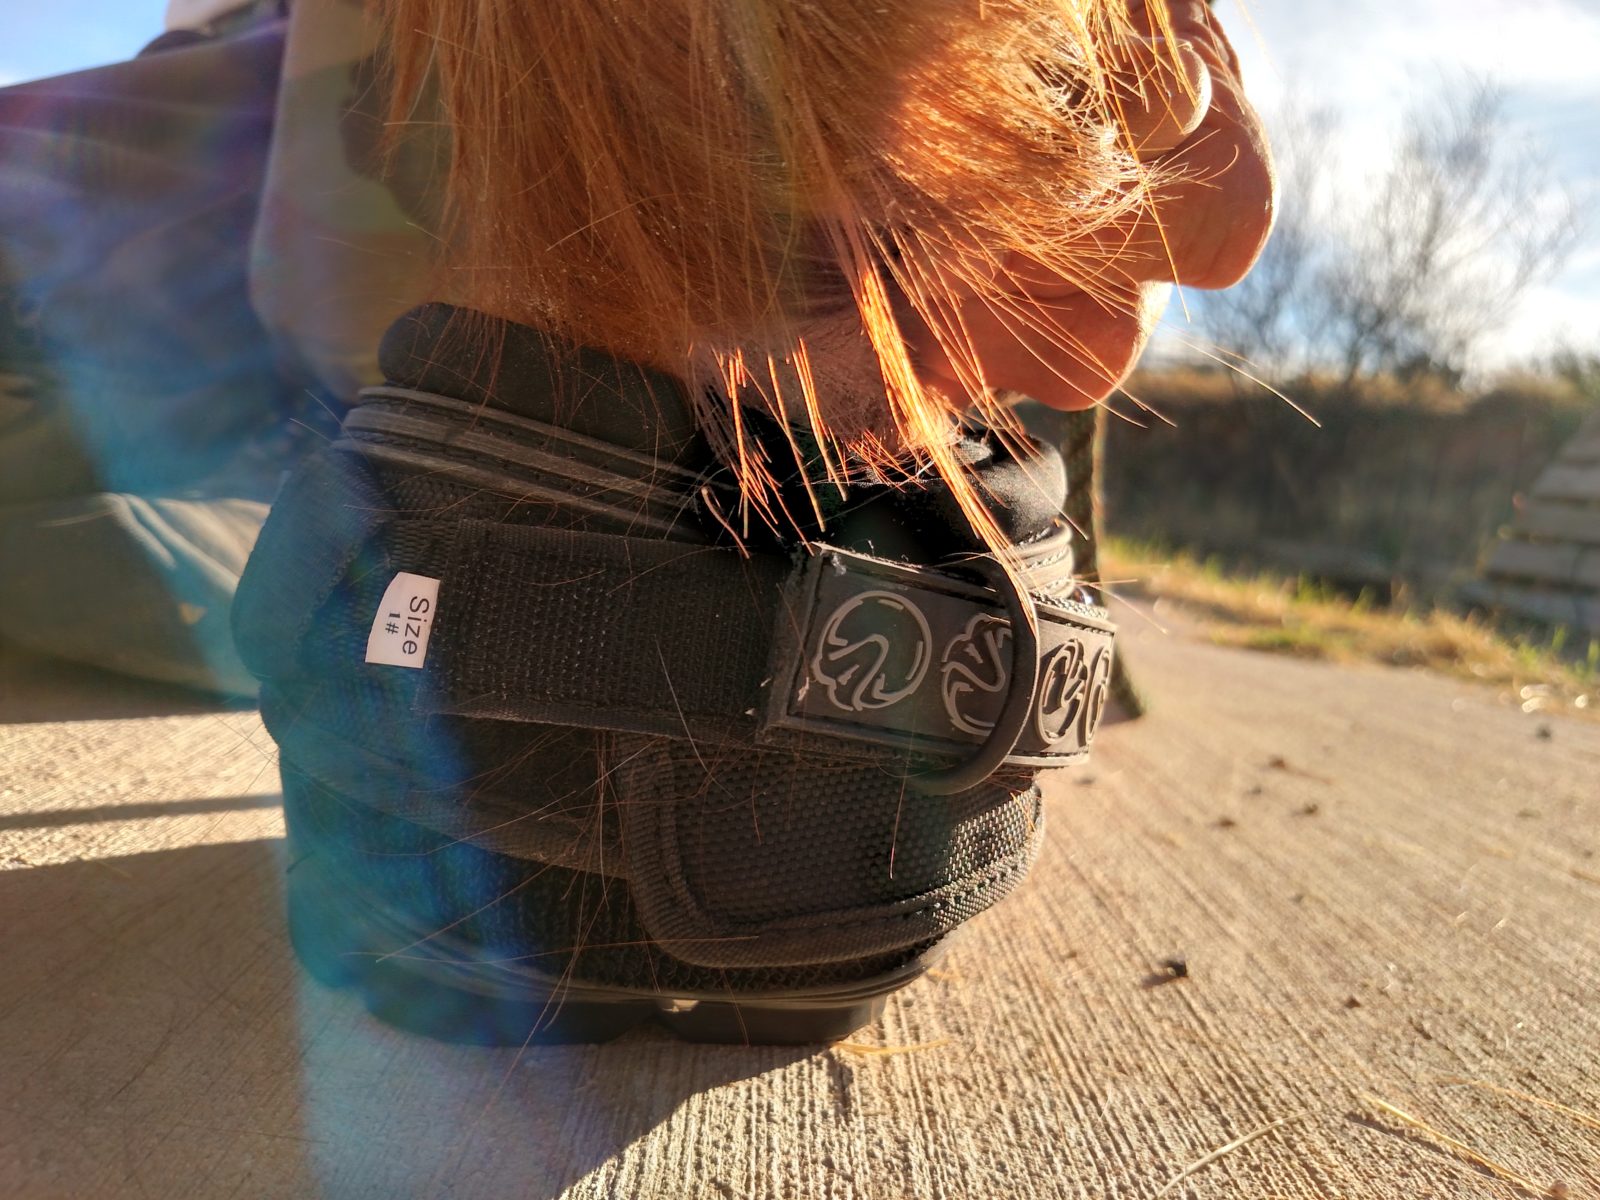
Size 1
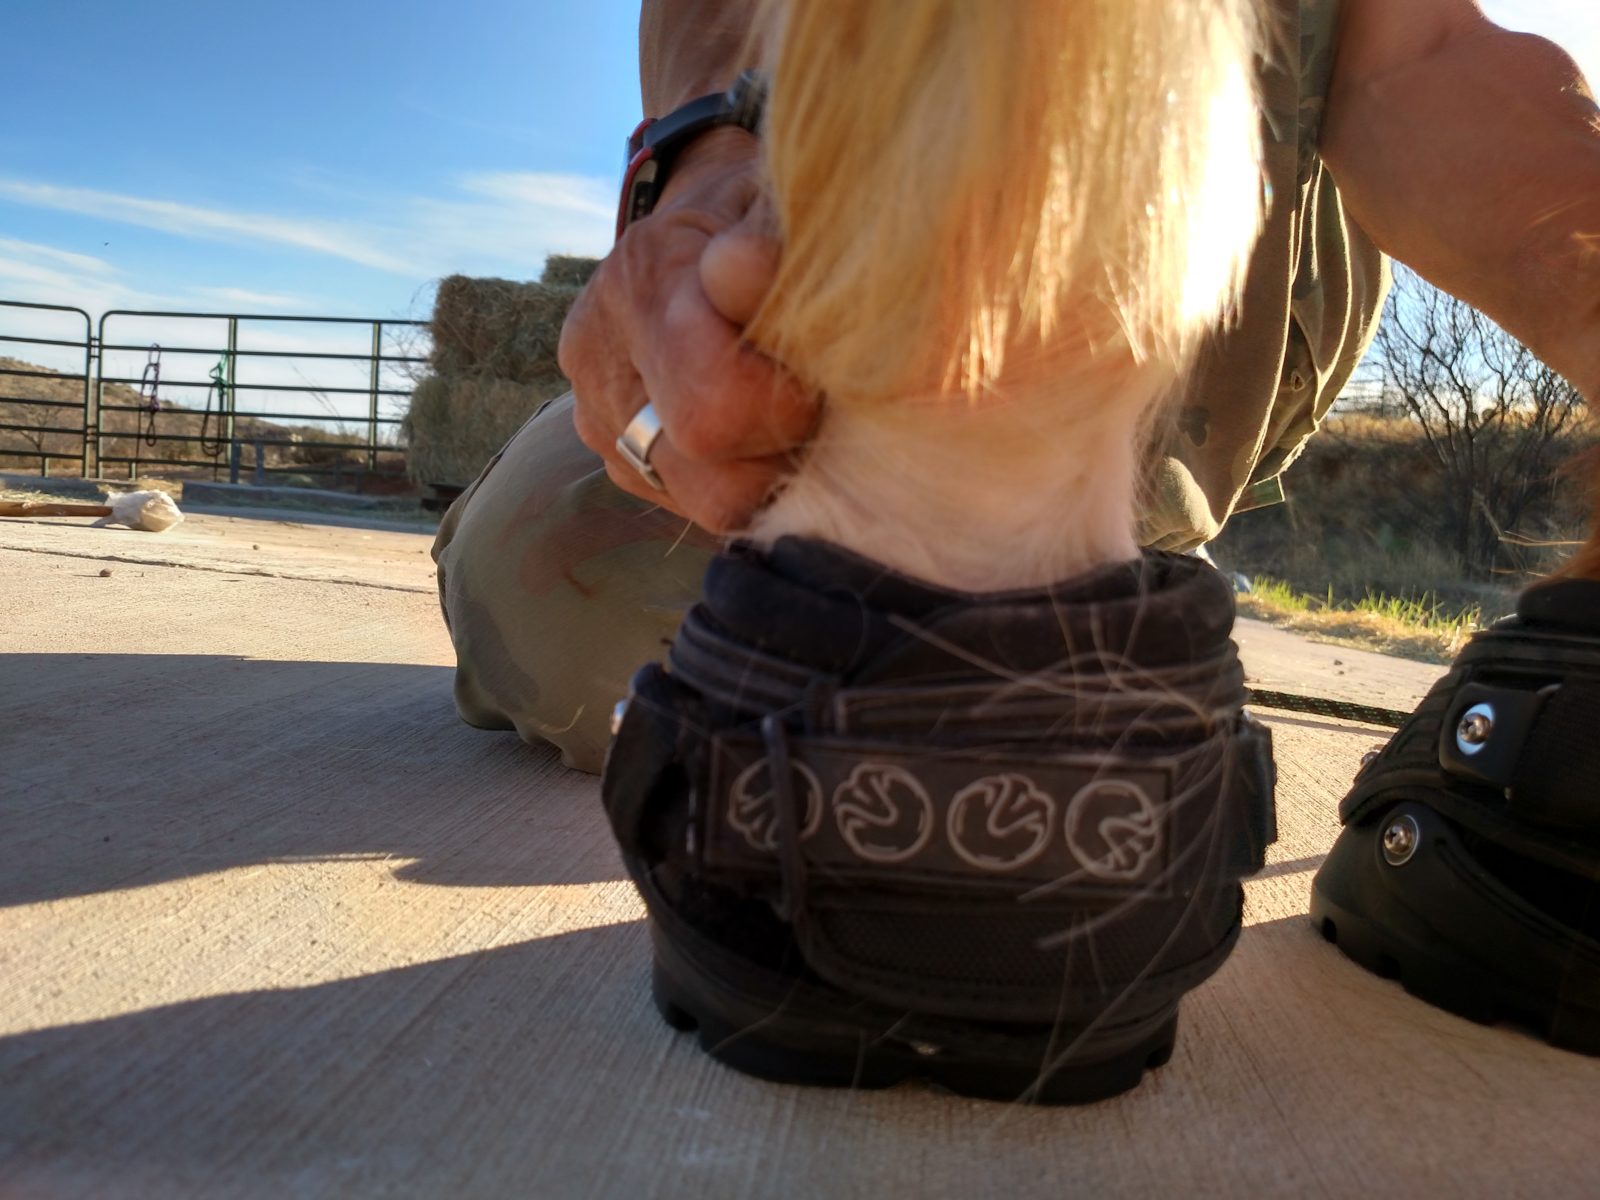
Size 1.5
I like to maintain a left and a right with my boots and pads, so I will switch the Snug Strap on one of the boots so that, at a glance, it’s easy to see which is which. Plus, it keeps me safer because as I tighten that strap, I’m pulling away, keeping my body out from under my horse.
Here is the final test to be sure your boots are fitted properly:
After applying the boots securely, walk your horse a bit, then come to a stop and pick up each hoof and try to twist the boot.

Give it a good hard twist. If you can feel a small amount of twisting around the hoof inside, you may need to add a comfort pad at the beginning of his trim cycle to snug things up a bit. If there is more twist than an inch or two, you may be better off with a 1/2 size smaller.
Fitting your horse for hoof boots can sometimes be a challenging process. Once you find that perfect boot, though, it’s all worth it.
Jean Welch

Customer Service
Originally from New England, I finally heeded the advice of my inner cowgirl, packed up my horses and moved west to Arizona. Here I learned the finer points of hoofcare and successful booting techniques. I can help you select the right EasyCare product for your specific needs.


